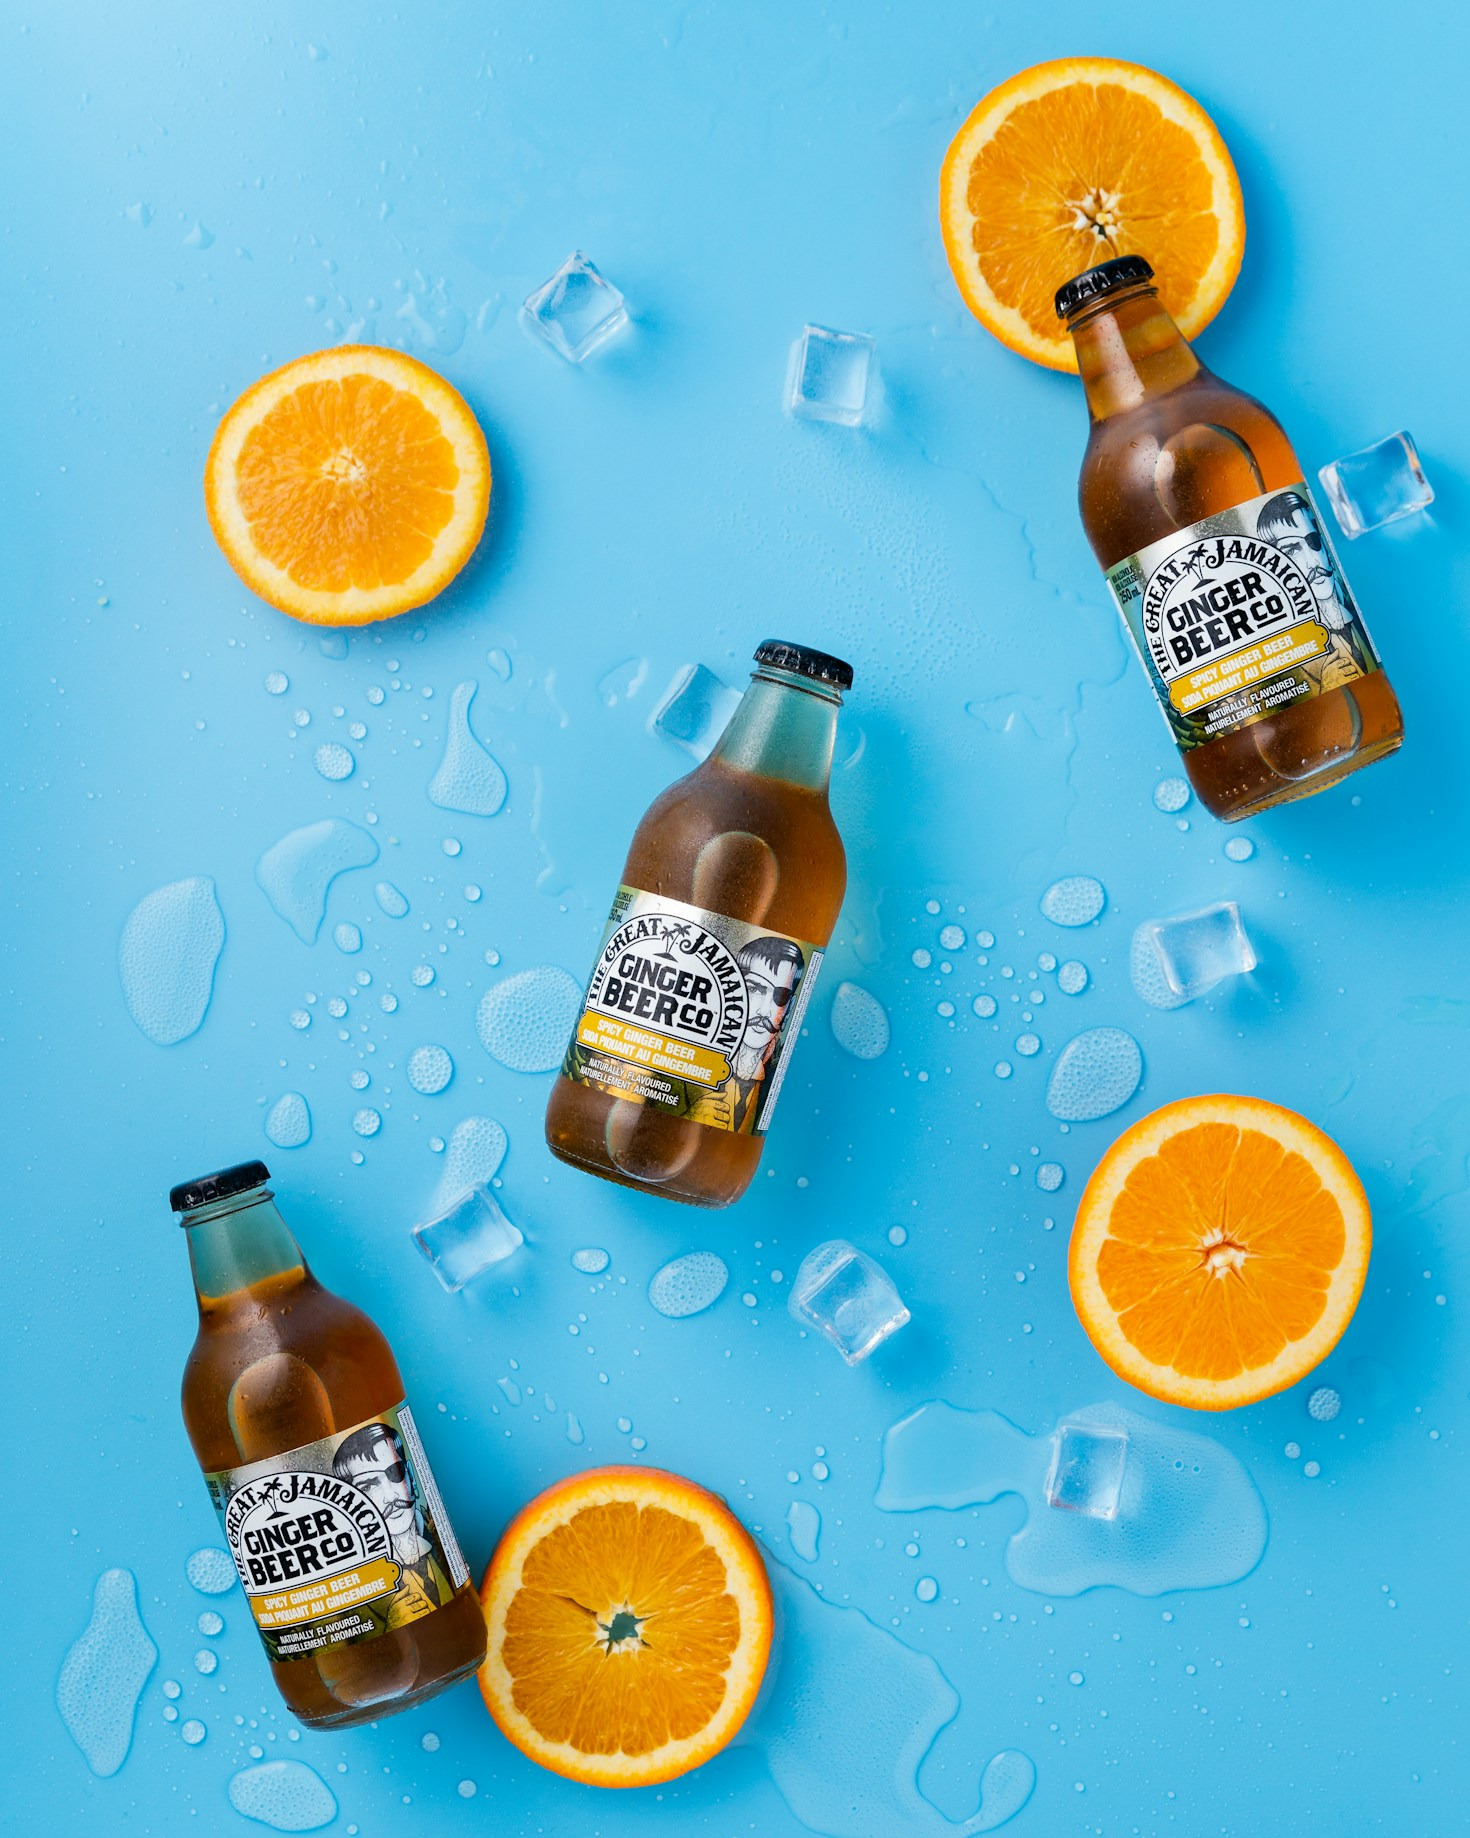
When it comes to e-commerce, the way you present your products can make or break a sale. One of the most critical elements in product photography is lighting. Good lighting not only highlights the features of your products but also creates a professional and appealing image that attracts customers. If you’re new to e-commerce photography, this beginner’s guide will help you understand the basics of lighting to enhance your product images.
Why Is Lighting Important?
Lighting affects the mood, clarity, and color accuracy of your photos. Poor lighting can lead to shadows, dull colors, and loss of detail, making your products look unappealing or misleading. On the other hand, good lighting ensures your products look true-to-life, vibrant, and enticing.
Types of Lighting for E-commerce Photography
1. Natural Light
Natural light is a great option for beginners because it’s free and often produces soft, flattering light. Position your products near a large window with indirect sunlight. Avoid harsh direct sun, which can create unwanted shadows and highlights.
2. Continuous Lighting
These lights stay on while you shoot, allowing you to see how light affects your product in real-time. They come in various forms like LED panels or softboxes. Continuous lighting is perfect for beginners who want consistent lighting without complicated setups.
3. Flash Lighting
Also known as strobe lighting, flash provides powerful bursts of light. It’s commonly used in professional photography but requires more practice to master. Flash lighting is ideal for shooting fast-moving products or when you need to freeze motion.
Essential Lighting Equipment
- Softbox or Light Tent: Helps diffuse light and reduce harsh shadows.
- Reflectors: Bounce light back onto your product to fill in shadows.
- Tripod: Keeps your camera steady for sharp images.
- Light Stands: Hold your lights in place for consistent positioning.
Basic Lighting Setup for Beginners
A simple and effective setup is the two-point lighting system:
- Key Light: The main light source placed at a 45-degree angle to your product.
- Fill Light: A secondary light or reflector on the opposite side to soften shadows created by the key light.
This setup provides balanced lighting that highlights details without harsh contrasts.
Tips for Better Lighting
- Shoot in RAW format: Allows more flexibility in post-processing.
- Use white balance settings: Ensure colors are accurate and consistent.
- Avoid mixed lighting: Stick to one type of light source to prevent color casts.
- Experiment with angles: Move your lights around to find the most flattering setup.
- Keep backgrounds simple: A clean background directs attention to your product.
Conclusion
Mastering lighting is a crucial step for anyone starting in e-commerce photography. With the right knowledge and equipment, you can create high-quality images that showcase your products beautifully and help increase sales. Start with natural light or affordable continuous lights, practice your lighting setups, and watch your product photos transform from ordinary to outstanding.
Happy shooting!

