
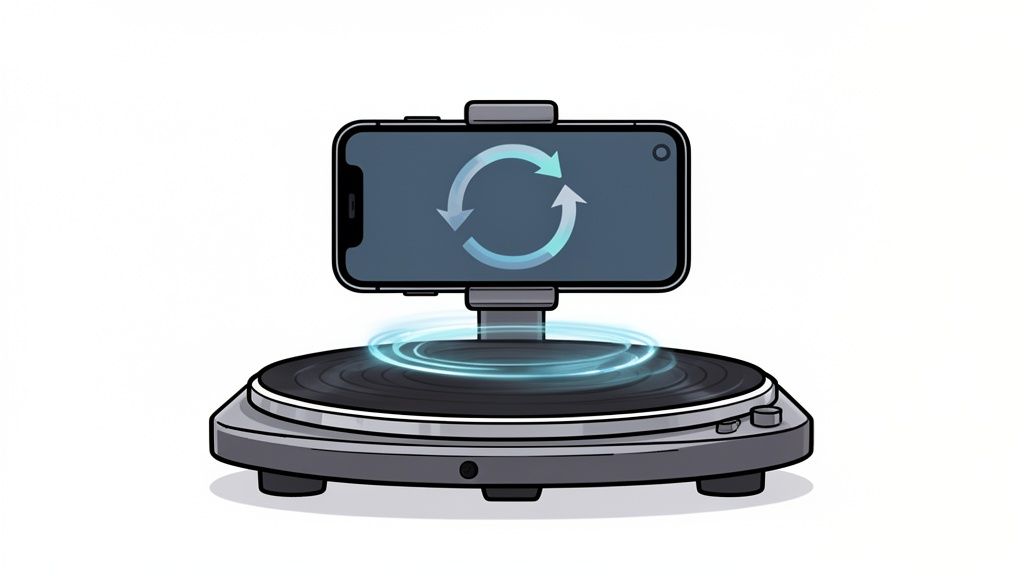
Imagine letting your customers virtually pick up your product, turn it over in their hands, and check out every last detail before they buy. That’s exactly what 360 product photos do. This isn't just a cool feature; it’s a powerful way to build trust and eliminate that last-minute hesitation for shoppers on Shopify, Amazon, and Etsy.
Why 360 Product Photos Are Your New Sales Superpower
Let's be honest, in today's crowded online marketplace, flat, static images just don't cut it anymore. Customers want an experience that’s as close to being in a real store as possible, and that means seeing a product from every angle. This is where interactive, 360-degree photography stops being a "nice-to-have" and becomes a core part of your sales strategy.
When you let shoppers digitally spin, zoom, and really inspect your items, you remove all the guesswork. They can see the texture of the fabric, check the ports on an electronic gadget, or admire the detailed craftsmanship of a piece of jewelry. This kind of transparency builds instant trust and gives them the confidence they need to hit "buy."
Bridge the Gap Between Online and In-Store
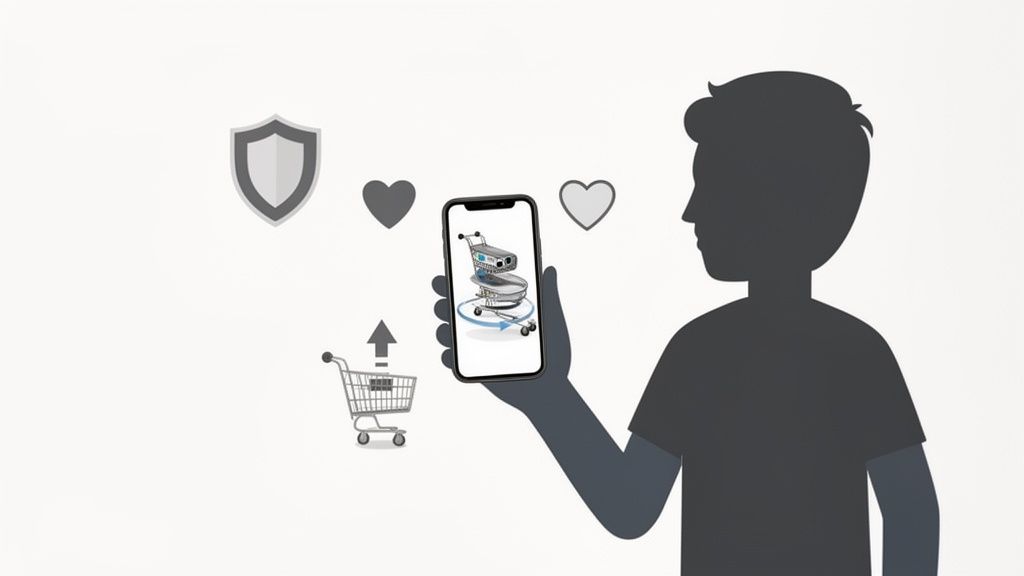
The biggest hurdle in e-commerce is that customers can't physically touch the product. High-quality 360 product photos tackle this problem head-on by mimicking that in-store experience. And this simple change has a real, measurable impact on your business:
- Boosts Engagement: Interactive images keep people on your product page longer. The more they play with the image, the more connected they feel to your product.
- Lowers Purchase Anxiety: When every detail is visible, customers feel more secure in what they're buying. That certainty makes it much easier to click "add to cart."
- Drastically Reduces Returns: A clear, 360-degree view means no surprises when the package arrives. Fewer surprises mean a significant drop in return rates, which saves you a ton of time and money.
By adding 360-degree images to your listings, you close the gap between what a customer expects and what they actually get. It’s a layer of honesty that leads directly to happier customers and stronger brand loyalty.
The Data-Backed Impact on Conversions
This shift toward interactive images isn't just a gut feeling; the numbers are pretty compelling. Data shows that a huge chunk of online shoppers are actively looking for this kind of visual before making a purchase.
Studies have found that over 60% of online shoppers say 360-degree spin photography is a big help, and products that have it see a 22% higher conversion rate than those with just standard photos. It gets better—add-to-cart rates can jump by as much as 35% when a 360-degree view is an option.
The best part? You don't need a massive budget or a fancy studio to get these kinds of results. Throughout this guide, we're going to bust the myth that this tech is out of reach for small businesses. We’ll show you exactly how to create incredible 360-degree views with the smartphone you already have in your pocket. You can learn more about the typical cost of professional product photography and see just how powerful a DIY approach can be.
Building Your DIY Photography Studio on a Budget
You don't need a fancy studio or a truckload of expensive gear to create stunning 360 product photos. Honestly, you can pull together an incredibly effective setup with just a few smart choices and items you might already have lying around. The real secret isn't how much you spend, but how you prepare your product and manipulate light.
First things first, treat your product like it's heading to a red-carpet premiere. Before it even sees a camera, it needs to be absolutely spotless. I'm talking about getting rid of every last speck of dust, every smudge, and every single fingerprint. These tiny flaws become giant, glaring distractions in high-resolution photos and can instantly cheapen the look you're going for.
A simple microfiber cloth is your best friend for this. If you're shooting something intricate like jewelry or electronics, a can of compressed air is perfect for blasting dust out of those hard-to-reach spots. Trust me, spending five minutes on prep now will save you hours of tedious editing later.
Mastering Light with Simple Tools
Let's get one thing straight: light is everything in photography. It doesn't matter if you have a top-of-the-line camera; bad lighting will always lead to a bad photo. The good news is that the best light source is completely free.
Find a large window on an overcast day. That soft, diffused natural light is perfect because it wraps around your product beautifully and kills harsh shadows. Just set up a small table right next to the window, and you've got your main stage.
To nail the professional look, you'll need one more thing: a "bounce card." This sounds technical, but it’s just a piece of white foam board or even a sturdy sheet of white paper.
- Set your product on the table, with the window light hitting it from one side.
- Now, place the white foam board on the opposite side of the product.
- The board will catch that window light and "bounce" it back, filling in the shadows on the other side.
This is a classic trick pros use all the time to create balanced, flattering light that makes products look expensive.
You're not just taking a picture; you're shaping light. By using a window and a simple reflector, you control the shadows and highlights, which gives your product dimension and a high-quality feel.
Choosing Your Turntable
The turntable is the heart of your 360 product photos setup; it's what guarantees a smooth, even spin. You've got a couple of great budget-friendly options here, and the best one for you really just depends on what you're shooting.
The cheapest way in is a manual lazy Susan. To make it work for 360s, you'll need to mark it up with precise intervals. For a common 36-frame spin, that means making a small mark every 10 degrees around the edge. As you shoot, you carefully turn the base to the next mark for each photo. It takes a steady hand and a bit of patience, but it gets the job done.
If you want a smoother, more foolproof process, look into a budget motorized turntable. You can find them online for a very reasonable price, and they take all the guesswork out of the rotation. They turn automatically and consistently, ensuring every single frame is perfectly spaced. That consistency is what creates a truly seamless final spin.
And as you're putting your DIY setup together, you can find even more affordable product photography tips to get incredible results without blowing your budget.
From my own experience, if you're shooting small, lightweight items, a manual turntable works just fine. But if you have heavier products or you know you'll be shooting a lot, investing in an inexpensive motorized one is a total game-changer. It speeds up the whole process and delivers a more polished, professional result every single time.
Capturing Flawless 360 Shots with Your Phone
That high-powered camera in your pocket is all you need to create amazing 360 product photos. You can forget the myth that this requires a pricey DSLR setup. The real secret isn't the gear; it's the process. It all comes down to maintaining rock-solid consistency from the first frame to the last.
This simple workflow breaks down the groundwork you need to lay before you even think about hitting the shutter.
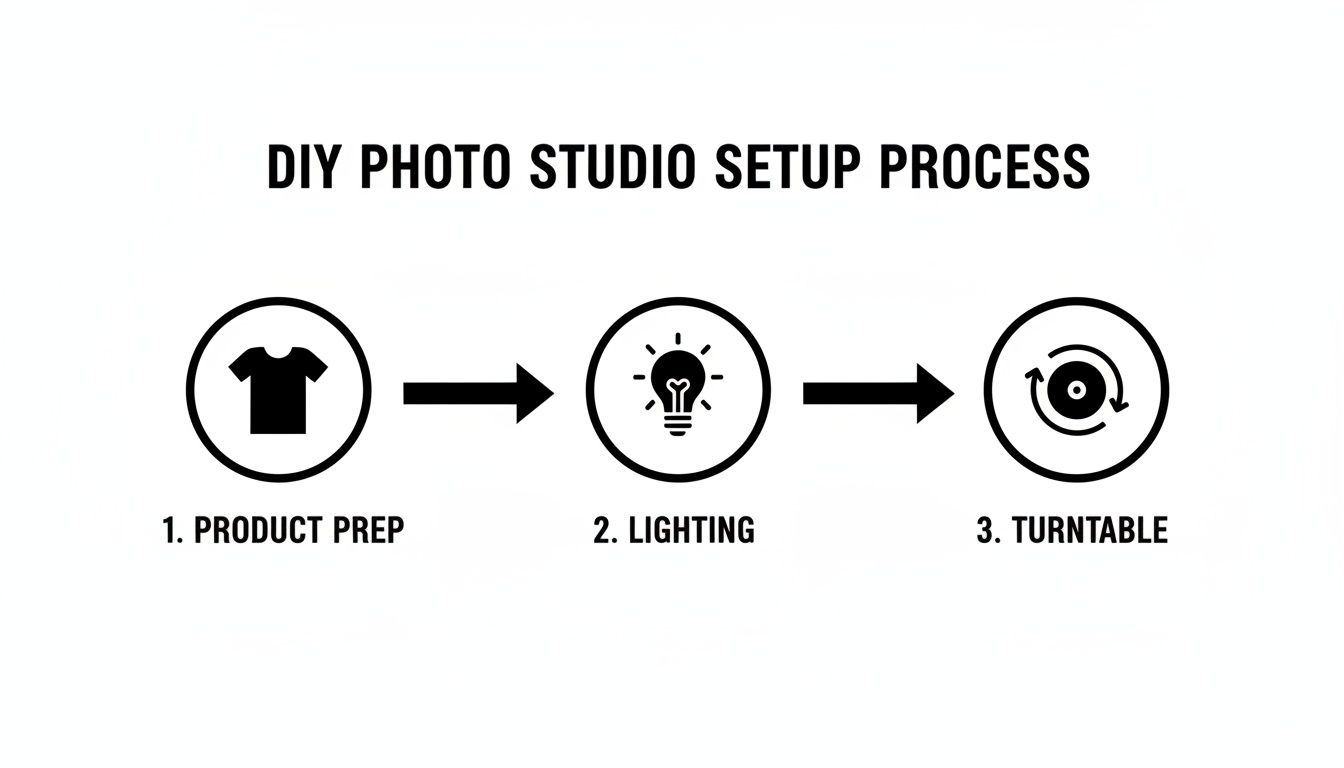
Think of it like building a house. Solid product prep, controlled lighting, and a steady turntable are your foundation. Get these right, and the rest is easy.
Dialing In Your Smartphone Camera Settings
Before you snap a single picture, you have to wrestle back control from your phone's camera app. If you just point and shoot in auto mode, the camera will constantly make tiny adjustments, leading to a flickering, unprofessional-looking spin. As the product rotates, the camera might re-evaluate the focus or lighting, causing subtle shifts that shatter the illusion.
You need to lock down two critical settings: focus and exposure. Most built-in camera apps have this feature. Just tap and hold on the screen right where your product sits. You'll usually see a yellow box pop up with a notification like "AE/AF LOCK." This freezes the Auto-Exposure and Auto-Focus, guaranteeing the brightness and focal point stay exactly the same for every single shot.
Also, do yourself a huge favor and turn on your camera’s gridlines. This simple overlay is an absolute lifesaver for keeping your product perfectly centered and making sure your phone doesn't drift an inch during the shoot.
The Shooting Sequence: Your Blueprint for a Perfect Spin
Okay, your settings are locked and your product is perfectly centered. Now for the fun part. The entire goal here is to capture a series of photos, rotating the product by the exact same amount between each shot. It doesn't matter if you're using a manual lazy Susan with tape markers or a fancy motorized turntable—the principle is the same.
Let’s imagine we're shooting a handcrafted leather wallet. Once it's centered on the turntable, here's the play-by-play:
- Frame the shot: Get your phone on a tripod and frame up the wallet. Make sure to leave a little breathing room around the edges so you don’t have cropping headaches later.
- Snap your first photo: Everything is locked and aligned. This is frame number one.
- Rotate with precision: Turn the turntable to your first marked spot. If you’re aiming for a 36-frame spin, that’s a clean 10-degree turn.
- Capture and repeat: Take the next photo. Keep this rotate-and-shoot rhythm going until you’ve come full circle, right back to where you started.
Consistency is everything. A wobbly camera, an off-center product, or uneven rotations are the biggest culprits behind a jerky final result. A steady hand and a methodical approach will pay off immensely.
How Many Frames Do You Really Need?
The number of photos you take has a direct impact on how smooth your final 360 spin will feel. More frames will get you that silky-smooth rotation, but it also means bigger file sizes and a longer shoot. Finding that sweet spot is the key to creating 360 product photos that work.
Deciding on the right frame count can feel tricky, but it really comes down to balancing smoothness against performance. Here’s a quick rundown to help you choose the best option for your products.
Recommended Frames For A Smooth 360 Spin
| Frame Count | Rotation Per Frame | Resulting Smoothness | Best For |
|---|---|---|---|
| 24 Frames | 15 degrees | Good | Standard e-commerce use, quick loading, and efficient shooting. |
| 36 Frames | 10 degrees | Very Smooth | The industry sweet spot, offering a professional feel for Shopify/Amazon. |
| 72 Frames | 5 degrees | Ultra-Smooth | Premium or detailed products like jewelry, watches, or complex electronics. |
For most products, 36 frames is the magic number. It gives you a fluid, high-quality rotation that looks premium to customers without bogging down your product page with a massive file. But if you’re selling a luxury watch where every tiny detail matters, bumping up to 72 frames can deliver that buttery-smooth experience that helps justify a higher price tag.
Once you’re done, you should have a clean sequence of images—24, 36, or 72—all perfectly lined up, with identical lighting and focus. These raw images are your building blocks, ready for the next step where we’ll use a tool like ProdShot to automatically stitch them into a stunning, interactive 360 view.
Streamlining Your Workflow with AI Photo Editing
So, you’ve meticulously shot your sequence of images, making sure every angle is sharp and the lighting is just right. Fantastic. Now you’ve hit the part where most DIY 360 product photos projects grind to a halt: the editing.
Manually cutting out backgrounds, color-correcting, and centering dozens of images is a soul-crushing time sink. Seriously, it can take hours, even if you know your way around Photoshop.

This is where AI-powered editing tools become your secret weapon. Forget grinding through repetitive tasks. You can let an intelligent system do all the heavy lifting, giving you a level of consistency across every single frame that’s almost impossible to get by hand.
From Manual Grind to Automated Magic
Just think about the old-school editing process for a standard 36-frame spin. That’s 36 separate files to open, trace, clean up, crop, and save. It's a recipe for burnout and practically guarantees a few human errors, which leads to a jittery, unprofessional final spin.
AI editing platforms, like our own AI product photo generator, completely flip the script. The workflow is refreshingly simple:
- Bulk Upload: Just drag and drop your entire sequence of images into the tool all at once.
- AI Analysis: The system instantly identifies the product in each frame, separates it from the background, and analyzes the lighting.
- Instant Polish: In moments, you get back a full set of perfectly edited images—all with clean backgrounds and consistent centering.
This automated approach ensures your product doesn't jump or wobble as it rotates, creating that seamless, high-end spin you're after. It’s a powerful way to get your time back so you can focus on actually growing your business.
The Core Benefits of AI-Powered Editing
Automating the post-production for your 360 product photos offers some massive advantages, especially for busy e-commerce sellers. It’s not just about speed; it’s about elevating your final visuals with almost zero effort.
Flawless Background Removal at Scale
Creating a clean white or transparent background is painstaking work. AI knocks it out in seconds across all your images, making sure every edge is crisp. This is non-negotiable for meeting the strict image requirements on marketplaces like Amazon.
Automatic Centering and Cropping
Even with a careful setup, your product might be a few pixels off-center in some shots. AI automatically finds the product's position in each frame and crops the whole sequence uniformly. The result? A stable, wobble-free rotation.
By letting AI handle the technical edits, you're essentially cloning the skills of a professional retoucher without the high cost or long turnaround times. It democratizes high-quality product imagery for everyone.
Intelligent Lighting and Color Correction
Tiny changes in light can throw off an entire 360 spin, creating a flickering effect. AI algorithms analyze the whole image set, spot these inconsistencies, and correct them automatically for a smooth, visually pleasing final product. If you're looking to really streamline your process, it's worth digging into resources on mastering AI image enhancement.
The Growing Role of AI in E-Commerce Visuals
This shift toward automated editing is part of a much bigger trend. The AI product photography market is projected to explode from $450 million to $5 billion by 2035. At the same time, AI-powered image editing is expected to become an $8.9 billion industry by 2034.
This growth is all about efficiency. Fashion brands that take about eight images per product are now using AI to batch-edit over 5,000 shots at once.
By adopting these tools now, you’re not just saving time. You’re setting up your business to compete in a far more visually demanding future. Embracing AI for editing your 360 product photos lets you produce stunning, conversion-driving content at a scale that used to be impossible for small businesses.
Launching Your 360 View on Shopify and Amazon
You’ve shot a fantastic sequence of images and let the AI editor work its magic. Now for the best part: getting your interactive 360 product photos live on your store so they can start boosting your sales. This is where all that prep work pays off, creating a genuinely cool, hands-on experience for your customers.
Putting a 360 spin online really comes down to two things: a hosting service to store your image files and a viewer to make them interactive. That might sound a little techy, but modern tools have made this whole process surprisingly simple, especially for platforms like Shopify.
Choosing Your Hosting and Viewer Solution
You've got a couple of great options for getting your 360 view up and running. The best path for you really just depends on your comfort level with tech and where you're selling. The good news is you don't need to be a developer—most of these solutions are built specifically for ecommerce sellers.
- Dedicated 360 Hosting Services: Companies like Sirv or Magic 360 are specialists. You upload your sequence of images to their platform, and they give you a little snippet of code to paste into your product page. Simple as that.
- Shopify Apps: This is hands-down the easiest route if you're on Shopify. Apps like Spin Studio or the Magic 360 Product Photos app plug right into your store. You upload your images directly inside the app, and it handles everything else, adding the interactive viewer to your products without you ever having to look at a line of code.
These apps are designed to be user-friendly and usually let you tweak the look and feel to match your store's branding. They also tackle the crucial job of optimizing your images so they load lightning-fast. And if you're looking for more ways to make your store's visuals pop, check out our guide on using a Shopify photo editor to perfect every image.
Embedding Your 360 View in Shopify
If you went with a Shopify app, you're in for a treat. It’s incredibly straightforward. Once you install the app from the Shopify App Store, your workflow will look something like this:
- Open the 360-viewer app from your Shopify admin panel.
- Pick the product you want to enhance with the 360 view.
- Just drag and drop the whole folder of your edited images right into the app’s uploader.
- Tweak any settings you want—like rotation speed or button styles—and hit publish. The app then automatically places the viewer on that product’s page.
The real beauty of a dedicated app is that it handles all the performance stuff behind the scenes. It uses smart techniques like lazy loading, which means the 360 view won’t slow down your page’s initial load time—a massive win for user experience and SEO.
A Smart Workaround for Amazon and Etsy
Platforms like Amazon and Etsy are a bit different; they don't let you embed interactive 360 viewers directly. But don't worry, there's a powerful workaround that still lets you show off your product from every angle: video.
This is a fantastic little trick that can give you a serious leg up on competitors who are stuck with boring static photos.
Here's how simple it is:
- Export as a Video: After your 360 product photos are edited, just use a simple video editor to stitch the images together into a short clip. There are tons of free options online or already on your computer.
- Set the Pace: You’re aiming for a smooth, seamless loop that completes a full spin in about 5-8 seconds. That’s the sweet spot—long enough for customers to see the details but quick enough to keep their attention.
- Upload to Your Listing: Head over to your Amazon Seller Central or Etsy listing page and upload the video to the video slot. It’ll show up right next to your main product images, giving shoppers a dynamic, 360-degree preview.
This approach gives you all the benefits of a 360 view—showing every detail and building buyer confidence—while working perfectly within the marketplace's rules. It’s a simple, high-impact way to make your listings stand out and give customers the info they’re looking for.
Common Questions About DIY 360 Product Photos
Diving into the world of 360 product photos for the first time? You probably have a few questions. That's a good thing. Getting the right answers upfront helps you sidestep the common little mistakes that can trip people up.
Let's clear the air on some of the most frequent questions I hear from sellers just like you.
How Many Photos Do I Really Need For A Smooth 360 Spin?
This is the big one, and the answer is all about balancing smoothness with file size. You could technically make a spin with just 12 images, but honestly, it's going to look choppy and a bit cheap to a savvy online shopper.
For a spin that feels high-quality and professional, you're going to want to aim for somewhere between 24 and 72 frames.
- 24 Frames: This is a fantastic starting point. It requires a 15-degree turn between each shot, creating a spin that's efficient to shoot and looks great for most products.
- 36 Frames: This is pretty much the industry standard for e-commerce platforms like Shopify. With a 10-degree turn for each photo, it delivers a very smooth, professional rotation that feels premium without being overkill.
- 72 Frames: Selling something with intricate details, like fine jewelry or high-end electronics? This is your magic number. The tiny 5-degree turn between shots produces an ultra-smooth, luxurious experience that can seriously elevate how customers perceive your brand's value.
Will 360 Product Photos Slow Down My Website?
That's a totally valid worry. Nobody wants to be the owner of a slow, clunky website—it's a known conversion killer. The idea of loading 36 or more high-resolution images all at once sounds like a recipe for disaster, but modern 360 product photo viewers are built specifically to avoid this.
The secret is a clever bit of tech called "lazy loading." Instead of trying to force a visitor's browser to download all 36+ images the second they land on your page, a smart 360 viewer loads just the first couple of frames. It only loads the rest of the images as the user actually starts to spin the product. This means your initial page load time stays lightning-fast, keeping both your customers and the search engines happy.
Combine lazy loading with smart image compression—saving your JPEGs at around 80-90% quality—and you get all the interactive benefits without any of the performance headaches.
Can I Use 360 Photos On My Amazon And Etsy Listings?
This is where you have to get a little creative. Marketplaces like Amazon and Etsy don't support embedding interactive 360 viewers the way your own Shopify store might. But don't worry, there's a fantastic workaround that can give you a huge leg up on the competition: video.
Both platforms let you upload a product video right alongside your static photos. The best move here is to take your final, edited sequence of images and simply export them as a short, looping video. It's a simple step that lets you show off your product from every angle, making your listing far more dynamic and engaging than the sea of static-only competitors.
What Is The Biggest Mistake To Avoid When Shooting?
Hands down, the single biggest mistake that will ruin your DIY 360 product photos is inconsistency.
Even the smallest shifts in lighting, focus, or camera position between your shots will create a wobbly, jarring, and amateur-looking spin. A flickering shadow or a camera that isn't perfectly level can completely undermine all your effort.
That’s why locking your phone's focus and exposure settings is non-negotiable. It has to be the first thing you do. From there, using a sturdy tripod for your phone and having precise, visible markers on your turntable are just as vital. A consistent, controlled, and stable setup is the foundation for a polished result that actually drives sales.
Ready to create stunning, sales-driving 360 product photos without the hassle? ProdShot uses AI to turn your simple smartphone shots into flawless, professional-grade visuals in just a few clicks. Say goodbye to tedious editing and hello to higher conversions. Try it for free today.