
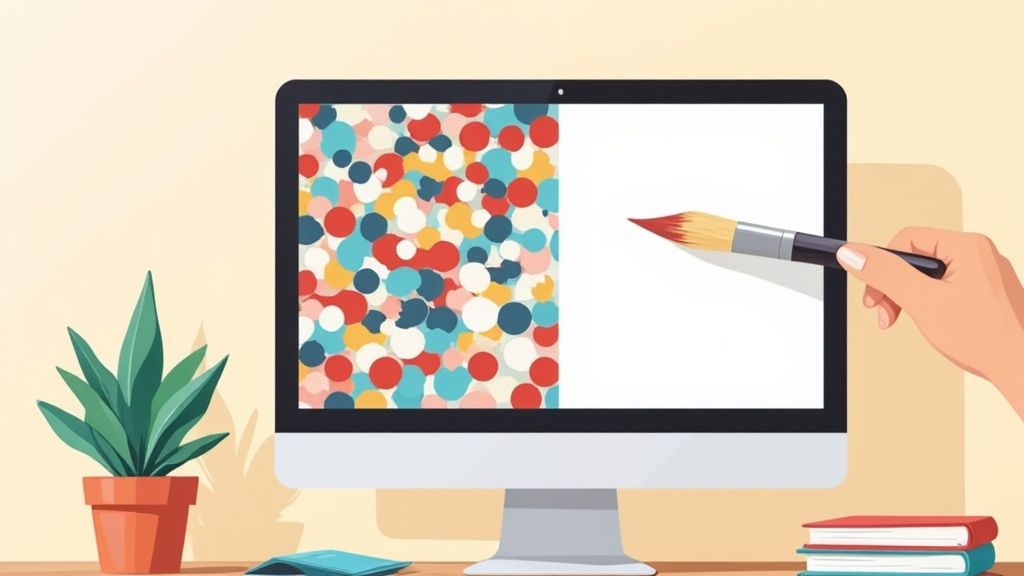
At its core, changing a photo's background to white is pretty simple: you just need to isolate your subject and pop it onto a clean, white layer. Tools like ProdShot can get this done with AI in a flash, while something like Photoshop gives you a surgeon's level of manual control.
Why a White Background Is Your Secret Weapon
But before we get into the "how," let's talk about the why. This isn't just a random stylistic choice—it's a smart, strategic move that can completely change how customers see your products and your brand. Think of it as a blank canvas that makes your product the undeniable star of the show.
This whole idea is grounded in a bit of consumer psychology. A simple, consistent background screams professionalism and builds trust, signaling to shoppers that you're a serious seller. On the flip side, a busy or cluttered background just creates visual noise. It can cheapen your product's perceived value and, you guessed it, tank your conversion rates. In a professional setting, a clean backdrop is non-negotiable. If you're really looking to dial in your image, it's worth understanding the best headshot backgrounds and the nuances involved.
The E-commerce Standard
For anyone selling online, a white background is practically the law of the land. The big marketplaces have strict rules to keep the shopping experience clean and consistent for everyone.
- Amazon: They don't just recommend it; they require a pure white background (RGB 255, 255, 255) for all main product images. No exceptions.
- eBay: They strongly push for clean, neutral backgrounds because they know it helps with visibility and sales.
- Shopify: While there's no strict rule, a crisp white background is an almost universal best practice. It’s what separates a polished, high-converting storefront from an amateur one.
Just look at how the pros do it. This is the kind of clean, focused imagery that defines successful e-commerce.
You can see how top-tier brands use this simple, product-first approach to create a powerful and appealing online shopping experience.
To give you a clearer picture, here’s a quick breakdown of how a white background makes a difference across various scenarios.
Impact of a White Background Across Different Use Cases
| Use Case | Primary Benefit | Why It Works |
|---|---|---|
| E-commerce Marketplaces | Compliance & Consistency | Meets strict platform requirements (like Amazon's) and creates a uniform, professional shopping experience that builds trust. |
| Brand Websites | Product Focus | Eliminates all distractions, ensuring the customer's full attention is on the product's details, quality, and features. |
| Social Media Marketing | Visual Cohesion | Creates a clean, recognizable brand aesthetic across feeds, making posts stand out and look more polished and cohesive. |
| Professional Headshots | Clarity & Professionalism | Conveys a clean, modern, and professional image, making the subject the sole focus without any distracting elements. |
Ultimately, a white background is a versatile tool that elevates visuals by putting the subject first, no matter the context.
Driving the Digital Economy
The need for this kind of clean imagery is so massive that it's created its own booming industry. The market for background removal software was valued at around USD 0.66 billion in 2024. That number is projected to explode to USD 1.66 billion by 2033, and it's almost entirely fueled by the demands of e-commerce.
This isn't just a trend; it's a fundamental shift in how products are sold online. That massive growth underscores just how vital high-quality, distraction-free images have become for anyone trying to succeed in the digital marketplace.
Key Takeaway: Learning to change a photo background to white is more than just a tech skill. It's a cornerstone of effective digital marketing, branding, and online sales.
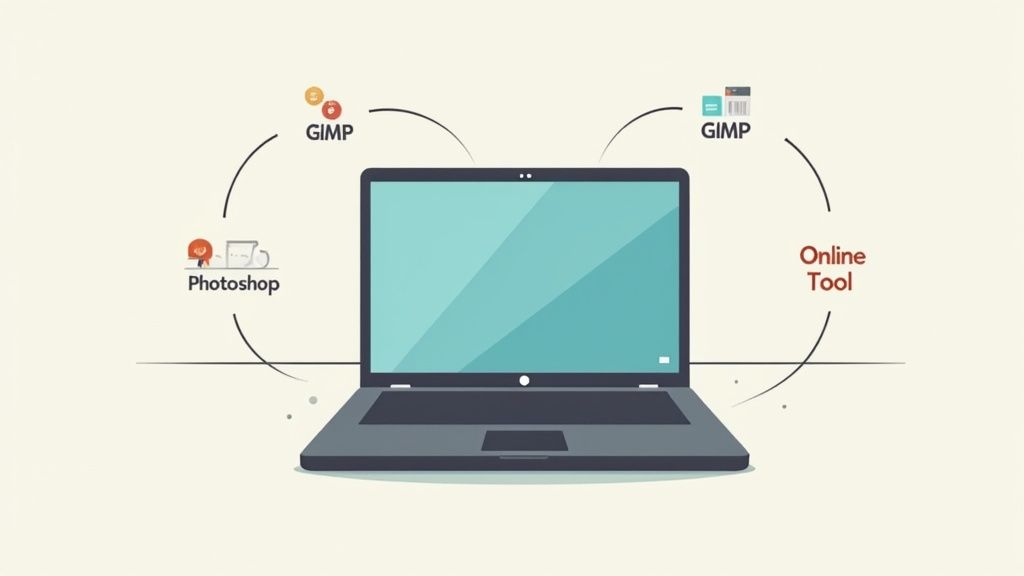
The AI Method: Your Shortcut to a Perfect White Background
If you need to change a photo background to white, and you need it done yesterday, artificial intelligence is your secret weapon. Forget the tedious, painstaking hours spent tracing around an object in Photoshop. Modern AI tools, like ProdShot, do all the heavy lifting in a matter of seconds. A cluttered, busy photo becomes a clean, professional shot with just one click.
This is what it looks like in practice. You upload your image, and the AI instantly presents you with the background-free version, all ready for that clean white backdrop. The real magic here is how fast and accessible these tools are, putting high-quality product images within everyone's reach.
A Real-World Scenario: Batch Editing for E-commerce
Let's get practical. Imagine you're an e-commerce seller with 50 new products to list. You've just finished a long photo shoot. Manually editing each of those images would take up your entire day, maybe more. This is exactly where AI changes the entire workflow.
With an AI tool built for e-commerce, you can upload that whole batch of 50 photos at once. The AI then churns through them, identifying the main subject in each picture and cleanly snipping it out from its original surroundings. The accuracy is pretty remarkable, even on subjects that used to be a nightmare to edit.
- Complex Edges: AI algorithms are trained on millions of images. This lets them intelligently handle fuzzy textures like a wool sweater or the delicate strap of a handbag.
- Tricky Subjects: Items with fine details, like jewelry chains or a model's flyaway hair, are no longer a major headache. The AI is smart enough to detect and preserve these subtle elements with impressive precision.
This level of automation is a massive time-saver. For anyone running a business on a platform like Shopify, the ability to quickly remove the background from product photos is a game-changer for keeping a storefront looking crisp and consistent.
Fine-Tuning the AI for a Flawless Finish
Now, as powerful as AI is, it isn't always 100% perfect right out of the gate. Sometimes, you need to make a small tweak to take the result from great to flawless. Most good AI editors know this and give you simple refinement tools to bridge that gap.
For example, you might spot a tiny fragment of the old background still clinging to the edge of your product. A simple "erase" brush lets you wipe that away in a second. Or, if the AI was a little too enthusiastic and clipped off a piece of your subject, a "restore" brush lets you paint it right back in.
This blend of automated speed and manual control is really the best of both worlds. You save countless hours on the initial heavy lifting but still have the final say to make those critical adjustments for a truly professional finish.
Pro Tip: Always zoom in and inspect the edges after the AI has done its thing. A quick scan and a few minor touch-ups can be the difference between a pretty good edit and a perfect one.
The explosive growth of these tools comes from a real market need. The demand for high-quality digital visuals has driven the development of AI-powered solutions that make background removal a breeze. With over 70% of Gen Z and Millennial users already using AI-enhanced photo editors, it's clear this tech is the new standard. If you want a deeper dive into how AI stacks up against manual design platforms, there are some great resources that offer comparisons of AI and manual tools for visual content creation.
AI tools are incredibly fast, but let's be real—when a project demands absolute perfection, nothing beats getting your hands dirty with manual editing.
For those really tricky subjects, like intricate jewelry, anything transparent, or a model with fine, flyaway hair, taking the reins yourself is the only way to guarantee every single pixel is exactly where it needs to be. This hands-on approach is how you get that truly professional, high-end result.
Manual editing in software like Adobe Photoshop isn't about using one magic tool. It’s about knowing which tool to grab for the specific part of the image you’re working on. That’s what separates a decent cutout from a seamless one.
Mastering Hard Edges with the Pen Tool
When you’re working with a product that has clean, crisp, and well-defined edges—think of a smartphone, a book, or a ceramic vase—the Pen Tool is your absolute best friend.
This tool lets you create a vector path by dropping anchor points along the object's outline. It gives you a level of control you just can't get anywhere else, especially for creating those razor-sharp lines.
It might look a little intimidating if you're new to it, but the process is pretty straightforward once you get the feel. You just click to create points around your subject, and you end up with a precise selection that hugs its contours perfectly. The result is an incredibly clean edge that automated tools often struggle with, especially on geometric shapes.
Handling Soft and Complex Edges with Layer Masks
But what about the tricky stuff? Things without hard edges, like a fuzzy sweater, pet fur, or those soft, out-of-focus areas in a photo.
This is where Layer Masks and Photoshop's "Select and Mask" workspace really come into their own. A layer mask is basically a stencil for your image layer. You can paint on it with black to hide parts of the layer and with white to bring them back. It’s non-destructive, which is a huge plus.
This technique is essential for creating natural-looking transitions. For instance, if you're editing a portrait, you can use a soft-edged brush on the layer mask to meticulously paint around individual strands of hair. This preserves all those fine details that prevent the final image from looking like a cheap sticker slapped on a white background.
Key Takeaway: The real secret to professional manual editing isn't about mastering just one tool. It's knowing when to use the Pen Tool for sharp lines and when to switch to Layer Masks and soft brushes for more organic, detailed edges.
A Practical Workflow Example
Let’s say you’re editing a photo of a high-end leather handbag that has a shiny metal buckle. Here’s how you could tackle it by combining techniques for a perfect cutout:
- Tackle Hard Surfaces First: I'd start with the Pen Tool. I’d trace a precise path around the main body of the handbag and its metal buckle. These parts have defined edges that need to be perfectly clean.
- Move to Softer Selections: Next, I’d switch to something like the Quick Selection Tool to get a rough outline of the softer parts, like the fabric strap or any decorative tassels. It doesn't have to be perfect at this stage.
- Refine with Layer Masks: Now for the detail work. I'd convert that selection into a Layer Mask. Then, I’d zoom way in and use a small, soft brush to carefully refine the edges of the strap and tassels. This ensures their texture looks natural and doesn’t have a harsh, "cut-out" feel against the new white background.
This kind of hybrid approach plays to the strengths of different tools within the same project. It’s this meticulous attention to detail that elevates an image and makes the time spent on manual editing totally worth it. It gives you complete control over how to change a photo background to white for the best possible outcome.
Solving Common Background Removal Problems
Even with the best tools, you’ll inevitably hit a snag when you change a photo background to white. It happens to everyone.
Maybe your subject’s edges look jagged and unnatural, or a stubborn color cast from the old background is making your product look off. Don’t worry—these common issues have pretty straightforward fixes, and I've run into all of them over the years.
One of the most frequent headaches is dealing with low-contrast subjects. Imagine a white ceramic vase shot against a light gray wall. Automated tools can get confused, struggling to tell where the product ends and the background begins. In these tricky cases, manual selection tools become your best friend. You’ll need to patiently trace the object to give the software a clear path to follow.
Taming Jagged Edges and Halos
After removing a background, have you ever noticed a faint, fuzzy outline or "halo" around your subject? It's a dead giveaway that the image has been edited and instantly makes the whole thing look amateurish. This is usually just leftover pixel data from the original background.
The fix is to refine your selection’s edge. Most advanced editing software has a "Refine Edge" or "Select and Mask" feature that lets you smooth out the transition. I usually find that contracting the selection inward by a pixel or two is enough to eliminate that ugly fringe.
A soft, low-opacity brush on a layer mask is also a powerful tool for this. Gently painting along the problematic edges can blend them seamlessly into the new white background, creating a much more natural result.
Preserving Fine Details Like Hair and Fur
Nothing tests your editing skills quite like fine hair, fur, or the sheer fabric of a wedding veil. These details are notoriously difficult to isolate.
While AI tools have gotten much better at this, a perfect result often requires a bit of manual intervention. The key is to avoid making a hard, solid selection. Instead, you need to lean on tools designed specifically for these complex edges.
For example, Photoshop’s "Select and Mask" workspace has brushes, like the Refine Edge Brush Tool, that can intelligently select wispy hairs while ignoring the background between them. This preserves the delicate, natural texture that makes the final image believable.
For particularly tough jobs, some brands turn to specialized product photo editing services to handle these intricate details professionally. It can save a ton of time and frustration.
Choosing the Right File Format
Once your edit looks perfect, saving it correctly is the final, crucial step to preserve all that hard work. The file format you choose impacts everything from transparency support to file size, which in turn affects your website's loading speed.
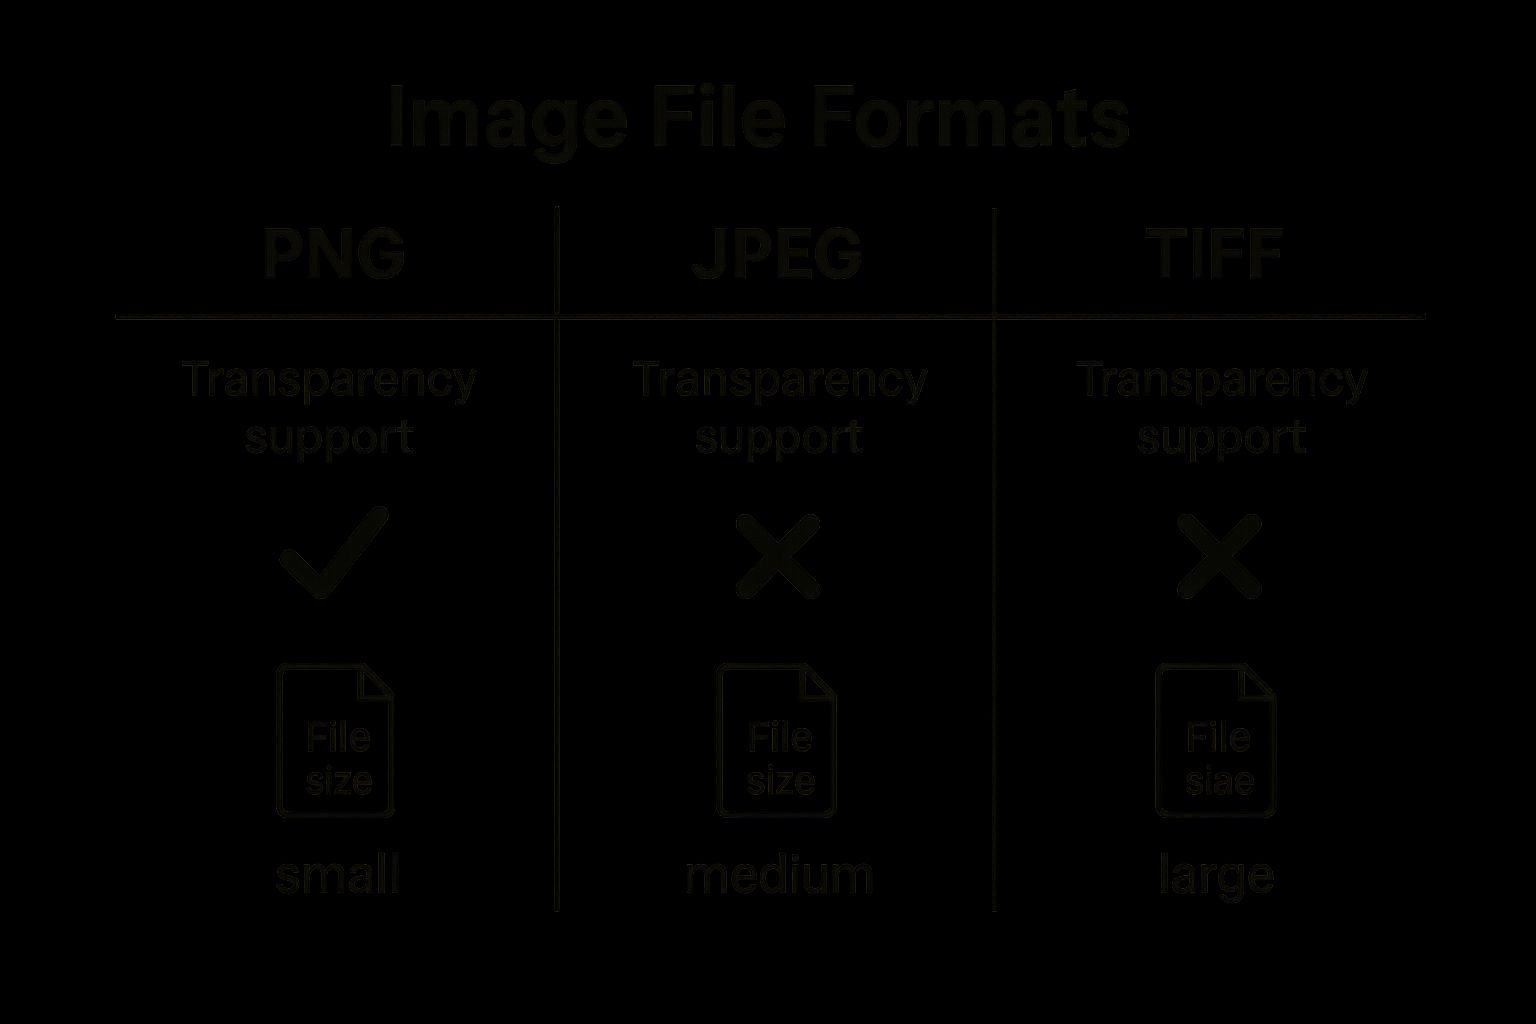
For web use, JPEG is often the go-to for its small file size. But if you need a transparent background for layering on different colored backgrounds later, PNG is essential.
If you've tried everything and still can't get the professional result you need, exploring some of the top graphic design freelance websites can connect you with an expert for those really complex tasks.
Pro Tips for a Flawless Natural Look
Getting the background out is one thing, but making your product look like it actually belongs on that clean, white surface? That’s where the real magic happens.
Without those crucial finishing touches, even the most precise cutout can feel flat and artificial. It’s the difference between a product that looks pasted on and one that looks like it was shot in a professional studio.
The secret usually boils down to two things that pros obsess over: shadows and color. These are the subtle cues that convince our eyes that an image is real. Nail these, and you've elevated your work from amateur to expert.
Ground Your Subject with Realistic Shadows
One of the dead giveaways of a sloppy background removal is a "floating" product. An object with no shadow feels weightless and disconnected, like a sticker just slapped onto the page. The fix is surprisingly simple: add a subtle drop shadow to ground your subject.
Here’s how to make it look natural:
- Keep it soft and diffused. Hard, dark shadows scream "fake." You're aiming for a gentle gradient that hints at the product resting on a surface.
- Think about the light source. Where is the light hitting your product? The shadow should fall on the opposite side to keep things looking real.
- Turn down the opacity. A real shadow is rarely pure black. Start with a low opacity—think 15-25%—and tweak it until it feels just right.
This one step alone can radically improve your final image, making it far more believable.
Key Insight: A good shadow doesn't draw attention to itself. Its only job is to add a quiet sense of place and dimension, making the whole picture feel more authentic.
Correcting Unwanted Color Casts
Another tell-tale sign of a background swap is a lingering color cast. If your product was originally shot on a green screen or next to a vibrant red wall, you can bet some of that color has bounced onto its edges. That leftover tint clashes badly with a crisp white background and shatters the illusion.
Zoom in and look closely at the edges of your subject. You’re looking for faint colored halos. Most editing tools have what you need to fix this—look for a "Sponge" tool set to "Desaturate" or play with hue/saturation adjustment layers. Gently dabbing along the affected edges will neutralize the unwanted color and help your product blend in seamlessly.
For anyone handling a high volume of images, this kind of meticulous work is why many turn to specialized photo editing services for ecommerce to guarantee every shot is color-perfect.
Of course, AI has made these refining steps much faster. A recent study found that 80% of businesses using AI for background removal cut their editing time by an average of 60% compared to doing it all by hand. That efficiency frees up more time for the crucial details—like shadows and color—that truly make an image pop. You can dig into more data on how AI is revolutionizing photo editing on superagi.com.
Alright, let's get into the nitty-gritty. When you're trying to nail that perfect white background, a few questions always seem to surface. It doesn't matter if you've been doing this for years or are just starting out; getting straight answers can save you a world of headache.
So, let's tackle a few of the most common ones I hear.
Can I Actually Do This on My Phone?
Yes, you absolutely can. And honestly, the results can be shockingly good.
Mobile apps like PhotoRoom and Pixelcut have become incredibly powerful. Their AI can find your product, snip it out, and drop in a clean white background in seconds. Even some of the newer smartphones have this kind of magic baked right into their native photo editors.
Now, will they give you the same pixel-perfect control as a desktop powerhouse for a super tricky photo with lots of hair or transparent details? Probably not. But for quick product shots, social media posts, or just cleaning up a personal photo, they are unbelievably fast and effective.
What’s the Best File Format to Save As?
This is a great question, and the answer really boils down to one thing: what are you using the image for?
For almost anything on the web—your e-commerce store, a blog post, an email—a JPEG is your best bet. It’s the workhorse of the internet for a reason. JPEGs give you a fantastic blend of solid quality and small file size, which is crucial for keeping your website loading quickly.
But, if you need that background to be transparent so you can layer the image on top of other things, PNG is the only way to go. It's also the better choice if your image has sharp, clean lines or text, as it won't create the fuzzy artifacts you sometimes see with JPEGs.
How Do I Stop It From Looking So Fake?
Making a new white background look natural is all about the little things. If you just cut something out and paste it on white, it’ll look like a sticker.
First, look at the edges of your subject. You don't want them to be razor-sharp. Use a feathering or edge refinement tool to soften them just a tiny bit. This mimics how a real camera lens works.
The real game-changer, though, is adding a shadow. A soft, subtle drop shadow underneath your product grounds it to the surface. It gives the image depth and makes it feel like it's actually sitting there, not just floating in a white void.
Finally, do a quick color check. Did your product pick up any weird color reflections from the old background? If so, you might need to do a quick color correction to neutralize it and make it look right at home on the new white backdrop.
The big debate always comes down to AI versus manual editing. But the truth is, the best workflow usually isn't one or the other—it's both.
There’s no single "better" way; it all depends on the job. AI tools are built for speed. If you have hundreds of photos to process or just need something done fast, they are an absolute lifesaver. On the other hand, manual tools like Adobe Photoshop give you ultimate control, which is non-negotiable for high-end commercial work where every single pixel counts.
A lot of pros I know use a hybrid approach: let the AI do the heavy lifting to get a solid first draft, then jump in with manual tools to add the final polish.
Ready to see what AI can do for your product photos? With ProdShot, you can get professional, studio-quality images with a perfect white background in just a few seconds. Try ProdShot for free and watch the transformation happen.