
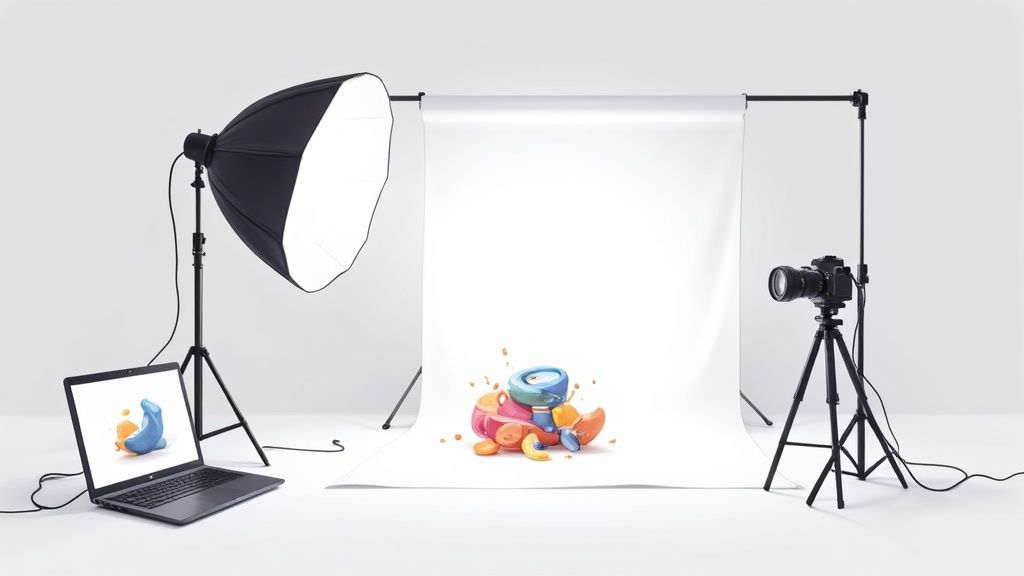
There are really only two ways to get that clean, white background look for your product photos. You can either shoot your products against a white surface from the get-go, or you can use software to strip out the original background and pop in a pure white one later. Thanks to modern AI tools, that second option is now ridiculously fast, giving you pro-level results with just a few clicks.
Why a White Background Is Essential for Your Photos
Before we jump into the "how-to," let's talk about the why. A clean white background isn't just a random stylistic choice—it's the industry standard for a reason. Think of it as a strategic move that directly shapes how customers see your products and your brand.
A white background is basically a blank canvas. It makes sure nothing is competing with your product for the spotlight.
This simple trick creates a clean, consistent, and professional vibe across your entire product catalog, whether it's on your own website or a social media feed. It builds a subtle sense of trust and reliability, telling shoppers that you’re a serious seller. If you're selling anything online, this isn't just a "nice-to-have"—it's often a flat-out requirement.
The Impact on Customer Perception
The preference for white backgrounds is all about marketing psychology. When someone is shopping online, they’re relying entirely on your photos to judge a product’s quality, color, and texture. A neutral white surface guarantees that colors look true-to-life, without any weird tints from a colored backdrop.
Getting the color right is huge for managing customer expectations and, more importantly, cutting down on returns. You can actually find some great insights on color accuracy over at Squareshot.com. This visual consistency is a game-changer for a few key reasons:
- No More Distractions: A simple background keeps the customer’s eyes locked on your product’s details, from its texture to its design.
- Builds Professional Trust: Seeing a uniform look across all your listings makes your store feel credible and well-managed. It just looks professional.
- Meets Marketplace Standards: Big players like Amazon, eBay, and Google Shopping actually require product photos to have a pure white background. They do it to create a seamless shopping experience for everyone.
At the end of the day, a white background isn't just about making things look pretty. It's a fundamental tool for clear communication in e-commerce. It silently answers a customer's questions about what the product really looks like, helping them feel confident enough to click "buy."
Getting It Right Before You Click the Shutter
The secret to a simple edit is getting a great shot in the first place. Honestly, learning how to make a white background for pictures is a whole lot easier when you set yourself up for success before you even pick up the camera. You don’t need a fancy studio; just a few smart choices can save you hours of frustration later.
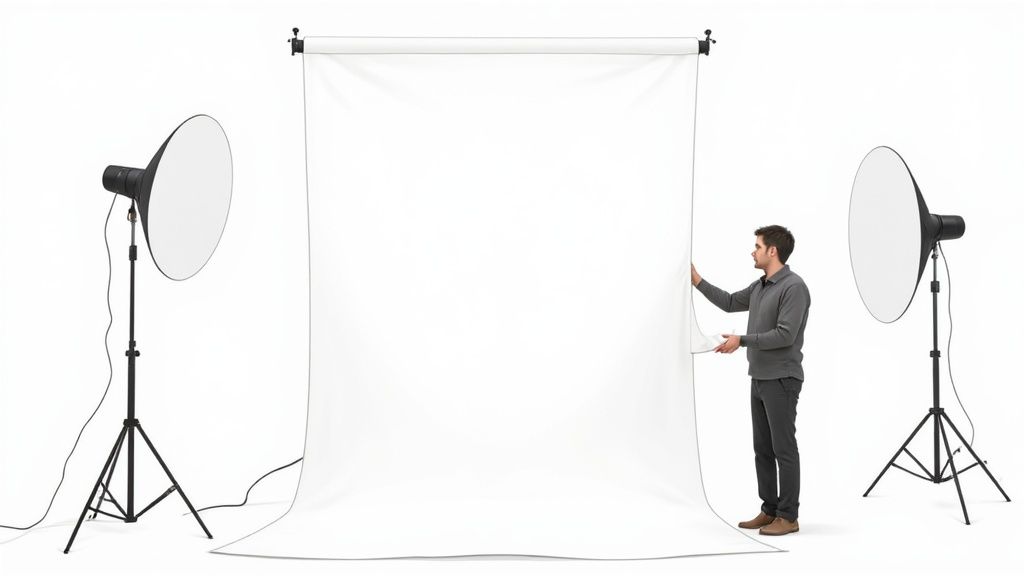
Your backdrop is the first piece of the puzzle. For smaller items, a simple white poster board from a craft store does the trick beautifully. If you’re shooting something bigger, like clothing or furniture, a seamless paper roll is a fantastic investment. It gives you that clean, sweeping background without any distracting corners or creases. Just make sure it's completely clean—dust and smudges are way harder to edit out than you might think.
Mastering Your Lighting and Setup
Lighting is what separates an amateur shot from one that looks professional. But you don't need a bunch of expensive gear to nail it.
Placing your product near a large window on a cloudy day gives you gorgeous, soft, natural light for free. To get rid of harsh shadows, just grab a white foam board. Prop it up opposite your window to bounce light back onto the product, filling in any dark spots. It’s a simple trick, but it works wonders.
This diagram shows a basic but incredibly effective two-light setup you can easily replicate.
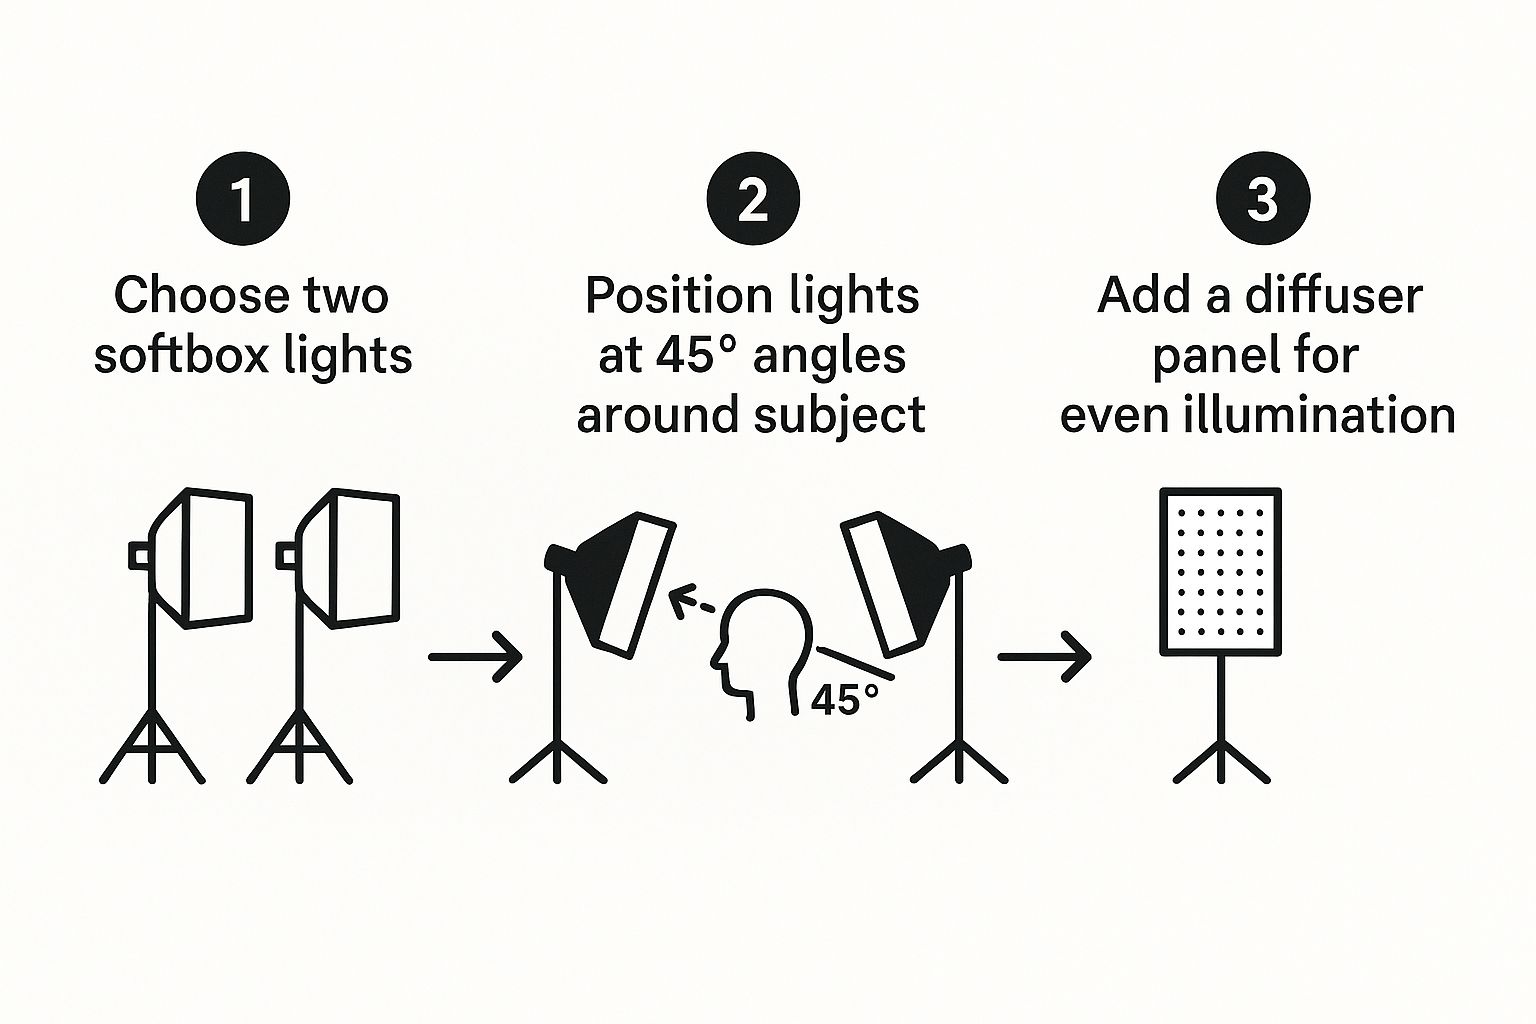
The main idea here is that angling your lights diffuses the illumination evenly. This is how you avoid those stark, distracting shadows that make removing a background a total nightmare.
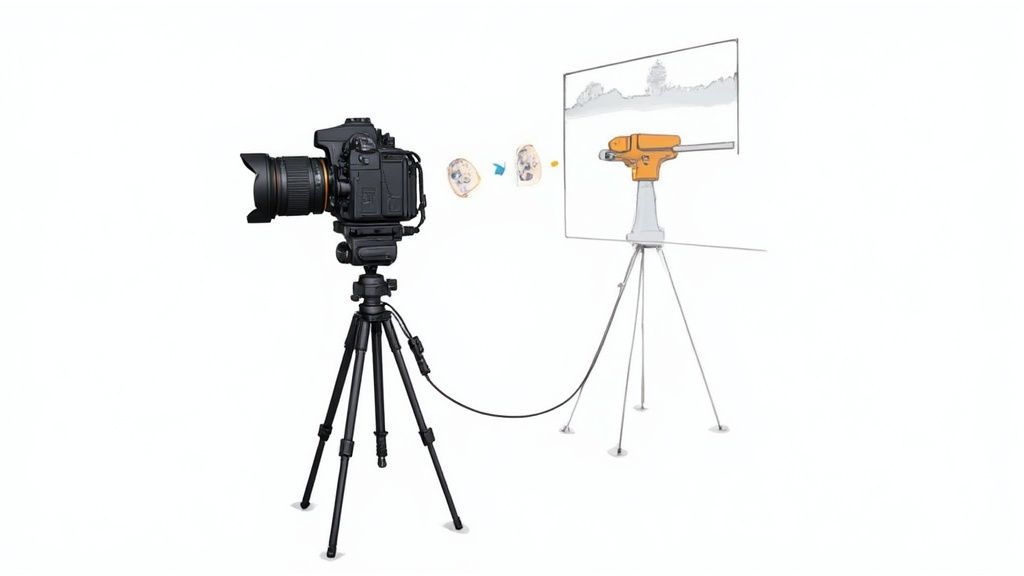
Finally, a quick word on camera settings. Whether you're using a DSLR or just your smartphone, always tap to focus directly on your product to make sure it's tack sharp. Play with the exposure to get a bright image, but be careful not to "blow out" the highlights—that’s when bright areas turn pure white and you lose all the important product details.
Pro Tip: Always shoot in your camera's highest possible resolution. This gives you way more pixel data to work with, making any edits—whether you’re doing it by hand or using an AI tool like ProdShot—cleaner and more precise. Starting with a high-quality file is non-negotiable for a polished final image.
DIY vs Professional Photography Setup Comparison
Deciding between a home setup and a professional studio often comes down to budget and needs. A DIY approach is incredibly cost-effective and perfect for getting started, while a professional studio offers high-end equipment for ultimate control.
| Feature | DIY Setup | Professional Studio |
|---|---|---|
| Initial Cost | $20 – $100 (poster board, foam core, clips) | $1,000 – $5,000+ (lights, stands, backdrops, camera) |
| Lighting | Natural light (window) or basic lamps | Studio strobes, softboxes, and modifiers |
| Backdrop | Poster board, seamless paper roll | Professional-grade cyclorama wall or paper rolls |
| Best For | Small businesses, startups, budget-conscious sellers | High-volume sellers, established brands, complex products |
| Control | Limited; dependent on natural conditions | Full control over every aspect of lighting and environment |
Ultimately, a well-executed DIY setup can produce fantastic results that compete with professional shots, especially when you start with a great photo and use modern tools to perfect it.
Mastering Manual Background Removal in Editing Software
For those of us who want absolute, pixel-perfect control, there's no substitute for manual background removal in software like Adobe Photoshop or GIMP. This isn't the fastest route—not by a long shot. It's about precision. It's about getting a flawless cutout that automated tools might fumble, especially with tricky products.
Unlike a one-click tool, manual editing puts you in complete control. You're the one deciding exactly where the product’s edge is, which is mission-critical for items with fine details, fuzzy textures, or transparent elements. It’s a hands-on process, but it guarantees the final image is exactly how you envisioned it.
Choosing Your Manual Editing Tools
The right tool for the job really depends on the product you’re editing. Not all selection tools are created equal, and picking the correct one will save you a ton of frustration and deliver a much cleaner result.
A classic mistake is trying to use one tool for everything. If you're working with a product that has sharp, geometric lines—like a book or a smartphone—the Pen Tool is your best friend. It lets you create crisp, vector-based paths for a perfectly clean edge. But if you have an object with a uniform color against a simple background, the Magic Wand Tool can knock out large areas in a flash.
Here’s a quick breakdown to help you decide:
- Pen Tool: Your go-to for hard-edged products that demand perfect curves and straight lines. Think electronics, boxes, or modern furniture.
- Magic Wand Tool: Works wonders for images with high contrast between the subject and background, like a dark bottle shot against a plain white wall.
- Lasso Tool: Great for making a quick, rough selection that you can then dial in with more precise tools.
My number one tip? Always work non-destructively with layer masks. Instead of permanently erasing the background, a layer mask lets you simply hide or reveal parts of your image. If you slip up and remove too much, you can just paint the background right back in without having to start over. It's a lifesaver.
While these manual techniques give you incredible precision, they are definitely time-consuming. For sellers who need to be efficient, a dedicated Shopify photo editor can strike a great balance between quality and speed, taking care of the detailed work for you.
Still, mastering the manual skills is worth it. It gives you a much deeper understanding of what makes a product photo truly pop off the page.
Using AI for Instant White Backgrounds
Look, manual editing has its place. For that one-in-a-million hero shot, the precision is worth the effort. But when you’re managing a whole catalog of products, spending hours tracing edges in Photoshop just isn't practical. This is where AI completely flips the script, offering a much faster, simpler path to that perfect white background.
These new tools handle all the heavy lifting. Instead of messing with pen tools and layer masks, you just upload your image. The AI instantly figures out what’s product and what’s background, creating a clean cutout in seconds. It’s essentially a one-click solution that opens up professional-looking results to everyone, no design skills needed.
The photography industry itself, valued at a massive $105.2 billion in 2023, is shifting toward more accessible tech. This trend makes perfect sense. As smartphone cameras get better and AI gets smarter, creating clean, e-commerce-ready photos is no longer a job reserved for the pros.
The Simple AI Workflow
The best part about using an AI tool is how straightforward it is. There’s no steep learning curve or clunky software to install. The process is dead simple.
- Upload Your Image: Just drag and drop your product photo right into the tool.
- Let the AI Work: In a few seconds, the algorithm analyzes the image, isolates your product, and removes the original background.
- Add a White Background: With a single click, you can pop in a pure white (#FFFFFF) backdrop that meets the requirements for any major e-commerce platform.
This automated workflow is a huge time-saver. We built our own AI product photo generator to do exactly this—crank out scroll-stopping visuals without any of the manual grunt work. It’s perfect for getting consistent imagery across your entire store, fast.
Key Takeaway: The real win here is speed and accessibility. A task that could easily take 15-30 minutes of careful manual editing is now done in under 30 seconds. This lets sellers get their product listings updated and live faster than ever before.
Beyond Just Removing the Background
But modern AI doesn't stop at just cutting out the object. The best tools are smart enough to add subtle, realistic details that make the final shot look natural instead of fake. One of the biggest giveaways of a basic cutout is that the product looks like it’s just floating awkwardly in a white void.
This is where features like AI-powered shadow generation come in. These tools analyze the lighting from your original photo and create a soft, natural-looking shadow beneath your product, grounding it in the scene. It’s a small detail, but it makes a massive difference in how professional the final image feels. For more complex jobs, a whole suite of AI photo editing tools can help you tackle background tweaks and other finishing touches.
Refining Your Image and Avoiding Common Pitfalls
Getting the background out of the way is a huge first step, but the real magic happens when you start refining the image. This is where you take a basic cutout and turn it into a believable, professional product shot. The last thing you want is that dreaded "pasted on" look that just screams amateur.
One of the biggest giveaways of a shoddy edit is a missing shadow. Without one, products look like they’re just floating awkwardly in space. Adding a subtle, soft drop shadow is what grounds your item, giving it a sense of weight and making it feel like it’s actually sitting on a surface.
It's a small detail, but it makes a world of difference in how customers perceive your product's quality and your brand's trustworthiness. So many people skip this final touch, but it’s absolutely essential for a polished, professional finish.
Fixing Imperfections for a Flawless Finish
Once the background is gone, it's time to zoom in and get picky. Even the best AI tools can leave behind tiny imperfections, and it’s your job to hunt them down.
Keep an eye out for these common issues:
- Gray Halos: You might see a faint, dark outline around your product. This makes the cutout look fuzzy and unnatural.
- Jagged Edges: Look for rough or pixelated lines, especially on curved surfaces. These need to be smoothed out to look crisp.
- Inconsistent Lighting: Sometimes, the lighting on your product just won't match the new, pure white background, creating an odd and distracting contrast.
These are the little details that separate good images from great ones. Fixing them ensures your product looks sharp, clean, and ready to sell. While you can make these adjustments manually, it can be a tedious process. This is where specialized product photo editing services can be a lifesaver, handling these refinements quickly to deliver pixel-perfect results without all the hassle.
A classic mistake is to overexpose your product just to get the background perfectly white in-camera. Don't do it. Always expose for the product first. You can easily clean up the background later without sacrificing the crucial details and textures of your item.
Achieving this level of polish is exactly why so many sellers turn to post-production. Let’s be real, traditional studio photography can be incredibly expensive—day rates often run from SGD 2000 to SGD 3000. For most small businesses, that's a huge barrier. Post-production editing gives you that same clean, consistent look for a tiny fraction of the cost.
Got Questions About White Backgrounds? Let's Clear Things Up.
Getting into product photography, you'll quickly run into a few common headaches, especially when you're trying to nail that perfect white background. Let's tackle some of the most frequent questions I hear so you can get those pro-level shots faster.
Why Does My White Background Look So… Gray?
This is, without a doubt, the number one issue everyone faces. It's totally normal, so don't panic. Your camera's light meter is a bit of a stickler for rules—it’s designed to see the world as a middle gray. When it looks at a big, bright white surface, it thinks, "Whoa, that's too bright!" and automatically darkens the exposure to compensate. The result? A dull, muddy gray background.
Whatever you do, don't try to fix this by cranking up the exposure in-camera. You'll blow out the highlights on your actual product, losing all that important detail. The best move is to expose for the product itself, making sure it looks great. You can easily brighten the background to a pure, crisp white in the editing stage.
Is It Even Possible to Get a Perfect White Background Without Editing?
Honestly? It's pretty much impossible, and it’s definitely not worth the herculean effort it would take. To get a pure digital white (RGB 255, 255, 255) straight from the camera, you’d need an insane amount of perfectly balanced, high-intensity light. By the time you got the background that bright, your poor product would be a completely washed-out, overexposed mess.
Take it from someone who's seen it all: every single professional product photo on major retail sites has been edited. Post-production isn't cheating or a sign of a bad photo—it's a fundamental, necessary step for creating clean, commercial-ready images that meet marketplace standards.
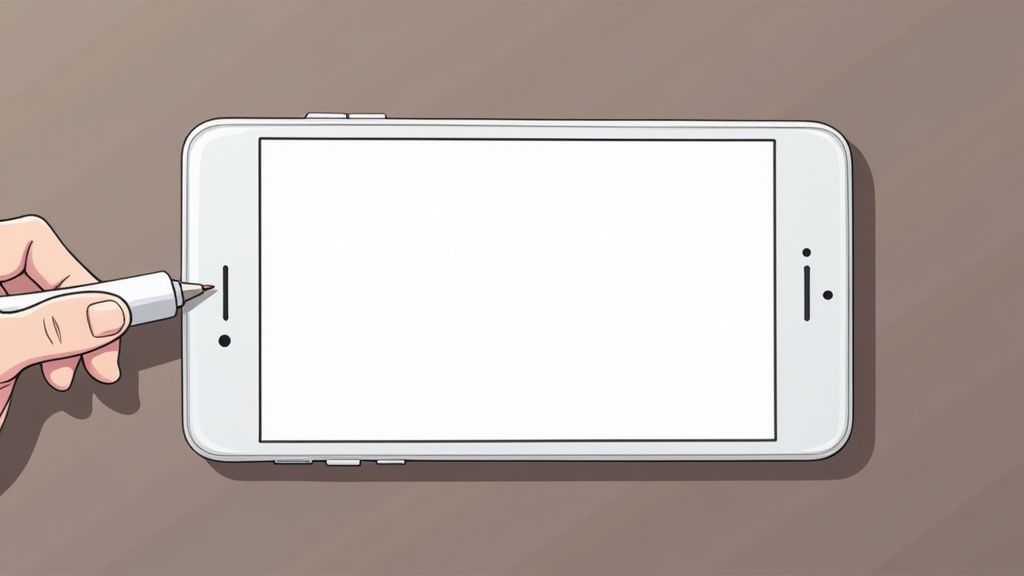
Do I Really Need a Fancy DSLR Camera for This?
Nope. Absolutely not. While a DSLR gives you more manual control, the cameras in modern smartphones are incredibly capable. If you have good lighting and a steady hand (a cheap tripod works wonders), your phone is more than powerful enough to capture stunning, high-quality images.
The gear isn't the secret sauce—the setup is. Focus on these three things:
- Good Lighting: Soft, diffused light is your best friend. It minimizes those harsh, distracting shadows.
- A Stable Surface: Grab a small phone tripod. It costs next to nothing and is the easiest way to prevent blurry shots.
- A Clean Backdrop: Start with the cleanest physical background you can. It just makes the editing process that much smoother.
At the end of the day, your lighting and your editing workflow will have a far greater impact on the final image than what camera you used. Your goal is simply to capture a sharp, well-lit photo of your product, and you can definitely achieve that with the phone in your pocket.
Ready to create stunning, professional product photos in seconds? ProdShot uses AI to instantly remove backgrounds, add perfect lighting, and generate scroll-stopping images that drive sales. Try it for free and see the difference.