

Think of your Amazon product photography as your digital storefront. It’s the very first thing a shopper sees and, frankly, the most important handshake you'll ever make with a potential customer. Good images don't just show off your product; they build instant trust, answer questions before they're even asked, and spark that "I need this" feeling long before anyone reads your bullet points.
Why Great Images Are a Seller's Strongest Asset
On Amazon's crowded digital shelves, your images are doing the heavy lifting. Since customers can't pick up, feel, or test your product, your photos have to close that sensory gap. They need to scream quality, highlight features, and show value in a split second.
Let's be real: blurry, poorly lit, or just plain boring photos make buyers hesitate. It signals a lack of care and can make them question the quality of the product itself.
On the flip side, crisp, professional-looking images create an immediate sense of credibility. They help a shopper see the product in their own life, answering those silent questions like, "How big is it, really?" or "What's that texture like up close?" A powerful set of visuals is what separates you from the noise and often becomes the tipping point for a sale.
The Psychology Behind a Purchase
Every single image on your listing has a job to do. Lifestyle shots help customers imagine the benefits of owning your product. Infographics break down key features at a glance. Detailed close-ups highlight the craftsmanship that makes your item superior. Together, they weave a compelling story.
To really get this right, it helps to understand the fundamental principles of visual design. Things like contrast, balance, and hierarchy are what separate a quick phone snap from a professional photo that drives conversions. You don't need a degree in design, but knowing why certain visuals work gives you a massive leg up.
Data-Driven Impact on Sales
The link between image quality and sales isn't just a gut feeling; the numbers back it up. A wild 94% of Amazon listings with high-quality images get more views. Not only that, but 67% of shoppers say image quality is 'very important' to their buying decision.
Even better, professional photography can boost your conversion rates by up to 30% compared to amateur shots. That's a direct hit to your bottom line.
Your Amazon product photography isn't an expense; it's a critical investment in your brand's trust and your product's perceived value. It works 24/7 to convince, clarify, and convert.
Building Your DIY Product Photography Setup
You absolutely do not need a massive studio budget to create professional-grade Amazon product photography. I've seen countless sellers build incredibly effective DIY setups right from home with just a few key pieces of equipment. This isn't about cutting corners; it's about being smart and focusing on what actually moves the needle.
The good news? The best camera for the job is probably already in your pocket. Modern smartphones have ridiculously good cameras, often packing 12 megapixels or more, which is more than enough for those crisp, clear Amazon images. The real secret isn't the camera—it's controlling the environment around your product.
Think of it like a simple workflow. It all boils down to a few core components that work together.
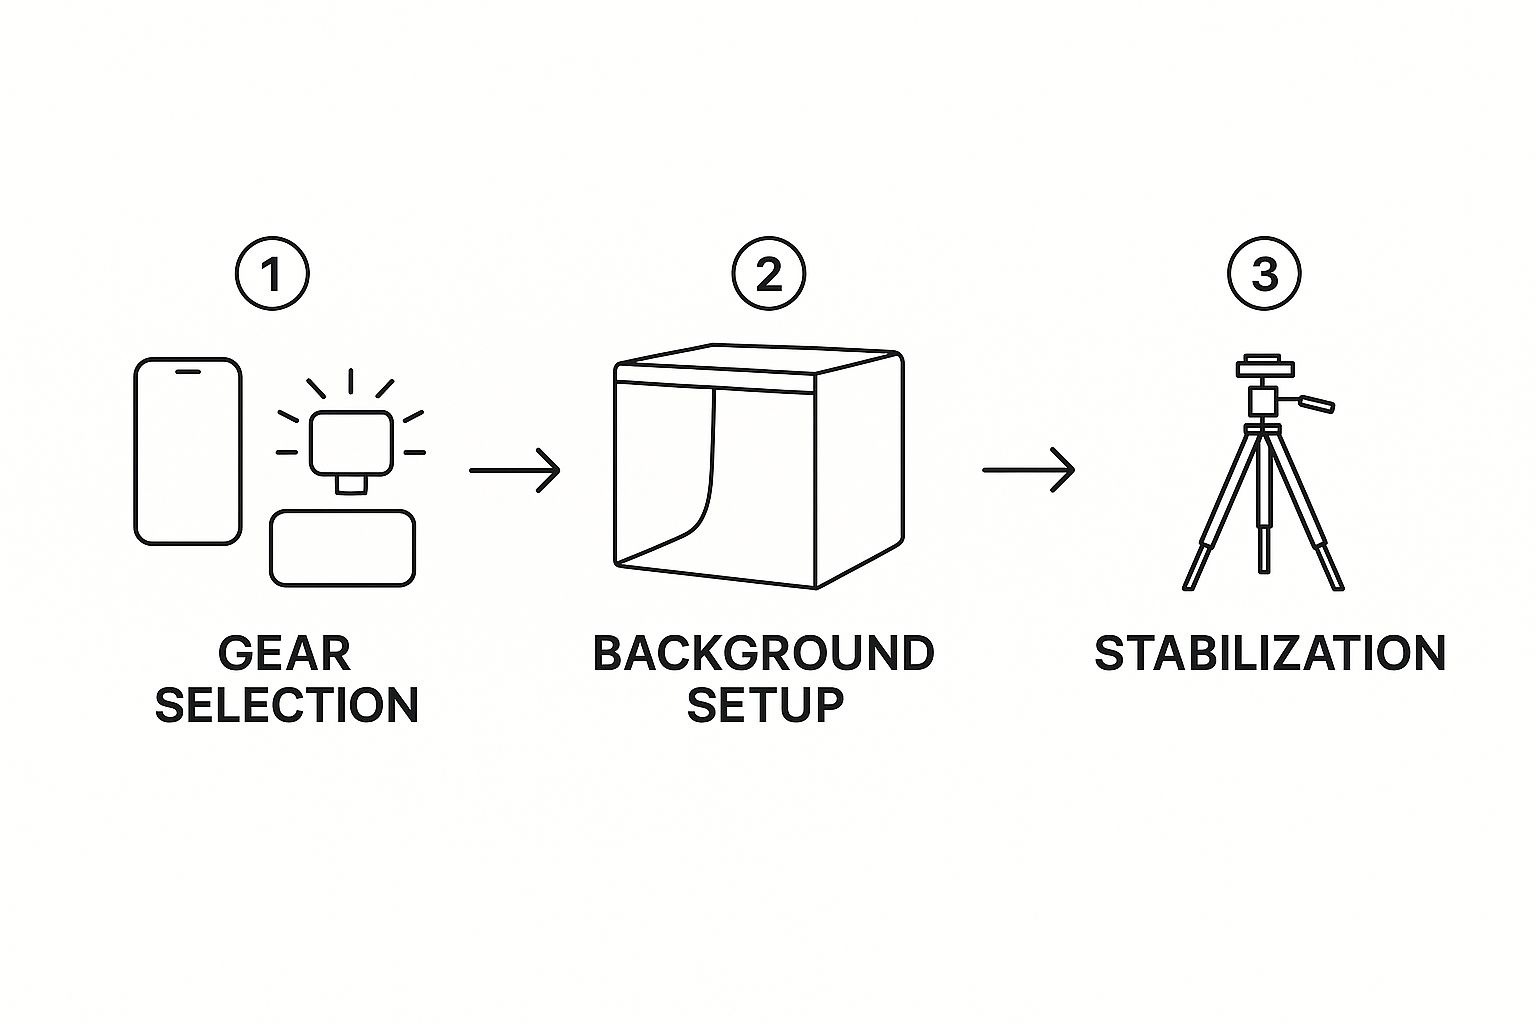
As you can see, getting great photos is about following a sequence of controlled steps, not just throwing money at expensive gear.
Essential Gear for Your Home Studio
Let’s get down to the basics you'll need. These are the foundational tools that will make a massive difference in your photo quality and consistency.
Here's your essential equipment list:
- A Solid Tripod: This is completely non-negotiable. A sturdy tripod is your best friend for eliminating camera shake, guaranteeing every image is tack-sharp. Even the slightest blur can scream "amateur." Just make sure you get one with a smartphone mount.
- Affordable LED Lighting: Forget trying to time your photos with the sunlight from a window—it's way too unpredictable. A couple of small, adjustable LED panels will give you bright, even light that you have total control over. This consistency is what makes all the photos across your listing look cohesive and professional.
- Light Diffusers: Harsh light creates ugly, distracting shadows that hide your product's best features. Light diffusers, which can be as simple as a white sheet or a dedicated softbox, scatter the light from your LEDs. The result is a soft, flattering glow that wraps around your product, highlighting all the important details without any harshness.
Creating the Perfect White Background
Amazon is famous for its main image requirement: a pure white background (RGB 255, 255, 255). It's not just a rule; it's smart. It makes products pop and keeps the entire marketplace looking clean and uniform. Thankfully, achieving this is easier than you might think.
A portable lightbox is a fantastic all-in-one solution, especially for smaller items. These are basically small, foldable tents with built-in LEDs and a seamless white interior. You just pop your product inside and get perfectly diffused light on a clean backdrop. They're affordable and incredibly convenient.
If you're shooting larger products, a white paper sweep is the way to go. You just get a large roll of seamless white paper, tape one end to a wall, and let it curve down onto a table or the floor. This creates a beautiful "infinity" background with no distracting corners or edges in sight.
Key Takeaway: A controlled setup—even a simple one—is more important than an expensive camera. Stability from a tripod and consistent, diffused light are the two factors that will most dramatically improve your Amazon product photography.
By putting these core components together, you’re not just taking a photo; you’re creating a repeatable process. This system ensures every single product you shoot has the same professional quality, which is crucial for building a trustworthy brand on Amazon.
You've got your DIY studio set up, and now comes the fun part: actually taking the photos that will make people click "Add to Cart." This is where we shift from preparation to action, focusing on the specific shots that build trust and make your product irresistible. Forget the technical jargon—just a couple of simple tweaks to your camera settings can make a world of difference.
Think of your Amazon listing as a silent salesperson. Each image has a job to do, and that job is to answer a customer's unspoken questions. Your mission is to anticipate every question and provide a clear, compelling visual answer before they even think to ask.
The Only Two Camera Settings You Really Need
You don't need a photography degree to get this right. Even most smartphone "pro" modes have these settings, and they're the key to getting sharp, professional-looking shots every single time.
- Aperture (f-stop): Dial this up to a higher number, something like f/8 or f/11. This creates a deep "depth of field," which is just a fancy way of saying your entire product will be in crisp focus from front to back. No blurry edges.
- ISO: Keep this as low as you can go, usually ISO 100 or 200. A low ISO is your secret weapon against grainy, noisy photos. It keeps everything looking clean and high-quality.
Get these two settings right, pop your camera on a tripod, and you’ve laid the groundwork for a killer photoshoot.
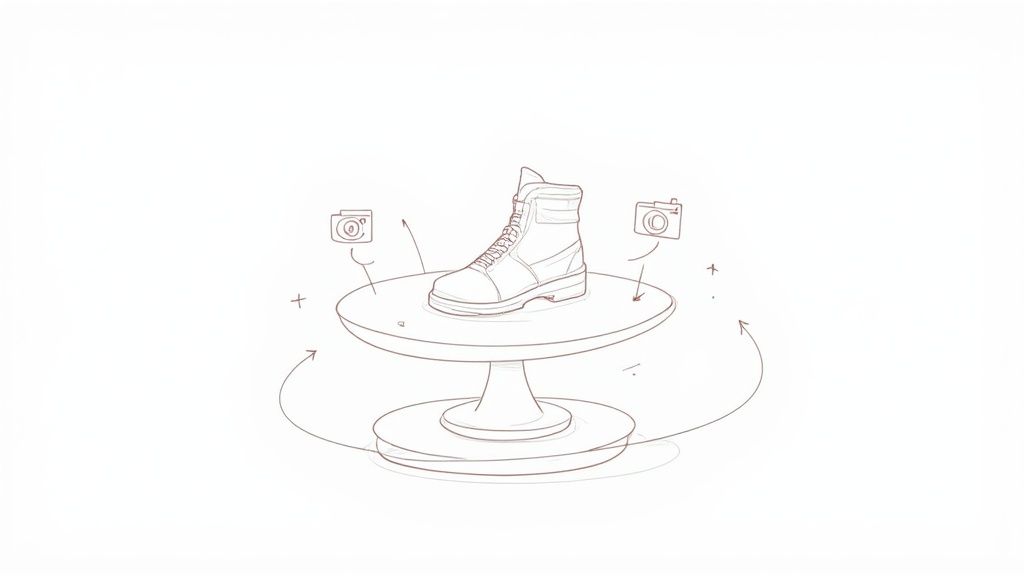
Your Essential Amazon Shot List
A great Amazon listing tells a complete story with pictures. It’s about more than just a single "hero" image. You need to create a full gallery that shows off every angle and feature, leaving absolutely nothing to the customer's imagination.
Of course, after the photoshoot, you'll need a way to polish these images. That's where editing software comes in.
Powerful tools like Adobe Photoshop give you the control you need to perfect every shot and build out the kind of diverse image gallery that really performs on Amazon.
Your shot list should always include these five core photo types:
- The Main Hero Image: This is your star player. It has to be a flawless, full-view shot of your product on a pure white background. The product itself must fill at least 85% of the frame.
- Detailed Close-Ups: Get in close. Show off the texture of the fabric, the quality of the stitching, or the finish on a metal part. These shots scream quality and justify your price.
- Lifestyle Photos: Put your product in the real world. Show someone using it and loving it. This helps shoppers picture it in their own lives and makes the benefits feel real and personal.
- Infographics and Callouts: Don't just show—tell. Overlay text and graphics on an image to point out specific dimensions, key features, or major benefits. This is a super-effective way to communicate value at a glance.
- Comparison and Scale Shots: This one is a return-reducer. Place your product next to a universally recognized object, like a phone or a coffee mug. It gives an immediate, undeniable sense of its true size, preventing the dreaded "it's smaller than I thought" review.
Never forget that your images are the single biggest driver of online sales, often outweighing price or even reviews. Strong Amazon product photography is a universal language that sells your product around the clock. You can find more insights on how powerful visuals translate across international markets and cultures.
Editing and Retouching With AI Photo Tools
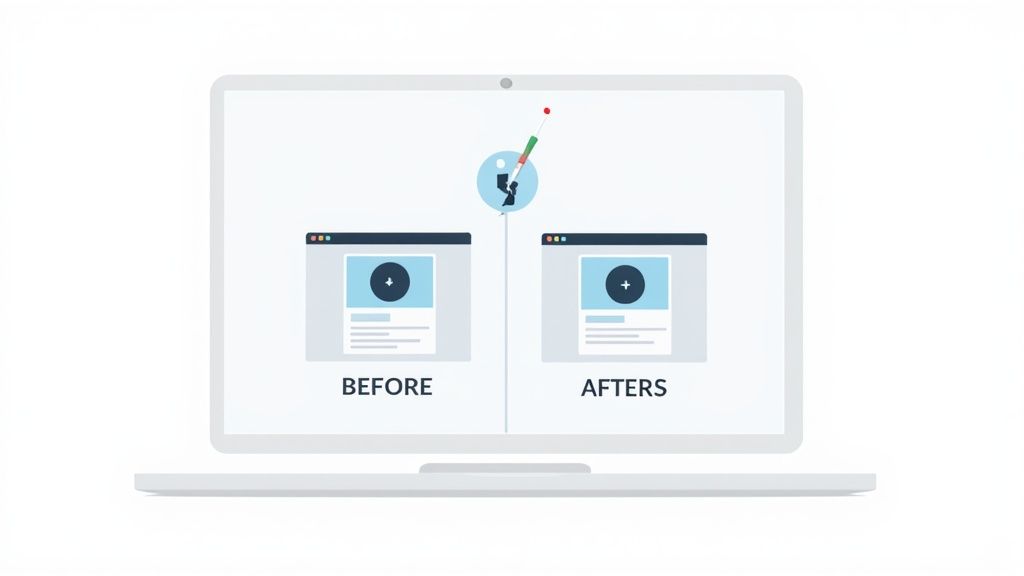
The magic behind incredible Amazon product photography often happens long after the shutter clicks. Post-production is where good photos become great, and frankly, it's where most of the heavy lifting used to be. But you don't need to spend years mastering complex software to get that polished, professional look anymore.
AI-powered photo editing tools have completely changed the game. They automate the tedious, time-consuming tasks that once required hours of painstaking manual work. Now, you can get a clean, consistent, and conversion-ready look with just a few clicks. This is all about working smarter, not harder, to get your images ready for Amazon's demanding marketplace.
Mastering the Perfect White Background With AI
Amazon's #1 rule for the main image is non-negotiable: your product must be on a pure white background (RGB 255, 255, 255). Even if you have a perfect DIY light box, getting that pure white straight out of the camera is nearly impossible. This is where AI becomes your most valuable assistant.
Modern editing tools use sophisticated algorithms to instantly find your product and slice it away from the background. The process is so much more precise than trying to trace it by hand with a mouse, which always leads to fuzzy edges or awkward cutouts. The result? A crisp, floating product that looks like it was shot in a high-end studio.
The benefits of using AI for this are huge:
- Speed: What used to take a skilled editor 15-20 minutes per image can now be done in a matter of seconds.
- Consistency: Every single main image will have the exact same pure white background, creating a clean, uniform look across your entire product catalog.
- Accuracy: AI is brilliant at handling tricky details, like the gaps between chair legs or wisps of fabric, ensuring a clean extraction every time.
By automating background removal, you free up a ton of time to focus on the things that actually grow your Amazon business, like marketing and customer service. It’s one of the highest-impact shortcuts you can take in your product photography workflow.
Flawless Color Correction and Retouching
Getting the color right is all about customer trust. If a customer orders a blue shirt that looked teal on their screen, you're just setting yourself up for a negative review and a return. AI tools make it simple to ensure your product's colors are true-to-life.
Many platforms offer "one-click" auto-enhancements that intelligently tweak brightness, contrast, and saturation. These features analyze the photo and apply balanced corrections, getting rid of any weird color casts from your lighting. This makes sure your product looks vibrant and accurate, no matter what device someone is shopping on.
Beyond color, AI is also a lifesaver for minor retouching. It can effortlessly zap away:
- Tiny specks of dust that landed on your product during the shoot.
- Minor scratches or scuffs on the product's surface.
- Unwanted reflections or glare from your lights.
These little fixes add up, creating a much more polished and professional final image. An AI product photo generator can often handle these adjustments automatically, ensuring every image is flawless before it ever goes live on your listing. By using these tools, you can produce high-quality visuals without the steep learning curve of traditional software, giving you the power to present your products in the best possible light, every single time.
You’ve done the hard work of capturing a great set of product photos. Now for the final, critical piece of the puzzle: getting them uploaded in a way that appeals to both real-life shoppers and Amazon's powerful A9 algorithm.
This isn't just about checking a few boxes. Think of it as preparing your images for their big debut on the world's biggest stage. Nailing this last mile is what separates a listing that just sits there from one that actually converts.
Getting the Technical Details Right
Before you even think about hitting "upload," a few technical specs need to be perfect. If you get these wrong, Amazon might reject your images outright or, worse, display them in a way that makes your product look awful.
Here’s the simple checklist I always follow:
- File Format: Stick with JPEG (.jpg). It’s the universal standard for a reason, giving you a fantastic balance between image quality and a small file size that won't slow down your page load time.
- Color Mode: Always, always use sRGB color mode. This is the web standard, ensuring your product colors look true-to-life on your customer’s screen. If you accidentally use CMYK (for print), you'll end up with bizarre, unpredictable color shifts that kill buyer confidence.
- File Size: Quality is king, but massive files are a performance killer. I aim to keep every image under 1MB. You can use a solid image resizer tool to bring the file size down without sacrificing noticeable quality.
Getting these settings right is the foundation of good Amazon product photography optimization. It ensures your images are compliant and, most importantly, load lightning-fast for impatient shoppers.
Don't Overlook the SEO Gold in File Names and Image Order
Beyond the tech specs, the way you name and arrange your photos can give you a sneaky but valuable SEO boost. Trust me, Amazon's algorithm reads everything—including your image file names.
So, instead of uploading a generic file like IMG_8472.jpg, give it a descriptive, keyword-rich name. For a speaker, that might look like waterproof-bluetooth-speaker-blue-front.jpg. This is a direct signal to Amazon about what your product is, reinforcing its relevance for that search term.
The order of your images is just as crucial for telling a compelling story. Your main image has one job: stop the scroll. But the photos that follow must answer questions and build trust. A sequence I've seen work time and again is: main hero shot, a few alternate angles, an infographic highlighting key features, a lifestyle photo showing it in action, and a shot that gives a sense of scale. Use every single image slot you're given.
Never forget that 65% of people are visual learners. They are hardwired to absorb information from images far more effectively than from text. Your goal is to anticipate every question a shopper might have and answer it with a picture before they even think to read a bullet point.
And while you're zeroing in on Amazon's rules, it's always smart to understand the bigger picture. Brushing up on the principles of general image optimization for SEO will only make your overall strategy stronger, ensuring your images are pulling their weight to drive both traffic and sales.
Common Product Photography Questions Answered
Even with a solid game plan, you're bound to run into questions once you start shooting. It happens to everyone. Let's tackle some of the most common hurdles sellers face with their Amazon product photography and give you some clear, practical answers to keep things moving.
Is My Smartphone Really Good Enough?
This is easily the question I hear most often. And the answer is a resounding yes. Modern smartphone cameras are absolute powerhouses, many boasting 12-megapixel sensors or even better. The real secret to great product shots isn't a bulky, expensive camera—it's having total control over your environment.
If you're shooting with your phone, just focus on these three things:
- A rock-solid tripod. This is non-negotiable. It completely eliminates blur from shaky hands.
- Great, diffused lighting. You want soft, even light that wraps around your product and kills harsh shadows.
- A quality editing app. This is where the magic happens post-shoot for color correction and wiping out the background.
Honestly, for most products, a recent smartphone can deliver images that are not only compliant with Amazon's rules but are virtually indistinguishable from shots taken on gear costing thousands more.
How Many Photos Should I Actually Upload?
Another point of confusion is the number of images. The short answer? Use every single slot Amazon gives you. That's usually between 7 and 9 images. Leaving any of those empty is like walking away from a sale. A full image gallery is your best tool for answering a customer's questions before they even have to ask, which builds a massive amount of trust.
Think of your image set as telling a complete story:
- The Hero Shot: Your absolute best photo on a pure white background. This is your first impression.
- Alternate Angles: Give them the full tour—show the back, sides, and top.
- The Infographic: Call out key features and benefits with text overlays and graphics.
- The Lifestyle Photo: Show your product in action, in a real-world setting. Help them picture it in their own lives.
- The Scale Shot: Put the product next to a common object (like a coin or a coffee mug) to give a clear sense of its actual size.
Taking this approach deals with potential buyer doubts head-on. The result? A serious boost in conversions and fewer returns down the line.
The most frequent mistakes I see are also the easiest to fix. Things like inconsistent lighting from one photo to the next, a cluttered or "almost-white" background on the main image, and blurry shots from trying to shoot handheld. Just remember: your photos have to be a crystal-clear, accurate picture of what the customer is getting. Anything less is asking for negative reviews.
Ultimately, the choice between DIY and hiring a pro comes down to a simple balance of your time versus your budget. To figure out what's right for you, it helps to get a clear picture of the cost of professional product photography and weigh that against the small investment in your own simple, effective home studio setup.
Ready to turn your basic product snapshots into Amazon images that actually sell? ProdShot uses AI to instantly create professional, studio-quality photos in seconds. Try ProdShot for free and elevate your listings today!