
Think of your Shopify product images as your digital storefront window. If the display is blurry, inconsistent, or takes forever to load, you’re basically telling potential customers to walk away before they even get a chance to look around. Getting your Shopify product image size right is one of the most powerful changes you can make to your store's performance.
Why Your Product Image Size Is a Big Deal
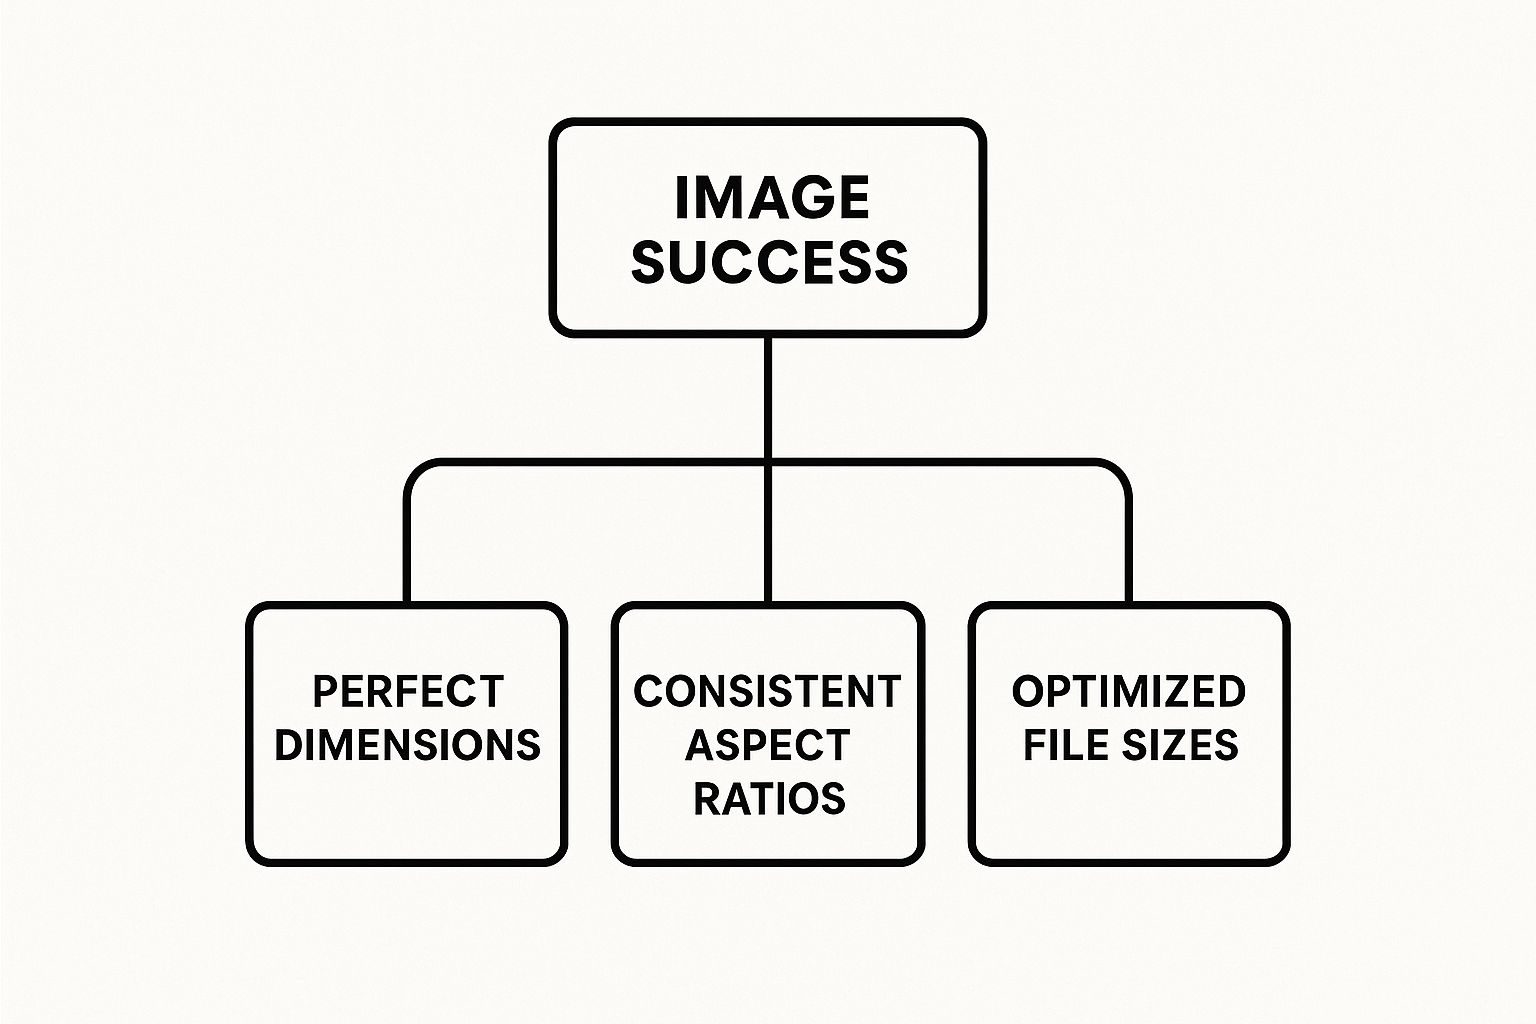
This isn't just about making things look pretty. Mastering your product images is a core business decision that directly impacts your customer experience, site speed, and, ultimately, your sales. Success boils down to getting three key things right: perfect dimensions for clarity, consistent aspect ratios for a professional look, and optimized file sizes for speed.
It's a balancing act.
Nail this balance, and you’ll create a store that feels both professional and snappy.
The stakes are higher than you might think. Images often make up a staggering 75% of a web page's total weight. Sites that drag their feet with slow-loading images see significantly lower sales. On the flip side, stores with properly optimized images can see up to 3 times more conversions than their sluggish competitors.
Getting these details right is what separates an amateur-looking site from an authoritative one. It builds the kind of trust that encourages visitors to hit "add to cart" instead of the back button.
When it comes down to it, a sharp, fast-loading image is your best salesperson. The foundation for this is a solid strategy, which often begins with professional Shopify product photography that is correctly sized from the get-go. Throughout this guide, we'll break down exactly how to find that perfect balance.
The Perfect Dimensions for Shopify Images
Let’s cut through the confusion and talk about Shopify’s image recommendations. The best way to think about this is that pixels are like tiny building blocks—the more you use, the sharper and more detailed your picture becomes. When it comes to your most important visuals, your product photos, the magic number is 2048 x 2048 pixels.
This square format is the gold standard for a good reason. It’s big enough to look incredibly crisp on any device, from a huge desktop monitor to a tiny smartphone screen. It also powers Shopify's zoom feature perfectly, letting your customers get up close and inspect every last detail.
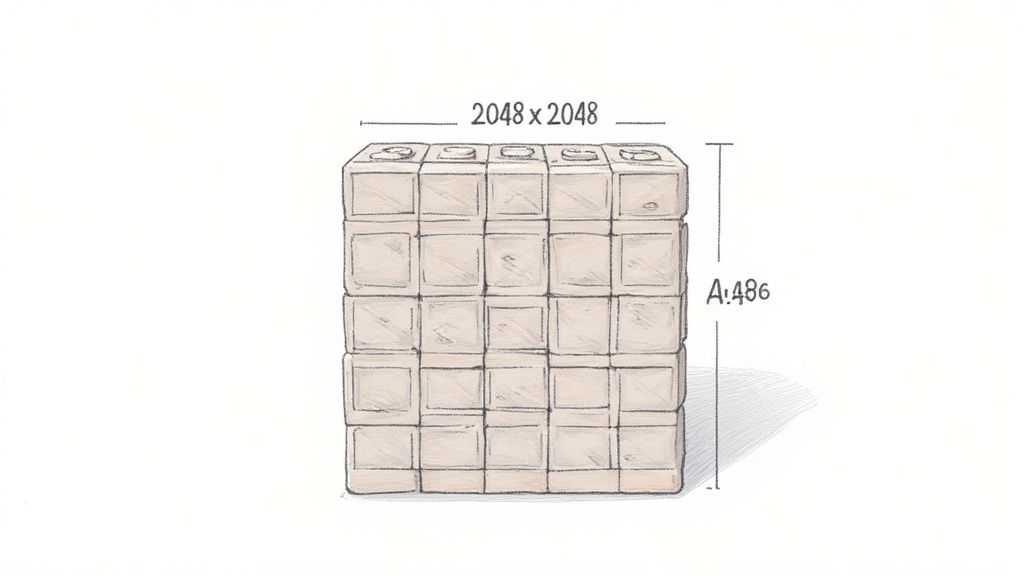
Shopify technically allows some massive uploads—up to 5000 x 5000 pixels, or 25 megapixels, with a file size limit of 20 MB. But going that big is a classic mistake that will drag your site speed down. Sticking to the 2048 x 2048 recommendation gives you that perfect 'Retina-quality' resolution without adding unnecessary weight to your pages.
Sizing for Different Store Elements
Of course, your product photos are just one piece of the visual puzzle. For a polished, professional-looking store, every image needs to be sized correctly. Here's a quick cheat sheet for the most common images you'll be working with.
Shopify Image Type and Recommended Sizes
To make things easy, here’s a quick-reference table for the ideal dimensions you should aim for across your Shopify store.
| Image Type | Recommended Dimensions (Pixels) | Primary Goal |
|---|---|---|
| Product Images | 2048 x 2048 px | High-quality, zoomable detail |
| Collection Images | 1024 x 1024 px | Uniformity and clean grid presentation |
| Slideshow/Banner | 1200-2000 px wide, 400-600 px tall | Impactful, theme-specific visuals |
Getting these dimensions right from the start will save you a ton of headaches down the road.
If your pictures aren't quite right, you don't need fancy software. A simple tool like an online image resizer can get your photos meeting these specs in just a few clicks. You can find one that's easy to use at https://prodshot.net/image-resizer.
Consistency is key. Using the correct Shopify product image size across your store creates a seamless, trustworthy shopping experience. It encourages customers to browse longer and, ultimately, buy more.
And if you want to dive deeper into optimizing visuals beyond your product pages, checking out these Shopify home page image size optimization strategies is a great next step.
Choosing the Right Image File Type
So, does the format of your image file really matter? In a word: absolutely.
Picking the right file type is like choosing the best container to store your food. Some are great for keeping things fresh, some are better for display, but using the wrong one can make a mess. Getting this right is a huge part of managing your Shopify product image size and keeping your store zippy.
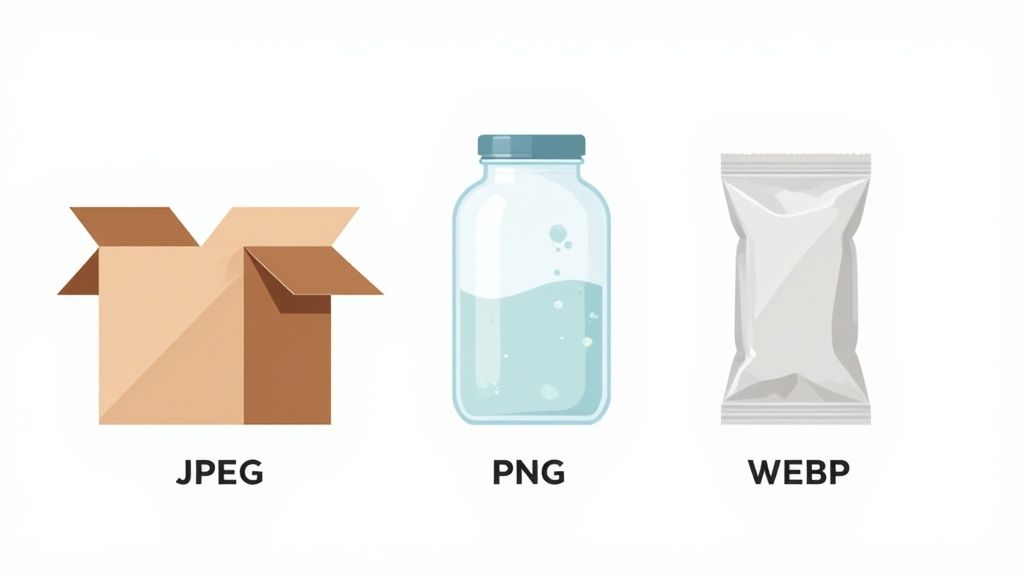
Think of a JPEG (or JPG) as your go-to, all-purpose workhorse. It’s perfect for the vast majority of your product photos, especially complex images with tons of colors and smooth gradients. JPEGs hit that sweet spot between great image quality and a small file size, which is exactly what you need for fast-loading pages.
A PNG, on the other hand, is more of a specialist. Its superpower is transparency. You should only really reach for a PNG when you absolutely need an image with a transparent background—think of your brand logo or a product shot that needs to float flawlessly on a colored section of your site.
The Modern Choice: WebP
Finally, there’s WebP, the new kid on the block that’s changing the game. Developed by Google, WebP is like a modern, vacuum-sealed container. It delivers incredible image quality in a much smaller package than both JPEGs and PNGs, offering fantastic compression without sacrificing visual clarity.
The best part? You don't have to do a thing. Shopify automatically serves WebP images to browsers that can handle them, giving your site a speed boost behind the scenes.
The rule of thumb is simple: Use JPEG for all your standard product photos. Save PNG for those rare cases where you need transparency. And sleep well knowing Shopify is using WebP to give every visitor the fastest experience possible.
Following this simple strategy ensures every image is perfectly suited for its job, keeping your store looking gorgeous and running fast.
How to Optimize Images Without Losing Quality
https://www.youtube.com/embed/efgwjgrqHqQ
Getting your images ready for your Shopify store boils down to two key steps: resizing and compressing.
Think of it like getting a document ready to email. Resizing is like making sure the paper is a standard size (like letter or A4), while compressing is like zipping the file to make it smaller and faster to send—all without messing up the words inside.
This one-two punch ensures your photos look crisp while loading in a snap, which is absolutely critical for keeping shoppers on your site. A slow product page is a conversion killer. In fact, a load time delay of just 1 to 3 seconds can spike your bounce rate by a whopping 32%.
The Two-Step Optimization Process
Optimizing your Shopify product images is a pretty straightforward gig once you get the hang of it. You don't need fancy, expensive software, either. Plenty of free online tools get the job done perfectly.
Let's walk through it.
-
Resize Your Images First: Before you touch anything else, get your dimensions right. The sweet spot for main product photos is 2048 x 2048 pixels. You can use a free tool like Canva or any online resizer to punch in those dimensions and export a new version. This step makes sure your image has enough detail for customers to zoom in without it being unnecessarily huge.
-
Compress for Speed: Now that your image has the right dimensions, the file size itself might still be a bit chunky. This is where compression comes in. It intelligently slims down the file size with almost no noticeable drop in visual quality. Tools like TinyPNG or Squirai can shrink your files by more than 50%.
Always resize first, then compress. This gives you maximum control over the final quality. If you compress a massive image first, the tool has to work harder and you can end up with a blurry, artifact-riddled mess.
Using Apps for Automation
Doing this manually is fine for a few photos, but it's a massive time sink if you have a big product catalog. This is exactly where Shopify apps save the day. They put the whole process on autopilot, often working quietly in the background to optimize any new images you upload.
Here’s why an app is a game-changer:
- Bulk Optimization: Tidy up your entire image library with just a few clicks.
- Automatic Compression: New uploads are automatically optimized. Set it and forget it.
- Consistent Quality: Apps apply the same settings to all your photos, giving your store a clean, professional look.
For anyone wanting to go beyond the basics, a dedicated Shopify photo editor can offer more advanced tricks like background removal and quick touch-ups right inside your workflow. It's a huge time-saver that helps you build a polished, consistent product gallery with way less effort.
Using Aspect Ratios for a Polished Look
Have you ever landed on a collection page and just felt… off? The product images are all different heights—some tall and skinny, others short and wide. It looks messy, unprofessional, and can kill a customer's trust before they even click on a single item.
The secret to that clean, high-end storefront look isn't a secret at all. It's aspect ratio.
Think of aspect ratio as the shape of your image—its width compared to its height. It’s like lining up books on a shelf. When they're all the same height, the shelf looks organized and appealing. But when they're a chaotic mix of sizes, it just looks sloppy. Your Shopify store works the same way.
When you lock in a consistent shape for all your product photos, you create a beautiful, grid-like layout that lets a shopper's eye glide smoothly from one product to the next.
Choosing Your Standard Aspect Ratio
Deciding on one uniform shape for all your product photos is one of the simplest yet most powerful things you can do for your store. It guarantees every image lines up perfectly, building a visually satisfying experience that screams professionalism.
Here are the most common aspect ratios you'll see in e-commerce:
- 1:1 (Square): This is the undisputed champion for a reason. It's versatile, looks fantastic on both desktop and mobile, and is the native format for platforms like Instagram. We highly recommend it.
- 3:4 (Portrait): This taller, vertical ratio is a great choice for products that are naturally upright, like clothing on a model or a bottle of wine.
- 4:3 (Landscape): A wider, horizontal ratio. It’s less common for main product shots but can be useful for showcasing items that are wider than they are tall, like furniture.
Our Recommendation: If you’re not sure where to start, just go with a 1:1 square aspect ratio for all your main product images. This simple move is the fastest way to make your entire store look more cohesive and thoughtfully designed.
Once you’ve picked your standard, the next step is simply cropping all your photos to match. If you need a hand with the technical side of things, this guide on how to change the aspect ratio of an image is a great resource. Getting this right ensures every single photo contributes to a strong, high-quality brand identity.
Your Top Shopify Image Questions, Answered
Jumping into the world of Shopify images can feel like a bit of a minefield. What size? What format? Why are my photos suddenly blurry? Don't worry, these are the questions every store owner asks.
Let's cut through the noise and get you some quick, practical answers. Think of this as your cheat sheet for getting your product photos right, every time.
What’s the Magic Number for Shopify Product Image Size?
If you remember one thing, make it this: 2048 x 2048 pixels. That’s the sweet spot.
A square image at this resolution is crisp, high-quality, and looks fantastic on any screen, from a giant desktop monitor down to a smartphone. Most importantly, it gives Shopify's zoom feature enough detail to work its magic, letting customers get a real close-up look without things turning into a pixelated mess. It’s the perfect balance of stunning quality and speedy load times.
Does Shopify Really Resize My Images for Me?
Yes, it does. When you upload a picture, Shopify automatically creates smaller versions for things like collection page thumbnails. It's a handy feature, but you shouldn't rely on it completely.
The automated process isn't flawless and can sometimes strip away quality, leaving your images looking a little soft.
The pro move is to always resize your images to the recommended dimensions (like 2048 x 2048 pixels) and compress them before you upload them. Taking a minute to do this yourself gives you total control, ensuring your photos look exactly how you want them to.
JPEG or PNG? Which One Should I Use?
For about 99% of your product photos, the answer is JPEG. JPEGs give you beautiful, vibrant images in a much smaller file size, which is absolutely crucial for keeping your site fast. A zippy store makes for happy customers and, ultimately, more sales.
So, when would you ever use a PNG? Only when you need a transparent background. Think logos, or maybe a product shot that you want to float on a colored section of your site without a clunky white box around it. Since PNGs are much heavier files, use them sparingly.
Help! Why Are My Product Images Blurry on Shopify?
This is a super common headache, and the culprit is almost always the same: you uploaded an image that was too small. When your theme tries to stretch a tiny, low-resolution picture to fill a big space, it gets fuzzy and pixelated.
The fix is simple: re-upload a bigger, higher-resolution version of the photo. As a bare minimum, make sure it’s at least 1024 x 1024 pixels, but aiming for that golden 2048 x 2048 pixels is your best bet. This guarantees your images stay sharp, clear, and professional, especially when a shopper zooms in for a closer look.
Ready to turn basic product snapshots into high-converting, professional images? With ProdShot, our AI-powered tool does the heavy lifting for you—removing backgrounds, perfecting the lighting, and creating studio-quality visuals in just a few seconds. Try ProdShot for free and see the difference in your product gallery today!