

Got a logo or graphic stuck on a plain white background? The quickest way to free it in Adobe Illustrator is with the Image Trace tool, specifically using its ‘Ignore White’ setting. This is the secret weapon for designers who need to turn flat raster images, like JPEGs or PNGs, into clean, scalable vectors in a snap.
Your Quick Guide to a Transparent Background

When you need to knock out a white background, you want it done fast and you want it done right. Whether it's a client’s logo, a doodle you scanned, or an icon you downloaded, the mission is the same: create a versatile graphic that you can place on any color or background without that ugly white box.
This is exactly what Illustrator's Image Trace was built for. It takes those pixel-based images and intelligently converts them into editable vector paths.
The 'Ignore White' feature is the real magic here. It tells Illustrator to automatically discard all the white areas during the tracing process, giving you instant transparency. It's been a go-to trick for designers for years simply because it works so well for the right kind of images.
When to Use Each Method
Before jumping into the step-by-step, let's talk strategy. Knowing which tool to grab from your Illustrator toolbox is half the battle. For example, if you need to create transparent backgrounds for product images, a different method like a clipping mask might be better suited for handling photographic detail.
Here’s a quick rundown of the most common techniques to help you pick the right one for your project.
Illustrator Background Removal Methods at a Glance
This table breaks down the best tools for the job, so you can make a quick decision and get back to designing.
| Method | Best For | Key Advantage |
|---|---|---|
| Image Trace | Simple logos, icons, scanned line art | Fast, automatic, and converts to vector |
| Clipping Mask | Complex photos or keeping original image intact | Non-destructive and easily adjustable |
| Magic Wand | Existing vector files with solid color areas | Quickly selects and deletes same-colored shapes |
For most everyday tasks where you're just trying to isolate a simple graphic from a white background, Image Trace is going to be your most efficient option. It does all the heavy lifting for you, delivering a nearly perfect result in just a few clicks.
Get Your Workspace Ready for Action
Before we dive into the fun stuff, let's get our workspace in Illustrator set up properly. Taking a minute to prep now is the difference between a clean, professional result and a frustrating mess. Trust me, this will save you some serious headaches down the line.
First things first: the source image. Always, and I mean always, start with the highest-resolution file you can get your hands on. A crisp JPEG or PNG gives Illustrator’s tracing tools more data to chew on, which means you'll get a much cleaner result. Trying to work with a low-quality, pixelated image is just asking for jagged, ugly edges.
Next, you need to actually see what you’re doing. Illustrator’s default white artboard is a bit of a trap—it makes it impossible to know if you've truly deleted the background or if it's just white-on-white. This is where the Transparency Grid comes in.
- Go up to the View menu at the top of your screen.
- Find and click on Show Transparency Grid.
Instantly, you'll see that classic grey and white checkerboard pattern appear anywhere the background is transparent. This grid is your single source of truth. If you see checkers, the background is gone. Simple as that.
Isolate Your Image for Smooth Sailing
Finally, let's talk about layers. It’s a simple habit that really pays off, especially when your projects start getting more complex. Pop your image onto its own dedicated layer to keep it separate from any other text, shapes, or design elements you might add later on.
My Go-To Tip: Get in the habit of locking layers you aren't actively working on. It's a lifesaver. This simple step prevents you from accidentally selecting or moving the wrong thing while you're focused on the background. Just click the empty box next to the little eye icon in the Layers panel to lock it down.
And that's it! This quick three-part setup—a high-res image, the transparency grid turned on, and a dedicated layer—creates the perfect environment for a flawless edit. With your workspace dialed in, you're ready to tackle the main event.
Using Image Trace for Quick Background Removal
Alright, this is where Illustrator's real power comes into play. For most of the graphics you'll work with—think logos, icons, or even simple scanned drawings—the Image Trace tool is your best friend. It’s built specifically to turn flat, pixel-based images into the clean, scalable vector shapes that Illustrator loves.
First things first, you need to open the Image Trace panel. Just head up to the top menu and click Window > Image Trace. Once you've got your image selected on the artboard, this little panel is where all the action happens.
This diagram lays out a solid workflow: get your image in, pop on the grid for reference, and keep things tidy by working on a dedicated layer.
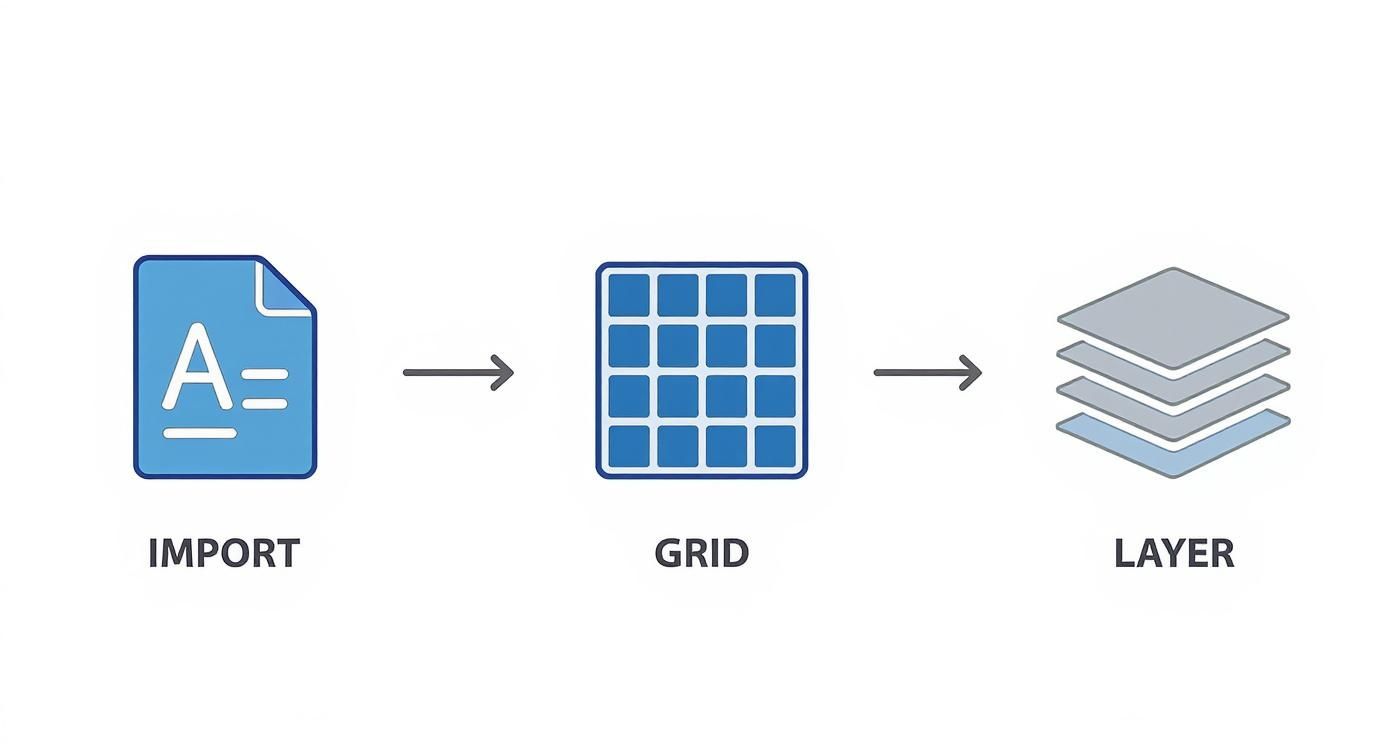
Think of this as your setup for success. A little organization at the start saves a lot of headaches later.
Finding the Right Preset
Look inside the Image Trace panel and you'll spot a 'Preset' dropdown. This isn't a one-size-fits-all deal; the preset you choose here will completely change how your final vector turns out.
- Black and White Logo: This is my go-to for simple, high-contrast graphics that don't have any color. It's clean and straightforward.
- High Fidelity Photo: If you're working with a more complex illustration and need to keep all the original colors, start here.
- Sketched Art: Perfect for turning hand-drawn sketches or crisp line art into vectors.
Don't be afraid to click around and try a few. You'll quickly get a feel for which one captures the essence of your image without adding a bunch of messy, unnecessary anchor points.
The Magic "Ignore White" Checkbox
Now, for the most critical part of this whole process: the Ignore White checkbox. You'll have to expand the 'Advanced' section in the Image Trace panel to find it, but it's worth the extra click.
When you check this box, you're essentially telling Illustrator to pretend any white pixels in your image don't exist. Instead of turning them into white shapes, it leaves those areas completely empty and transparent.
This single feature is what makes the automatic removal possible. It was a game-changer when it was fully integrated back in Illustrator CS6, solving the age-old problem of getting stuck with a clunky white box around your graphics.
Finalizing the Vector
Once your preset is selected and you've checked 'Ignore White', hit the Trace button. Illustrator will give you a preview of what it's done, but you're not quite finished yet. The image is still just a preview, not a real vector.
The final, essential move is to click the Expand button that appears in the toolbar at the top of your screen. This commits the change, officially converting the traced image into a group of editable vector paths. You'll know it worked when you see that classic checkered grid pop up behind your art, confirming the white background is gone for good.
This concept of getting a clean, transparent background is crucial in e-commerce, too. If you're working with product shots, check out our guide on how to remove the background on Shopify images.
Your graphic is now truly free—ready to be resized, recolored, and dropped onto any background you can dream up.
Cleaning Up Your Vector for a Flawless Finish

Image Trace does the heavy lifting, but let's be honest, it rarely sticks a perfect landing on the first try. The real professional polish comes from the cleanup that follows. This is your chance to refine the automated result into something truly crisp and usable.
After you hit 'Expand,' zoom way in and take a close look at your new vector. You’ll almost always find tiny, stray shapes or specks of off-white and gray that the 'Ignore White' setting missed. Hunting these down is the key to a clean final graphic.
Isolating and Eliminating Imperfections
Your main tool for this precision work is the Direct Selection Tool—that's the white arrow, or shortcut 'A' on your keyboard. Unlike the regular black arrow, this tool lets you select and delete individual anchor points and paths without messing up the entire object.
Before you can start zapping those stray pieces, you’ll probably need to ungroup the whole thing.
- Select your entire vector with the regular Selection Tool ('V').
- Right-click and choose Ungroup. You can also use the shortcut Shift + Ctrl + G on Windows or Shift + Cmd + G on a Mac.
- You might have to do this a few times. Keep at it until the 'Ungroup' option is grayed out.
Now you're ready. Switch back to the Direct Selection Tool, click on any of those unwanted white or gray specks, and just hit 'Delete' to get rid of them for good.
Pro Tip: For a much faster cleanup, grab the Magic Wand Tool (shortcut 'Y'). It's incredibly effective here. Just click on one of the unwanted white specks, and it will instantly select every other shape filled with that exact same color, letting you delete them all in one go.
Smoothing Rough Edges
Sometimes the tracing process leaves you with lines that are a bit jagged or wobbly. The Smooth Tool is perfect for this. Just select the path you want to fix, then click and drag the Smooth Tool along its edge. Illustrator will average out the anchor points and give you a much cleaner curve.
A well-refined vector is way easier to work with, especially when it comes time to resize it. For any tasks that need exact dimensions, using a high-quality online image resizer can help get your final assets just right.
Advanced Techniques for Tricky Backgrounds
Image Trace is a powerhouse, there's no doubt about it. But let's be real—sometimes you're up against a background that just won't cooperate. Not every image is a clean logo on a simple white field. For those more stubborn, complex challenges, you need to reach a little deeper into your Illustrator toolkit.
When you're working with photos and want to keep your edits flexible, the Clipping Mask is going to be your best friend. Think of it like a digital stencil. You draw a vector shape around the part of the image you want to keep, and Illustrator simply hides everything outside that shape. It's perfect for fitting a photo neatly inside a circle or some text without permanently wrecking the original image. You can always go back and tweak the mask's path later.
Going Beyond Simple Cutouts
But what about situations that need a softer touch, like feathered edges or smooth fades? That's where an Opacity Mask comes in. Instead of a hard-edged cutout, an opacity mask uses a black-and-white gradient to control how transparent your image is. Black areas of the mask make your image invisible, white areas keep it fully visible, and all the gray shades in between create a seamless, semi-transparent transition. It's the secret sauce for blending images together beautifully.
Of course, for truly complex subjects like flyaway hair or super intricate details, even Illustrator's best tools can start to feel a bit clumsy. A common workflow among pros is to tag-team the job, playing to the strengths of both Illustrator and Adobe Photoshop.
Pro Workflow: Kick things off in Photoshop. Its pixel-based selection tools are just built differently and are far better for tricky photo cutouts. Use the AI-powered 'Select Subject' or the 'Remove Background' button to get a perfect, clean isolation of your object first. Then, just save that image as a transparent PNG.
You can then bring this pre-cleaned PNG right into Illustrator for placement or to trace into a vector, giving you the best of both worlds. This process has gotten so much smoother as Adobe keeps baking more AI into its software. In fact, professional graphic designers now see AI enhancements slash their manual labor by over 60% on background editing tasks. You can discover more about how AI is changing image editing on developer.nvidia.com.
For those who need consistently professional results but don't have the time to master multiple programs, dedicated product photo editing services can take care of all these advanced techniques for you.
Running Into Trouble? Let's Fix It
Even when you know the steps, Illustrator can throw you a curveball. It happens to everyone. Let's walk through a couple of the most common "gotchas" people run into when trying to get rid of a white background.
Why Did Parts of My Logo Vanish?
This is a classic. You run the Image Trace, hit 'Ignore White,' and suddenly, the cool white details inside your logo are gone along with the background. Frustrating, right?
This happens because the ‘Ignore White’ function is a bit too literal—it removes all white from the selection, whether it's the background you want to ditch or a crucial part of your design.
The fix is pretty simple, though. Just trace the image again, but this time, leave that ‘Ignore White’ box unchecked. Once you expand the trace, just ungroup the new vector shapes. From there, you can manually click on the outer background shape and hit delete. Problem solved.
How Do I Actually Save It with a Transparent Background?
Getting the background gone in Illustrator is only half the battle. If you save it the wrong way, you'll open the file to find that pesky white background is right back where it started.
Remember, file formats like JPEG don't support transparency. You need to export your work in a format that does.
- First, head up to File > Export > Export As.
- In the format dropdown, choose PNG if you need a raster image (like for a website) or SVG if you need a scalable vector for web use.
- If you're saving a PNG, you'll see a preview window. Make sure the ‘Background Color’ option is set to Transparent.
This final step is everything. It's such a common mistake to do all the work of removing the background, only to save it as a JPEG and have to start all over. Double-check that export setting every time!
While Illustrator is a powerhouse for this kind of work, it's not the only tool out there. If you're just getting started with image editing, checking out a guide on the best photo editing software for beginners can give you a great overview of your options.
Ready for professional product photos without the hassle? ProdShot uses AI to instantly remove backgrounds and create stunning, e-commerce-ready images from your smartphone pictures. Get your free trial today!