
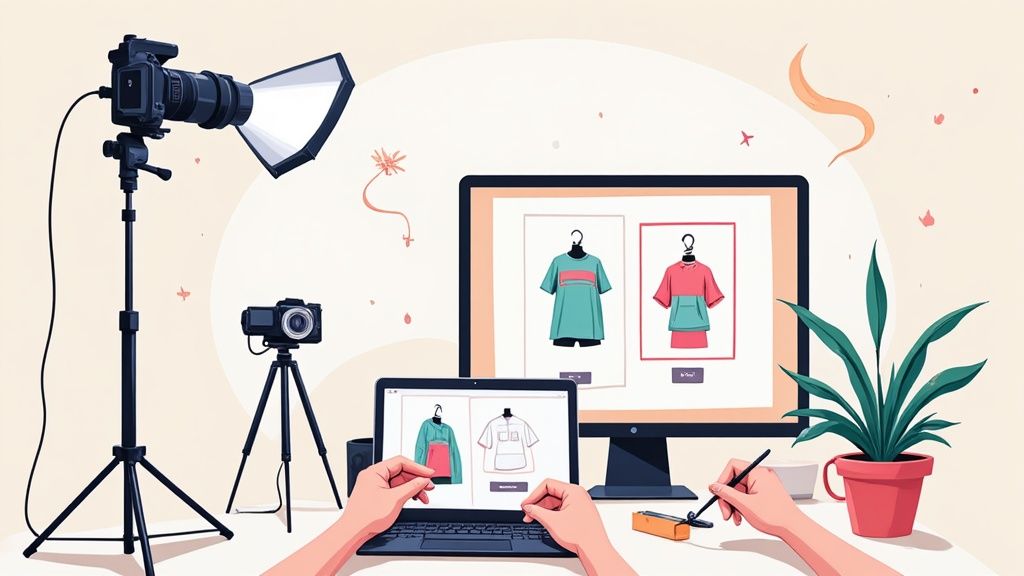
To get those perfectly clean product photos, your real work begins long before you ever open Photoshop or your favorite editing app. It all starts with the setup. Trust me, a little prep work up front—getting the lighting right, choosing a simple background, and making sure the product is spotless—will save you hours of headaches in post-production. This is the foundation for a professional, high-quality shot.
Setting the Stage for Easier Photo Editing
The drive to present polished, clean visuals is huge. Just look at the numbers: North America alone accounted for USD 390.68 million in revenue from photo editing software, holding a market share of over 34%. This isn't just a niche industry; it's a direct response to the massive demand for top-tier content on e-commerce sites and social media. Sharpening your editing skills has never been more valuable.
At the end of the day, a fantastic final image can only come from a fantastic source photo. Spending just a few extra minutes on preparation will genuinely save you hours of tedious cleanup, making the whole workflow feel less like a chore.
Master Your Lighting and Background
Harsh, direct light is the number one enemy of a clean product photo. It creates ugly, distracting shadows and bright hotspots that are a nightmare to fix later. What you want is soft, diffused light that wraps around your product evenly. You can get this with a softbox, but honestly, just taping a white bedsheet over a window on a sunny day works wonders.
Keep your background simple. A plain white or light gray backdrop is the gold standard for most e-commerce platforms. It does two things perfectly: it makes your product the hero of the shot and makes background removal a breeze, whether you're doing it by hand or with an AI tool.
Key Takeaway: If you get two things right, make it these: soft, diffused light and a clean, simple background. Nailing these puts you 80% of the way to a great photo before you even start editing.
The Non-Negotiable Prep Steps
Before you even think about pressing that shutter button, there are a couple of small things you absolutely have to do. They sound obvious, I know, but you’d be surprised how many people skip them and create hours of extra work for themselves.
- Clean the Product: I mean meticulously. Wipe it down to get rid of every last speck of dust, every fingerprint, every smudge. These tiny imperfections scream "amateur" in high-resolution photos and are incredibly time-consuming to retouch one by one.
- Clean Your Camera Lens: A dusty or smudged lens will ruin every single photo you take, giving them a soft, hazy look that you can't really fix. A quick, gentle wipe with a microfiber cloth is all it takes.
By focusing on this groundwork, you’re not just taking a picture. You're creating a high-quality asset that needs minimal work to look professional. And if you're shooting in bulk, understanding how to apply these principles to product photography for 1000 items or more is an absolute game-changer for your workflow.
Removing Backgrounds and Retouching Blemishes
Now that you’ve got a well-staged photo, it's time to make your product the hero. The next move to clean up photos involves isolating the product and polishing away any little distractions. A clean, consistent background is more than just a requirement for marketplaces like Amazon; it’s a powerful signal that tells customers you're a professional. It clears away the noise, making your product the undeniable star of the show.
When it comes to getting that perfect background, you’re basically looking at two main paths: the old-school manual approach and the new-school automated one.
Choosing Your Background Removal Method
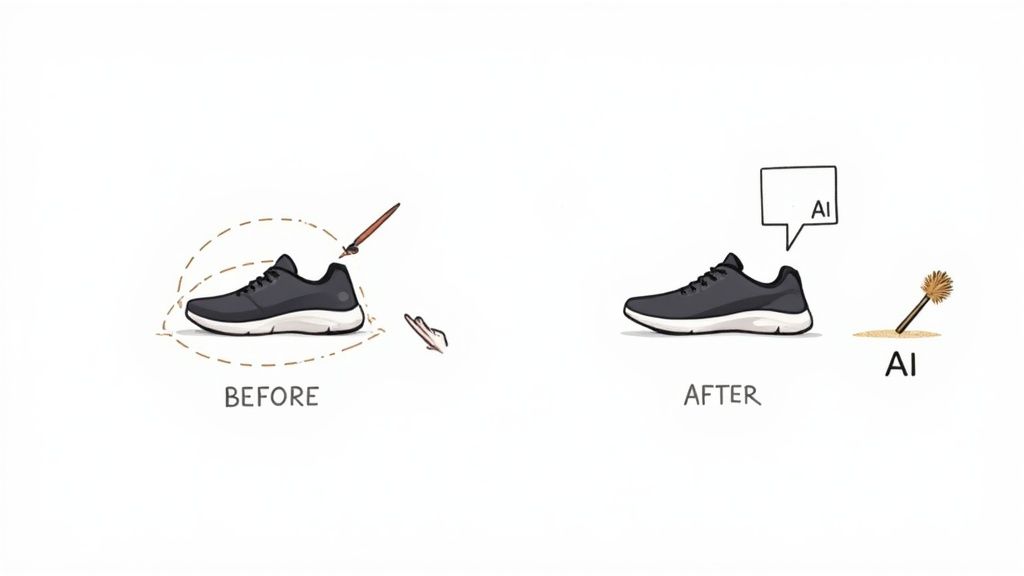
For years, the undisputed champ was the Pen Tool in programs like Photoshop. This manual method gives you absolute control, letting you trace a perfect, clean edge around even the trickiest shapes—think the links of a necklace chain or the spokes of a bike wheel. It's a slow, meticulous process, but when you need perfection, nothing beats it.
But let's be real, modern AI background removers have completely changed the game. These tools can now analyze an image and strip out the background in mere seconds, and the accuracy is often staggering. For products with simple, clean edges—like books, boxes, or bottles—AI is usually the smartest and fastest way to go.
So, how do you choose?
- Manual Tools (like the Pen Tool): Stick with these for your most intricate products, photos where the product and background blend together, or anytime you need pixel-perfect precision.
- AI Tools: Your best friend for simple shapes, processing large batches of photos, and when you just need to get it done fast. Many platforms offer fantastic walkthroughs on how to remove the background from Shopify product images using this exact tech.
Honestly, most of us end up using a hybrid approach. I’ll often use an AI tool for 90% of the images and then pull out the manual tools for those few problem children that need a little extra love and attention.
The Art of Subtle Retouching
With your product now floating on a clean background, it's time to zoom in on the little imperfections. The key here is to be subtle. You want to fix distracting flaws, not make your product look like a plastic toy. This is where you polish the tiny details that separate an okay photo from a truly professional one.
You'll typically run into a few common culprits:
- Dust and Lint: No matter how much you clean, tiny specks always find a way in. A spot healing brush or a clone stamp tool can make them disappear in a click.
- Fingerprints and Smudges: These are almost unavoidable on glossy or metallic surfaces. A light touch with a healing tool will blend them away without destroying the natural texture.
- Scratches and Scuffs: Got a small scuff on a leather bag? Easy fix. Grab the clone stamp tool, set it to a low opacity, and sample a clean, textured spot right next to the scuff. Then, gently paint over it, building up the fix layer by layer.
Pro Tip: Always, and I mean always, do your retouching on a separate layer. This is called non-destructive editing, and it’s your safety net. It means you can dial back your changes or erase them completely without ever touching the original image. Every single pro I know works this way.
Taking the time for this meticulous step ensures that nothing—not even a stray speck of dust—distracts a potential customer from seeing just how great your product is.
How to Get Accurate Color and Perfect Exposure
Once your product is floating on a clean background, free of any distracting dust or smudges, it's time to tackle color and exposure. This isn't just about making a pretty picture; it's a make-or-break step for customer trust.
There's nothing more frustrating for a shopper than buying a vibrant red sweater that shows up looking like a dull maroon. Getting this right is how you drastically cut down on returns and keep customers happy. Ensuring what they see online is exactly what they get in the box is non-negotiable.
The demand for tools that nail this is exploding. The global photo editing software market was already valued at USD 345.2 million in 2023 and is on track to hit USD 580.3 million by 2032. This isn't just a niche industry—it shows how absolutely critical high-quality, true-to-life images are for selling anything online. You can dig into these market trends to see where the industry is heading.
Mastering Exposure with Histograms and Curves
A photo that’s too dark (underexposed) or blown out (overexposed) is a product killer. Details get lost in muddy shadows or bright, featureless hotspots. Your secret weapon for diagnosing and fixing this is the histogram.
It might look like a confusing graph at first, but it’s actually a simple map of all the tones in your image.
- Got a huge spike on the far left? Your image is crushed into the shadows and definitely underexposed.
- Is everything piled up on the far right? You've got blown-out highlights and an overexposed shot.
- A nice, even distribution across the middle? You’re in the sweet spot.
To fix things, reach for the Curves tool in your editing software. A gentle pull upwards on the middle of the curve brightens up the midtones. If you want to add a bit of life and dimension, create a subtle "S" shape—this adds a touch of contrast that makes your product pop without looking fake or overly processed.
My Personal Workflow: I almost always start by adding a slight S-curve to bring in a little contrast. From there, I glance at the histogram and nudge the brightness or exposure sliders until the bulk of the data is centered. The key is to avoid "clipping"—pushing the tones so far that they become pure, detail-free black or white.
Correcting Color Casts with White Balance
Have you ever taken a photo inside, only to find it has a sickly yellow glow? Or shot on an overcast day and everything looks depressingly blue? That’s a color cast, and it happens when your camera gets the white balance wrong.
The goal is simple: make the whites in your photo look actually white.
Luckily, most editing programs have a brilliantly simple fix: the white balance eyedropper tool. Find a spot in your image that you know should be a neutral white or gray, click on it, and watch the magic happen. The software instantly neutralizes the color cast across the entire photo, revealing your product’s true colors. It’s one of the fastest, most satisfying edits you can make.
You can also use subtle color grading to keep your entire store looking cohesive. Applying a consistent, gentle color treatment across all your product shots creates a polished and professional vibe that builds brand recognition and shopper confidence.
Before we move on, here's a quick cheat sheet for some of the most common headaches you'll run into when editing product photos.
Common Photo Problems and Their Solutions
This table is a handy reference for quickly identifying and fixing the typical issues that pop up when you're trying to get your e-commerce photos just right.
| Common Problem | What It Looks Like | Primary Tool/Technique | Quick Tip |
|---|---|---|---|
| Underexposure | Image is too dark; details are lost in shadows. | Exposure/Brightness Slider, Curves Tool | Check the histogram for a spike on the far left. Gently raise the midtones with the Curves tool. |
| Overexposure | Image is too bright; "blown-out" white spots with no detail. | Highlights/Whites Slider, Curves Tool | Check the histogram for a spike on the far right. Pull down the highlights slider to recover detail. |
| Color Cast | The whole photo has an unnatural yellow, blue, or green tint. | White Balance Tool (Eyedropper) | Find a neutral gray or white area in your photo and click it with the eyedropper for an instant fix. |
| Lack of Contrast | The image looks flat, washed-out, or "muddy." | Contrast Slider, S-Curve Adjustment | An S-shaped adjustment in the Curves tool is often more natural-looking than the basic contrast slider. |
| Soft Focus | The image isn't sharp; edges look slightly blurry. | Sharpening Tool, High Pass Filter | Be subtle! Over-sharpening creates ugly halos. Zoom in to 100% to judge the effect accurately. |
| Digital Noise | The image looks grainy, especially in the dark areas. | Noise Reduction Slider | Too much noise reduction can make the image look soft and plasticky. Find a good balance. |
Think of this table as your first line of defense. When a photo just doesn't "feel" right, a quick scan here can often point you directly to the tool you need to fix it.
Polishing the Final Image: Sharpening and Noise Reduction
You've corrected the colors and dialed in the exposure. The photo is looking solid, but we’re not quite done. Now comes the final, subtle polish that takes an image from good to genuinely professional. This last step is all about carefully sharpening the image and cleaning up any distracting digital noise. Think of it as the final quality check—the small details that tell a customer you care about quality.
When done right, sharpening can make textures pop. It gives fabrics, wood grain, or brushed metal a tangible feel, helping the customer almost feel the product through the screen. Just to be clear, this isn't about trying to fix a blurry photo; it’s about enhancing the fine details that are already there to give the final image a crisp, clean finish.
How to Sharpen Product Photos the Right Way
The goal here is simple: define the edges of your product without making it look fake or overly processed. Over-sharpening is a classic rookie mistake, creating those harsh, bright outlines around objects that photographers call "halos." It’s an instant giveaway that the photo has been poorly edited and can cheapen the look of your entire product line.
A fantastic tool for this job is the Unsharp Mask filter, which you'll find in Photoshop and most other serious editing programs. The name sounds backward, I know, but it’s one of the most effective ways to add clarity. Here’s a quick guide to its settings:
- Amount: This is just the overall strength of the effect. I usually start somewhere between 50% and 150% and adjust from there.
- Radius: This controls how far out from an edge the sharpening is applied. For high-resolution product shots, you want to keep this tiny. A radius between 0.5 and 1.5 pixels is almost always the sweet spot.
- Threshold: This setting is your secret weapon. It tells the filter to ignore minor pixel variations, which keeps smooth surfaces (like gradients or clean backgrounds) from getting a weird, grainy texture. A value between 2 and 10 is a great starting point.
Make sure you're zoomed in to 100% to see what’s actually happening to the pixels. A good trick is to toggle the preview on and off. If the change jumps out at you, you’ve probably gone too far. Subtlety is the name of the game.
Cleaning Up Digital Noise
Ever notice that slightly grainy, speckled look in photos, especially in the darker areas? That’s digital noise. It often shows up in shots taken in low light or with a high ISO setting, and it can make a clean photo look a bit amateurish.
Noise reduction tools are designed to smooth out these specks, but you have to walk a fine line.
My Two Cents: The whole point of noise reduction is to get rid of distracting grain without sacrificing important details. If you go too heavy on it, your product will start to look soft, blurry, or even plasticky—completely undoing all the work you just did with sharpening.
Start with the noise reduction slider at a very low setting. Slowly nudge it up just enough to make the grain in the shadows and midtones less noticeable. While you do this, keep your eyes glued to the critical parts of your product—logos, seams, or any fine textures. You need to make sure they aren't being softened into mush.
The perfect result is an image that looks clean but still feels like a real photograph, not a computer rendering. By mastering these final, small adjustments, you ensure every single image you post is polished, professional, and ready to sell.
Using AI Tools to Automate Your Workflow
Let's be honest, editing product photos one by one is a massive bottleneck. For any growing e-commerce brand, the hours spent cleaning up shots, removing backgrounds, and tweaking colors can feel endless. This is where AI and automation stop being buzzwords and start becoming your secret weapon for getting time back while making your images look better than ever.
Modern AI tools can absolutely supercharge your workflow, and it starts with simple batch processing. Think about it: applying the same color correction, resizing, and watermarking to hundreds of images with just a couple of clicks. That alone is a huge time-saver, but the real magic happens when you go beyond basic edits.
Beyond Simple Batch Edits
Today’s AI platforms can tackle jobs that, until recently, required a skilled photo editor and a lot of patience. We're talking about the tedious stuff—perfect background removal, creating realistic shadows, and even generating entire lifestyle scenes from a single, plain product shot. This isn't just about moving faster; it's about unlocking a level of quality and consistency that used to be out of reach for many smaller businesses.
This infographic gives you a great visual of how a photo's details get enhanced, a process that AI can now handle almost entirely on its own.
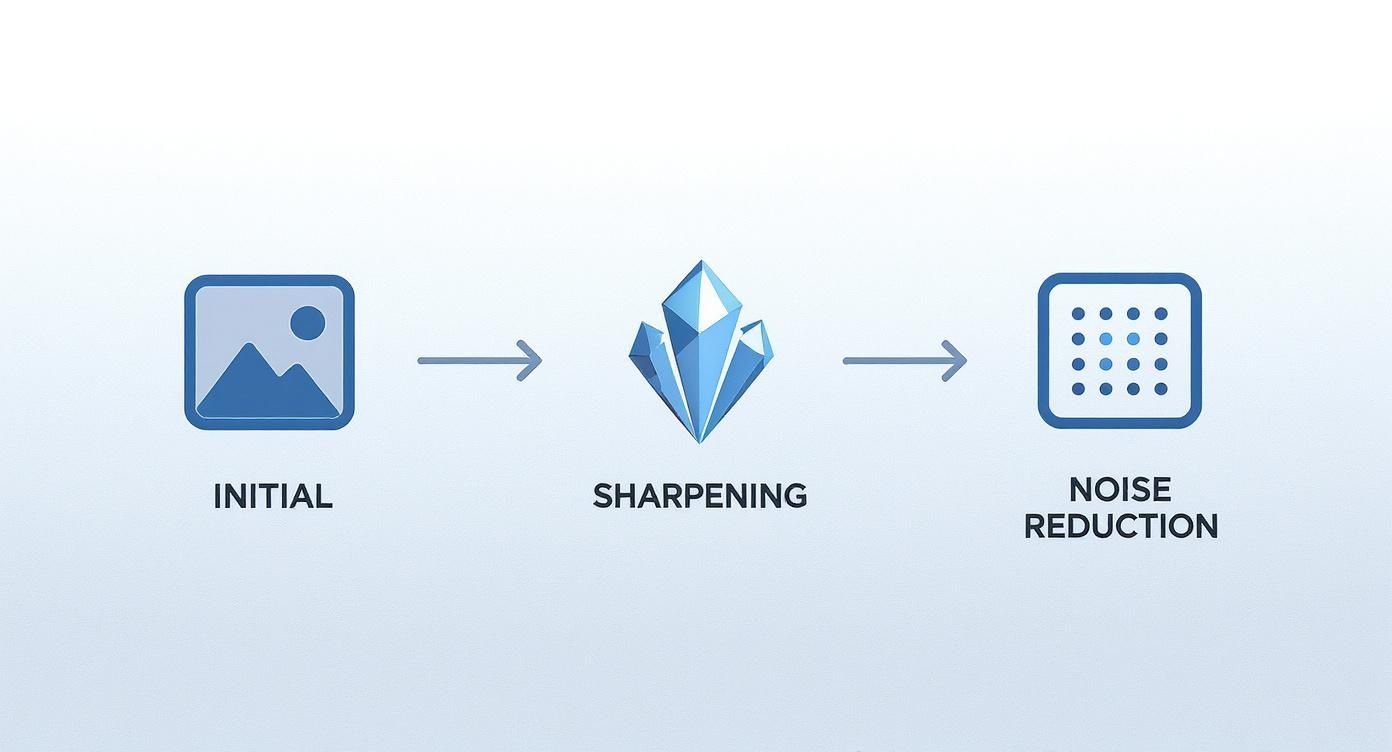
You can see how an initially soft image is sharpened and refined, removing noise to get that crisp, professional look that sells.
This shift towards automation is driving huge growth in the market. The global demand for photo editing software has ballooned into a market worth around USD 42.85 billion. Experts predict it will hit USD 94.24 billion by 2034, and that growth is largely thanks to AI that can automatically spot and fix image flaws.
Integrating AI Into Your Existing Process
Adopting these tools doesn’t mean you have to throw out your entire process. The smart move is to integrate them where they can do the most good—handling the most repetitive, time-sucking steps.
Here’s what that might look like in practice:
- Quick Upload: Start by dragging and dropping your raw product photos straight into an AI platform.
- Automatic Cleanup: The AI gets to work instantly, cutting out the background, balancing the light, and cleaning up tiny blemishes. You’re left with a perfect product shot on a transparent background.
- Creative Generation: This is the fun part. You can use a tool like an AI product photo generator to place your product in a completely custom scene. Suddenly you have scroll-stopping lifestyle photos without ever booking a studio.
- Final Touches: Give everything a quick quality check, make any tiny manual adjustments you see fit, and export the final images right to your e-commerce platform.
Real-World Impact: I worked with an online jewelry store that slashed their photo post-production time by over 90% with this exact method. They went from spending days retouching images to generating entire on-brand collections in less than an hour.
By letting AI do the heavy lifting, you free yourself up to focus on what actually grows your business—marketing, customer service, and product development. If you're curious to learn more about how this technology is changing the game, digging into AI Integration in Post Production is a great next step.
Frequently Asked Questions About Cleaning Up Photos
Even with a solid workflow, you'll inevitably run into a few tricky situations when you start to clean up photos for your own inventory. Here are some quick answers to the problems I see pop up most often, designed to get you unstuck and back to editing.
What Is the Best Software to Clean Up Photos?
Honestly, there’s no single "best" tool—it all comes down to what you need and what your budget looks like.
For total, granular control over every pixel, Adobe Photoshop is still the king. It's the industry standard for a reason. But for e-commerce sellers who are more focused on getting great results quickly and easily, AI-powered platforms are often a much better fit.
Tools like ProdShot are built from the ground up for product photos. They automate the tedious stuff like background removal and color correction and can even generate entire scenes. It’s the perfect route for anyone who needs professional-looking shots without the steep learning curve or hours of manual work.
How Can I Fix a Photo That Is Slightly Blurry?
First, let's manage expectations: you can't save a photo that's completely out of focus. But if an image is just a little soft, you can definitely make a noticeable improvement. The secret is to use a sharpening tool, like Photoshop's Unsharp Mask, with a very light touch.
Zoom in to 100% so you're looking at the actual pixels, and apply a small amount of sharpening. Your goal is just to add a bit of definition to the edges without creating those ugly, artificial halos. It’s so easy to overdo it here, which makes the photo look even worse, so always err on the side of caution.
Key Insight: A well-shot, slightly soft photo can be improved, but no amount of editing can truly rescue a fundamentally blurry image. Your best strategy is always to get the focus right in-camera.
How Do I Handle Reflections on Shiny Products?
Ah, reflections. Glass, metal, and glossy plastics are the bane of every product photographer's existence. The best fix is preventing them in the first place with soft, diffused lighting during the shoot, but you can definitely minimize them in post-production.
Your best friends here are the clone stamp or healing brush tools. Set them to a low opacity and carefully "paint" over the reflection using texture from a clean, non-reflective area right next to it.
This takes some patience. You have to build up the correction in gradual layers to make sure you preserve the product's natural texture and shape. It's a delicate process, but it works.
Ultimately, clean and professional product images aren't just about looking good; they're a core part of your sales funnel. Better photos directly contribute to strategies to increase e-commerce conversion rates and put more money in your pocket.
Ready to transform your product photos in seconds? Let ProdShot handle the heavy lifting with AI-powered editing that delivers stunning, conversion-ready images. Try ProdShot for free and see the difference it makes.