
Knowing how to change the background color in a photo is way more than just a technical trick—it’s a killer marketing move. A quick color swap can make your products jump off the screen, tie your visuals into a holiday campaign, or create that clean, consistent brand look that tells a customer you’re the real deal. It’s a small change that has a huge say in how people see what you’re selling.
Why Background Color Is Your Secret Marketing Weapon
The right background isn’t just dead space; it’s the stage for your product. It tells a story before anyone even reads the description. For e-commerce brands, nothing screams “amateur” faster than a messy, inconsistent product grid. When a customer lands on your site and sees every item presented with a clean, uniform background, it instantly builds a sense of professionalism and trust. Your whole collection just feels more curated.
Just look at the big players. A crisp white background has become the go-to for tech and minimalist fashion because it signals simplicity and modernity. On the flip side, a bold, saturated color can scream energy and excitement, making it perfect for a new launch or a flash sale.
Drive Engagement with Smart Color Choices
Your choice of background color can literally stop the scroll. In a crowded marketplace or a noisy social media feed, it’s often the first thing that grabs a user’s eye. That's the whole game.
Here’s how a simple color change can level up your marketing:
- Make Product Details Pop: A contrasting background is your best friend for showing off intricate details, like the texture of a sweater or the facets of a gemstone.
- Spark an Emotional Connection: Colors talk. A soft blue can feel calm and reliable, while a punchy orange feels fun and youthful. You're setting a mood without saying a word.
- Build Your Brand Vibe: Using a consistent, signature color palette across all your product shots makes your brand instantly recognizable. People will know it's you before they even see your logo.
This isn’t just a random thought; it’s a real shift happening right now. For years, everything was muted and minimalist. Now, the photography world is embracing bold, high-contrast images. That’s creating a massive demand for simple tools that let creators change a photo's background color to nail these vibrant looks.
The ability to switch up your visuals on the fly is a game-changer. Think seasonal campaigns—Valentine's Day, Black Friday, summer sales. Swapping out backgrounds to match the theme makes your products feel relevant right now and can give your conversion rates a serious boost.
Weave a Cohesive Brand Story
At the end of the day, every visual you put out there should be telling your brand’s story. Your background colors are a huge part of that. They’re the silent partner in your marketing, setting the mood and reinforcing your brand's personality in every single image.
For marketing teams, this kind of control is non-negotiable. It's why so many are turning to new tech to keep up. You can see how AI-powered tools help ad agencies churn out stunning, on-brand visuals at scale. By getting a handle on this one simple skill, you're not just editing photos—you're getting much better at telling your brand's story.
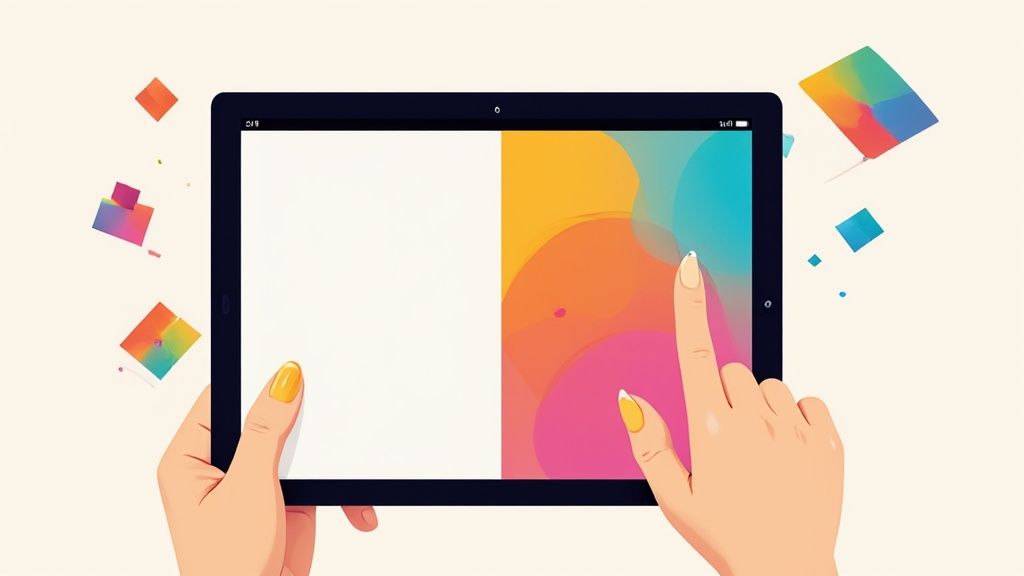
Quick Edits Using Your Smartphone
Let's be real—in a world that moves at the speed of social media, waiting to get back to your desk to edit photos is a huge bottleneck. Your phone, however, is a surprisingly powerful little editing studio.
If you’re a social media manager, a marketplace seller, or a small business owner, being able to change the background color in a photo on the fly isn't just a nice-to-have; it's a total game-changer. You can create professional, eye-catching product shots from anywhere—a coffee shop, a trade show, or your own living room.
Modern smartphone apps have packed some seriously impressive AI into simple interfaces, turning what used to be a tedious task into just a few taps. These tools automatically find your product, cleanly separating it from whatever's behind it.
Popular Apps for One-Tap Background Changes
The app store is crowded, but a few apps really stand out for their smart features and how easy they are to use. These aren't just for adding filters; they’re built for heavy-duty tasks like background removal and replacement.
Here are a few of my go-to recommendations:
- PhotoRoom: This is a huge favorite in the e-commerce world for a reason. Its AI is fantastic at spotting products and making clean cutouts. It also has a massive library of templates and backgrounds, so you can create on-brand images in seconds.
- Picsart: Think of Picsart as an all-in-one creative suite. It has a powerful background eraser tool, but its real strength is versatility. You can change the background color, then add text, stickers, and other artistic touches all in one place.
- Canva: While everyone knows Canva for graphic design, its mobile app includes a very effective background remover for Pro users. This is perfect if you’re already building your social media posts in Canva—you can edit the photo and drop it right into your design without missing a beat.
These apps save a wild amount of time by automating the most annoying part of editing: making the selection.
Before we walk through the process, here's a quick comparison of the top players to help you decide which one fits your workflow best.
Top Mobile Apps for Background Color Changes
| App Name | Key Feature | Best For | Pricing Model |
|---|---|---|---|
| PhotoRoom | AI-powered batch editing and template library | E-commerce sellers needing speed and consistency. | Freemium (Pro unlocks HD, removes watermark) |
| Picsart | All-in-one creative suite with layers and effects | Social media managers wanting creative control. | Freemium (Gold unlocks advanced tools) |
| Canva | Integrated background remover within a design platform | Marketers who need to edit and design in one workflow. | Freemium (Background remover is a Pro feature) |
Each of these tools can get the job done, but picking the right one often comes down to how it slots into the rest of your work.
A Practical Walkthrough with a Mobile App
So, let's say you just snapped a photo of a new handbag you want to list on Shopify. The lighting is perfect, but your cluttered office in the background is killing the vibe.
Here’s how you’d fix it in under two minutes using an app like PhotoRoom.
You’d start by opening the app and importing your picture. The AI gets to work instantly, analyzing the image and identifying the handbag. Seconds later, it shows you a perfect cutout of your product on a transparent background. Magic.
From there, you just tap the background option and select the color tool. This brings up a color wheel or a palette of solid colors. You could go with a crisp white for that classic e-commerce look, a soft pastel to match your brand, or even use the eyedropper tool to pull a color right from the handbag itself for a high-end monochromatic feel.
Pro Tip: Always think about contrast. If your product is dark, a light background makes it pop. If it's a light-colored item, a slightly darker or more saturated background will create the separation needed to draw a customer's eye right to it.
After picking a color, the final touch is to check the edges. The AI is usually 99% accurate, but sometimes little areas around curves or handles need a quick touch-up. The app will have an "Erase/Restore" tool that lets you use your finger as a brush to clean up any stray pixels, getting rid of that amateur "halo" effect.
Once you’re happy, you export the image straight to your camera roll or share it directly to your sales channels. The whole process—from cluttered snapshot to professional product photo—takes less than two minutes.
This kind of rapid workflow is absolutely essential for anyone managing tons of product listings or social channels. For a deeper dive into optimizing your images for marketplaces, check out our guide on photo editing for Facebook Marketplace sellers. By leaning on your smartphone, you can keep your brand looking sharp and consistent without being chained to your desk.
Achieving Pixel-Perfect Results with Desktop Editors
While your smartphone is great for quick, on-the-fly edits, there are times when a project demands absolute precision. For those high-stakes visuals—your product catalog's hero shot, a new ad campaign, or the main banner on your website—you need the kind of granular control that only desktop software can offer. This is where programs like Adobe Photoshop and its open-source cousin, GIMP, really come into their own.
Making the jump from a mobile app to a desktop editor is a bit like learning to drive a manual car after only using an automatic. It can feel a little intimidating at first, but that added control is what allows you to create a truly refined, professional result. The real game-changer is the ability to work with layers, masks, and advanced selection tools. It’s what separates a pretty good image from a flawless one.
This whole professional-grade workflow is built around a concept called non-destructive editing. Instead of permanently changing your original photo, you use layers and masks to make adjustments. So, if you decide that new background color isn’t quite right, you can tweak it in seconds without having to painstakingly re-select your product all over again.
Mastering Precision Selections
The foundation of any great background swap is a clean, immaculate selection. A sloppy selection leads to jagged edges, weird halos, or bits of the old background peeking through—all dead giveaways of a rushed job. Desktop editors give you a whole arsenal of tools to handle any situation, from a simple cardboard box to the fuzziest sweater.
Here are the tools you'll find yourself reaching for most often:
- The Pen Tool: For products with hard, defined edges like electronics or furniture, the Pen Tool is your best friend. It lets you draw a super-precise vector path around your subject for clean, sharp lines that automated tools can sometimes miss. It takes some practice, but the crisp results are absolutely worth the effort.
- Object Selection & Select Subject: These AI-powered tools are a fantastic starting point. With just one click, Photoshop’s Sensei AI analyzes the image and throws a pretty good selection around your product. This will often get you 80% of the way there, saving you a ton of time.
- The Select and Mask Workspace: This is where the real magic happens. Once you have your initial selection, this dedicated workspace gives you tools like the Refine Edge Brush. It’s designed specifically to handle tricky areas like hair, fur, or soft fabrics, creating a natural-looking transition between your subject and its new background.
This infographic breaks down the basic concept of isolating a subject and replacing the background, which applies whether you're on a phone or a desktop.
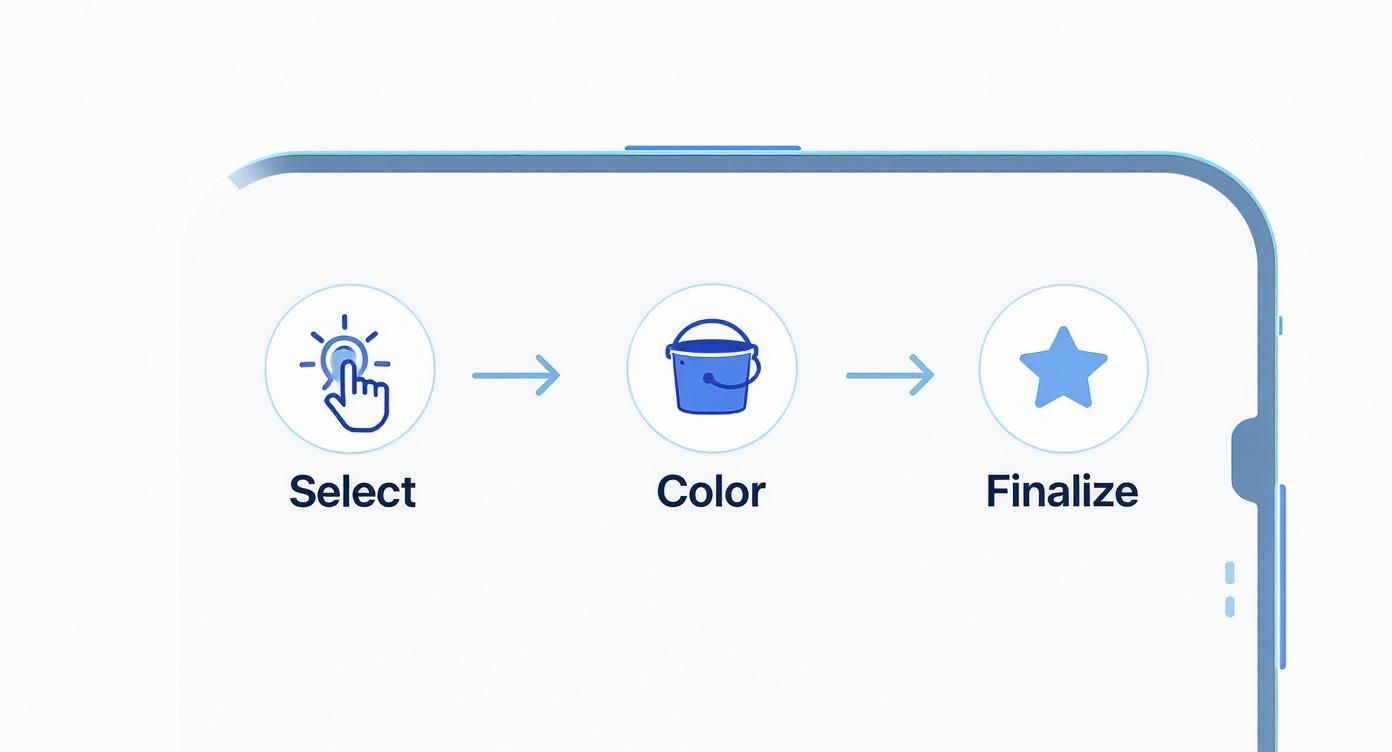
It’s all about isolating your subject, dropping in a new color, and polishing the final image.
Building Your Edit with Layers and Masks
Once your subject is selected, the next move is to use a layer mask to separate it from the background. Instead of hitting "delete," a mask simply hides the background. Think of it as a crucial safety net. If you spot a tiny mistake later, you just paint on the mask with black or white to hide or reveal parts of the image, refining the edge without starting from scratch.
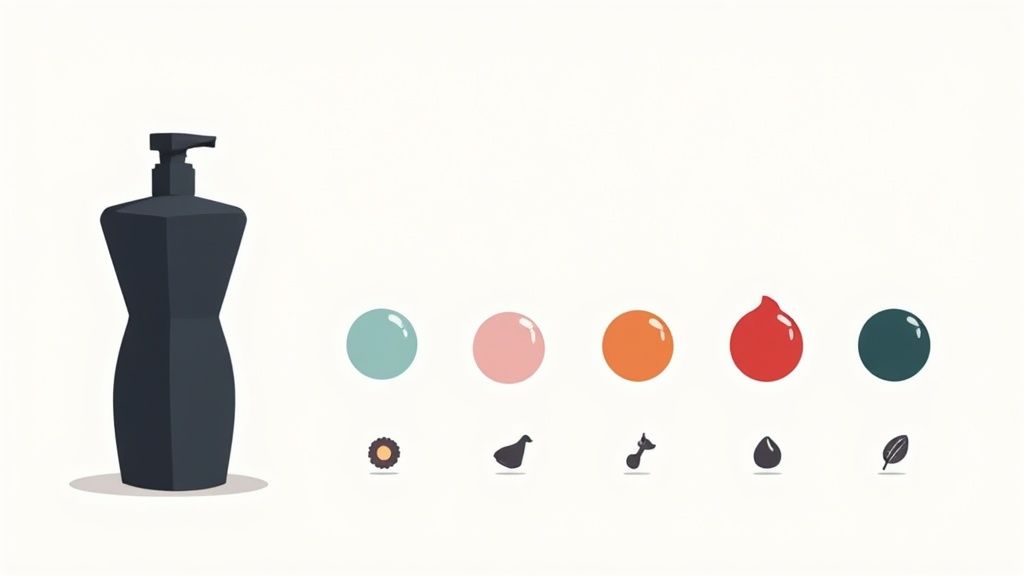
With your subject now on its own masked layer, adding the new background is easy.
First, create a "Solid Color" fill layer and place it underneath your product layer. A color picker will pop up, letting you choose any shade you can imagine. You can even punch in a specific HEX code to perfectly match your brand’s color palette, keeping everything consistent.
The real beauty of this method is its flexibility. Want to see how the product looks against a different color? Just double-click the color fill layer and pick a new one. The change is instant, and your perfectly masked subject stays exactly as it is.
I see a lot of beginners simply cut and paste their subject onto a new background. Please don't! Using a layer mask preserves all your original image data and gives you the freedom to make endless tweaks, which is essential for professional work.
The need for these powerful editing skills is exploding. The global photo editing software market was valued at $449.2 million in 2023 and is expected to more than double to $886.2 million by 2032. This shows just how critical it is for any business in e-commerce or marketing to know how to expertly change background color in a photo. You can dig into the specifics of these trends and explore the full research on photo editing software.
Tackling Complex Details Like Hair and Fur
Nothing tests your skills quite like trying to select fine, wispy hair against a busy background. This is where automated tools often stumble, leaving you with chunky, unnatural edges.
In Photoshop’s Select and Mask workspace, the Refine Edge Brush is your secret weapon. As you paint over these problem areas, the software intelligently analyzes the contrast and color to separate those fine strands from the background with surprising accuracy.
For the most challenging shots, you might even need to paint in a few extra strands of hair manually on a new layer using a tiny, soft brush. It's this meticulous attention to detail that elevates an image from looking "photoshopped" to looking completely real. It’s this level of control that makes learning desktop software worthwhile, giving you the power to create images that stand up to the closest inspection.
Using AI for Instant Background Changes
Manual editing in desktop software like Photoshop gives you incredible precision, but it eats up time and requires a certain level of skill. For a busy e-commerce seller, both are often in short supply. This is exactly where artificial intelligence comes in, not just as a handy feature, but as a total game-changer for your entire workflow. AI-powered tools are built to do one thing exceptionally well: instantly handle the tricky job of finding your product and erasing the background.
Instead of you having to meticulously trace around every edge with a mouse, these systems use sophisticated machine learning models. They’ve been trained on millions of images, so they intuitively understand the difference between a product and its surroundings. The result? The process to change background color in a photo becomes almost effortless. For anyone juggling a high volume of product images, this kind of speed is a massive competitive advantage.
The Rise of Single-Click Solutions
The biggest appeal of AI editors is their sheer simplicity. The whole process often boils down to a drag-and-drop or a single click. You upload your image, the AI does its thing, removes the background, and gives you a clean cutout that’s ready for a new color.
This automation is a lifesaver for creating a consistent look across an entire product catalog.
- Batch Processing Power: Many AI platforms let you upload dozens or even hundreds of photos at once. The system applies the same logic to all of them, ensuring every single image gets a uniform background color and style. No more tiny variations from one photo to the next.
- API Integration: For bigger stores, some services offer API access. This is a bit more technical, but it lets you plug the AI editing tool directly into your e-commerce platform. It creates a seamless, automated pipeline from the moment you take the photo to when it goes live on your site.
- Template-Based Editing: These tools often include pre-made templates designed for specific marketplaces like Amazon or Etsy. They don't just set the background color; they make sure your image meets all the other annoying requirements for things like resolution and aspect ratio.
This screenshot gives you a glimpse into the brain of an AI system, visualizing the complex neural networks that make these editing tools possible.
What you're really seeing is a map of the digital "neurons" that allow a machine to "learn" how to spot objects in a photo, not so different from how our own brains work.
When AI Makes the Most Sense
While desktop editors offer ultimate control, AI tools are the clear winner when speed and efficiency are what you need most. If you're in one of these situations, an AI solution is probably your best friend.
Think about going the AI route when you need to:
- Process a Ton of Images, Fast: Got a new shipment of 50 products that need to be online by tomorrow? Manually editing all those photos just isn't going to happen. AI can knock out the entire batch in the time it would take to perfectly edit just a few by hand.
- Keep Your Brand Consistent Without Trying: Making sure hundreds of product photos all have the exact same background color (say, HEX code #F5F5F5) is a breeze with AI templates. Trying to do that manually is tedious and prone to error.
- Lower Your Editing Costs: Hiring a professional photo editor or a freelancer can get expensive, fast. An AI subscription service gives you a predictable, scalable cost, turning what was a variable expense into a fixed and manageable one.
The core trade-off here is speed versus granular control. For 95% of standard e-commerce product shots, the accuracy of modern AI is more than good enough. It gets you a professional-looking result in seconds, freeing you up to focus on other parts of your business.
Weighing Speed Against Artistic Control
Of course, no tool is perfect for every single job. The main limitation with AI is that you’re trusting the algorithm to get it right. And while today's models are scarily good, they can sometimes get tripped up by tricky subjects—think a white product on a light gray background, or an object inside a glass bottle.
In those rare cases, you might end up with a slightly soft edge or a small artifact. For a standard product listing on your site, nobody will ever notice. But for a massive billboard or a high-end magazine ad, that tiny flaw could be a dealbreaker. That’s when you might need to pop it into Photoshop for a final human touch-up.
Honestly, the best workflow often uses a mix of both. Use an AI platform for the heavy lifting on all your standard product shots and save the manual, pixel-perfect editing for your most important "hero" images. This hybrid approach gives you the best of both worlds: incredible speed for your day-to-day needs and absolute control when it really counts.
A great example of this automated approach is an AI product photo generator, which is built from the ground up to streamline this exact process for sellers. And if you're interested in how AI can be used for professional portraits, you can discover the best AI-generated backgrounds for headshots.
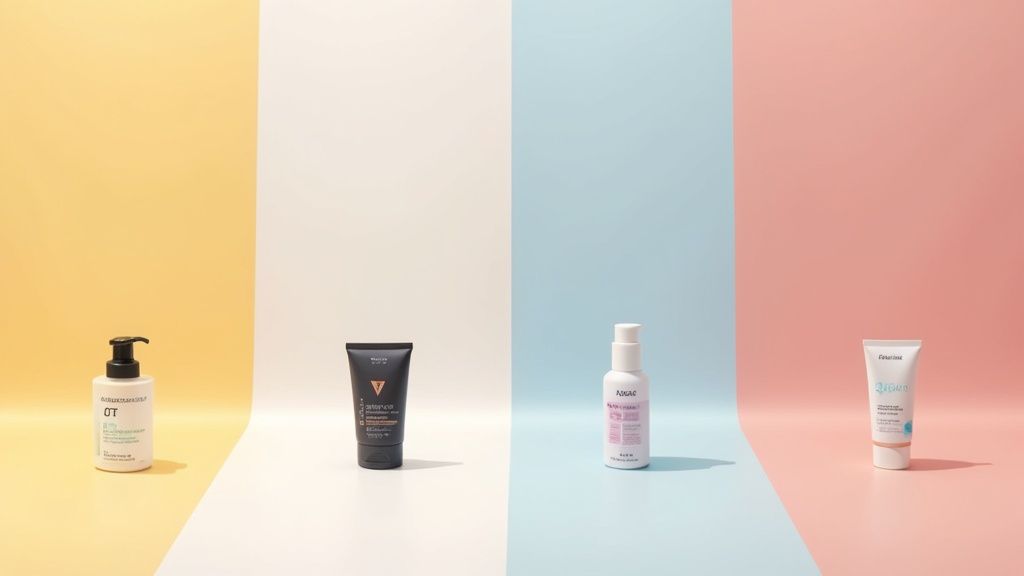
Choosing Colors That Enhance Your Brand
Knowing the technical steps to change background color in a photo is just one piece of the puzzle. The other, more strategic piece is choosing the right color. The perfect background does more than just make your product pop; it communicates your brand's personality, triggers an emotional response, and builds a cohesive visual story that connects with your customers.
Think of your background color as a silent salesperson. A crisp, clean white might signal simplicity and high quality, making it a go-to for tech gadgets or luxury skincare. On the flip side, a vibrant, punchy color could be the perfect fit for a brand targeting a younger, more energetic audience. The goal is to make a deliberate choice that reinforces who you are.
Building Your Brand's Color Palette
Consistency is everything when it comes to building a memorable brand. When shoppers see your products across your website, social media, and ads, a consistent color palette makes you instantly recognizable. This doesn't mean slapping the same color on everything. It's about defining a core set of primary and secondary colors that play well together.
A great way to start is by defining your brand’s personality. Are you:
- Modern and Minimalist? You'll probably lean into neutrals like white, gray, and black, maybe with a single, subtle accent color.
- Playful and Energetic? Go for it. Embrace bold, saturated colors that grab attention and create a sense of fun.
- Earthy and Natural? A palette of muted tones like olive green, terracotta, and sandy beige will feel right at home.
Once you’ve got that palette locked in, it becomes your guide. Maybe your main product line always features your primary brand color in the background, while limited-edition collections use secondary colors. This creates a visual system that feels both consistent and flexible, keeping your product gallery looking fresh without ever feeling random.
Your product's background color is a critical element of its online presentation. It should be chosen with the same care as your logo or typography. This strategic decision influences how customers perceive the quality and value of what you're selling from the very first glance.
The Problem with Chasing Color Trends
It’s always tempting to jump on the latest aesthetic trend, but this can be a seriously risky move. That trendy muted brown or burnt orange might look incredible today, but it could make your entire product catalog feel dated in just a few months. This is a real headache for professional photographers.
In fact, a survey of over 700 photographers revealed widespread frustration with overused color filters, especially those with heavy brown and orange tints. Many argue these trends are "dating" an entire generation of photos, tanking their long-term value. The financial hit is real, too; one professional estimated that re-editing 300 images to fix poor color choices could take 20 hours of work, costing them around $2,500 in lost profit.
Prioritizing Timelessness and Strategy
Instead of chasing trends, focus on colors that have staying power and serve a clear purpose. A classic neutral background will always look professional and ensures your product remains the hero of the shot. If you do use color, make sure it aligns with your long-term brand strategy, not just a fleeting fad.
This strategic approach to visuals is a core principle in user experience design. If you want to go deeper on building a comprehensive visual strategy, exploring professional UI/UX design services can offer some powerful insights. By grounding your color choices in your brand identity and a little bit of psychology, you create a timeless visual language that builds trust and drives sales far more effectively than any short-lived trend ever could.
Common Questions About Changing Background Colors
Even with the best tools, you’re going to have a few questions when you first start to change the background color in a photo. Let's walk through some of the most common issues that crop up, so you can refine your technique and get back to selling.
What Is the Best File Format for Saving Photos?
Choosing the right file format is all about balancing image quality with your website's speed. There's no single "best" option—it really depends on where the image is going to live.
Here's a quick and dirty guide to the most common formats:
- JPEG (or JPG): This is the workhorse of the web. JPEGs are perfect for e-commerce because they give you a great mix of quality and small file size, which is exactly what you need for fast-loading pages. If your image has a solid-color background, this is your go-to.
- PNG: The superpower of a PNG file is transparency. If you know you'll need to place your product on different backdrops later on—like in an ad or a social media post—save it with a transparent background as a PNG. It's an incredibly versatile asset to have.
- TIFF: Think professional printing. TIFF is the gold standard here. It’s a lossless format, which means it hangs onto all the original image data without compression. This ensures you get the absolute highest quality for things like print catalogs or brochures.
For most online sellers, JPEG is the go-to for final product images, while PNG is a must-have for creating flexible marketing assets.
How Can I Make the New Background Look More Realistic?
Getting a new background to look believable is all about the little details. Just dropping a product onto a flat, solid color can sometimes make it look like it’s floating in space, which immediately screams "fake."
The secret is to nail the lighting and shadows. First, make sure your subject selection is clean. Use edge refinement tools, especially around fuzzy areas like fabric or hair, to avoid that harsh, "cut-out" appearance.
Next, look at the original photo's lighting. Did the product cast a slight shadow on the surface it was on? If it did, you need to recreate a soft, faint drop shadow on your new background. It's a tiny step, but it's what "grounds" the object and makes it feel like it belongs in the scene.
Realism is all about how your subject interacts with its environment. A tiny, well-placed shadow can be the difference between an image that looks edited and one that looks like a professional studio shot.
Can I Change a Busy Background to a Solid Color?
Absolutely! In fact, this is one of the top reasons people edit photo backgrounds in the first place. A busy, cluttered background pulls focus away from your product. Swapping it for a solid color instantly brings the attention right back where it belongs.
AI-powered editors are fantastic for this job. Their algorithms are trained to pick out the main subject and separate it from even the most chaotic scenes, often in a single click.
If you're doing it manually in a desktop editor like Photoshop, it just takes a bit more patience. The trick is to combine different selection tools. Start with an automated tool like "Select Subject" to do the heavy lifting, then switch to the "Pen Tool" to clean up hard edges and the "Refine Edge" brush for softer details.
Should I Match the Background Color to My Product?
That's a great question, but the answer is almost always no. The whole point of the background is to make your product the hero of the photo. If you match the color too closely, your product will just blend in and lose all its visual punch.
Instead, think about creating contrast. A complementary color—one that's on the opposite side of the color wheel—can create a really dynamic, eye-catching effect. But when in doubt, a neutral background like white, light gray, or black is a safe and professional bet. It guarantees your product will stand out without any color clashes.
Ready to stop wrestling with complicated software and start creating stunning product photos in seconds? ProdShot uses AI to automatically remove and replace backgrounds, giving you studio-quality images with just a few clicks. Try it for free and see how easy it is to make your products shine.