
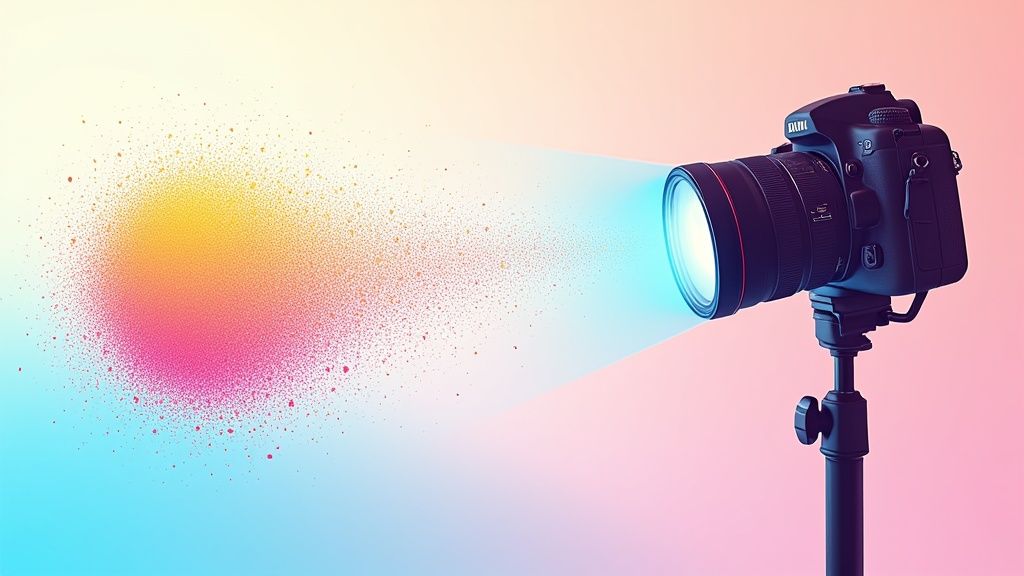
You know that gritty, grainy texture that sometimes shows up in your photos, especially when you’re shooting in low light? That’s digital noise. The whole game of noise reduction in photos is about smoothing out that unwanted graininess without accidentally nuking all the important details that make your product look good. It’s a delicate balance, and it starts with your camera settings long before you ever open an editing app.
Why Your Photos Get Noisy and How to Fix It
Ever taken a photo in a dimly lit room and wondered why it looks so speckled and fuzzy compared to a shot you took on a bright, sunny day? The culprit is almost always digital noise. It's not just a random glitch; it's a direct result of how your camera's sensor struggles when it's starved for light.
Think of your camera sensor as a grid of tiny light-collecting buckets (pixels). In bright light, those buckets fill up fast and evenly, giving you a smooth, clean image. But when it's dark, your camera has to crank up the sensitivity to make the most of what little light is available. This is your ISO setting at work. Pushing it higher is like turning up the volume on a weak radio signal—sure, you can hear the music, but you also get a ton of static.
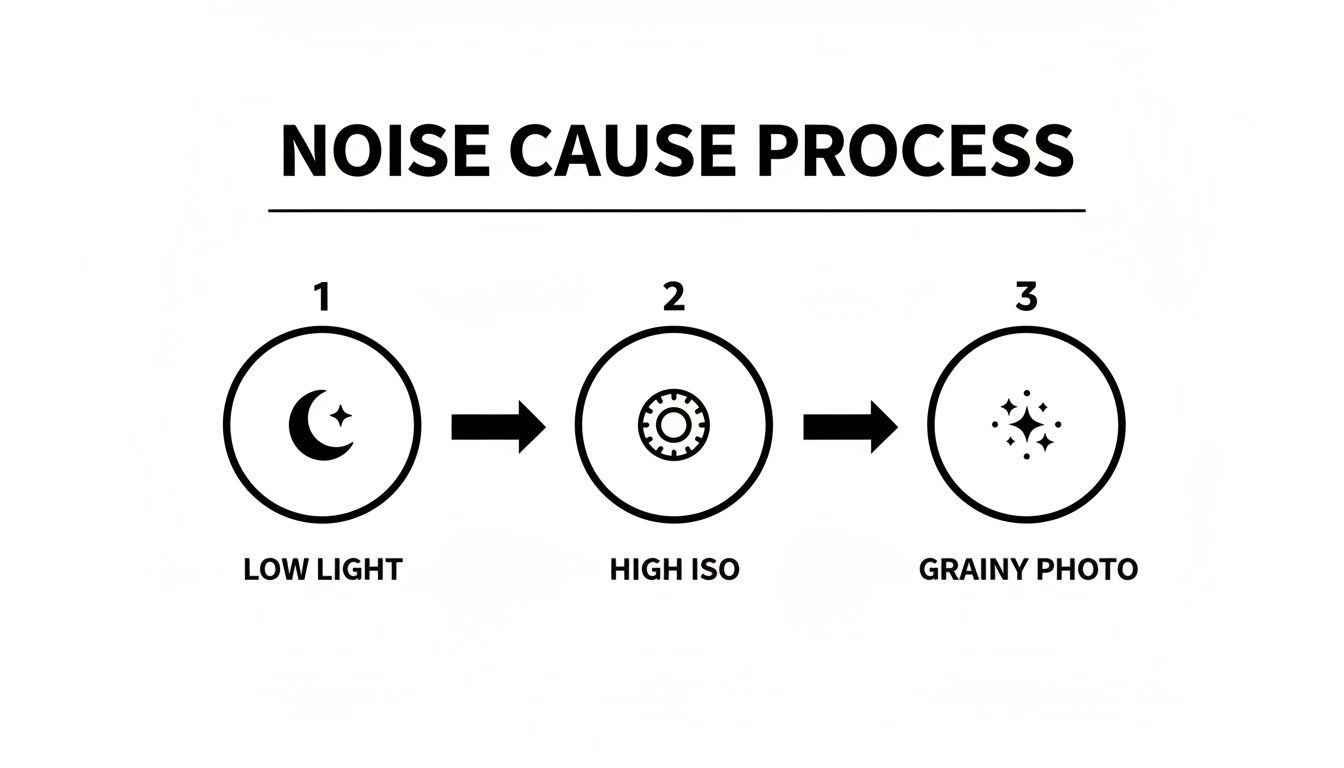
As you can see, it's a simple chain reaction: not enough light forces you to raise the ISO, which directly creates that grainy look we’re trying to avoid.
Get Your ISO and Exposure Right in Camera
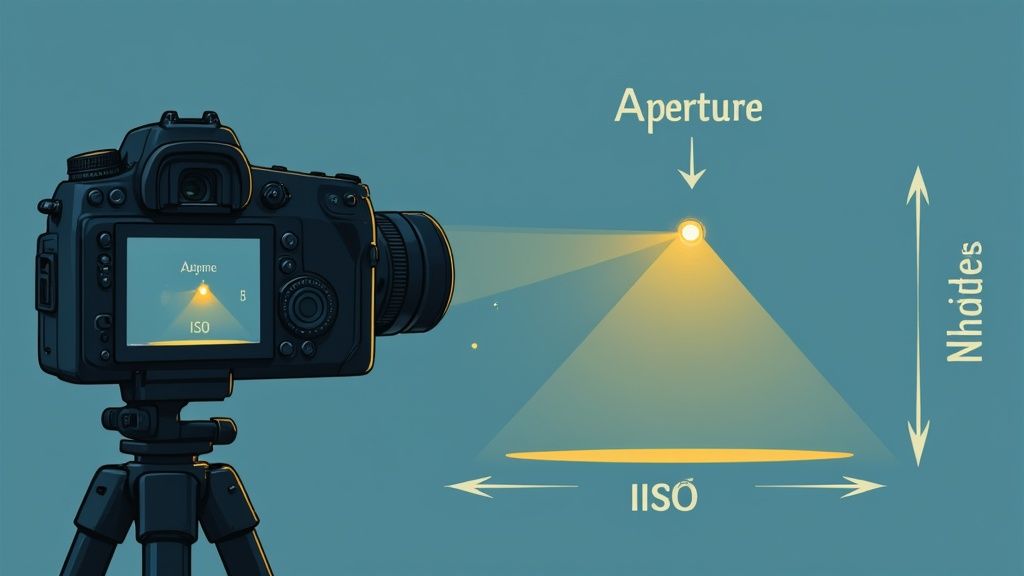
The single biggest offender for creating noise is a high ISO. When you push your ISO from 100 up to 3200, you’re telling the sensor to massively amplify a weak electrical signal. That amplification process exaggerates tiny imperfections, creating both luminance noise (the grainy texture) and color noise (weird, splotchy colored pixels).
The best way to reduce noise is to prevent it in the first place. That means getting as much light as possible to hit your sensor by mastering the exposure triangle: aperture, shutter speed, and ISO. Using a wider aperture (a lower f-number) or a slower shutter speed lets more light in. This means you can keep your ISO nice and low, which is the secret to a clean shot.
To make this a bit more tangible, here's a quick cheat sheet on how your main camera settings influence noise levels.
How Camera Settings Impact Digital Noise
This table is a quick reference for how adjusting key camera settings affects noise levels and overall image quality.
| Camera Setting | Low-Noise Approach | High-Noise Risk | Practical Tip |
|---|---|---|---|
| ISO | Keep it at its base value (100-200). | Pushing it high (800+) is the #1 cause of noise. | Use artificial lighting to avoid raising the ISO. |
| Aperture | Use a wider aperture (e.g., f/1.8-f/4) to let in more light. | A narrow aperture (e.g., f/11-f/16) requires more light or a higher ISO. | Balance your desired depth of field with the need for light. |
| Shutter Speed | A slower shutter speed lets in more light. | A fast shutter speed needs more light, forcing a higher ISO. | Use a tripod for slow shutter speeds to prevent motion blur. |
| Shooting Mode | Shoot in RAW format. | Shooting in JPEG applies irreversible, in-camera noise reduction. | RAW files give you total control over noise removal in post. |
Ultimately, your goal is to feed your camera's sensor as much light as possible so you don't have to resort to cranking up the ISO.
What is Shot Noise?
Beyond your ISO settings, there’s another, more fundamental type of noise at play called shot noise. This isn't about your camera's electronics as much as it is about the physics of light itself. Photons (light particles) hit your sensor randomly. When there's plenty of light, this randomness evens out. But in dark scenes or with super-fast shutter speeds, the sensor catches far fewer photons, making those random fluctuations visible as noise.
A 2021 NASA report on experimental imaging actually discussed how this randomness can be countered by averaging the values of nearby pixels to smooth things out.
For product photography in a controlled studio setup, your mission is simple: use the lowest ISO your camera offers (its "base ISO," usually 100 or 200). With plenty of artificial light and a sturdy tripod, you can use a slow shutter speed and a sharp aperture without ever needing to touch that ISO dial.
Pro Tip: Always, always shoot in RAW format. A JPEG is a compressed file where the camera has already made decisions for you, including aggressive noise reduction that can permanently strip out fine details. A RAW file is the digital negative—it contains all the original data, giving you way more power to clean up noise yourself without destroying the image.
But what about a lifestyle product shoot in a cafe or at an event? You can't always control the light. In those cases, you might need a faster shutter speed to freeze motion, which will force you to raise the ISO. The goal here isn't to eliminate noise, but to manage it. A great technique is "exposing to the right" (ETTR), which means making the image as bright as possible in-camera without blowing out the highlights. A properly exposed high-ISO shot will always look cleaner than an underexposed photo that you have to crank up the brightness on later, which just makes the noise in the shadows ten times worse.
For years, getting rid of noise in product photos felt like a delicate, often frustrating, balancing act. You’d nudge the luminance and color sliders, zoom in to 200%, and hope you weren’t accidentally turning your crisp image into a soft, plastic-looking mess.
That all changed when Adobe Lightroom rolled out its AI Denoise feature. Suddenly, a process that took ages of manual effort could be done in a single click, and the results were often better.
This tool is smart. It uses artificial intelligence to look at your photo and figure out the difference between ugly digital grain and the important details you want to keep, like the texture of a fabric or the subtle grain of wood. For anyone shooting products, this means way less time squinting at pixels and more time for creative edits.
The best part? It’s not buried in some obscure menu. It’s right there, designed to be one of the first things you do when you start editing.
Nailing the Denoise Amount
Once you open the Denoise panel in Lightroom, you’ll see one key control: the Amount slider. The software is pretty good at guessing what you need and usually suggests a value around 50, which is a fantastic starting point for most images.
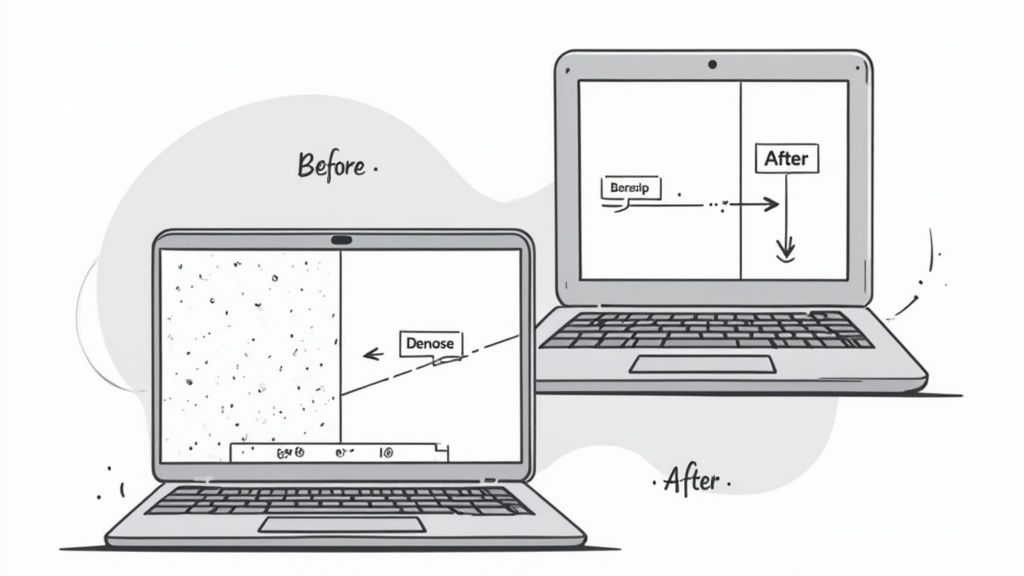
A small preview window pops up, showing you the effect in real-time. Before you just hit "Enhance," take a second to click and drag inside that preview. Check out different areas of your photo—look at the stitching on a leather bag, the texture on a piece of furniture, or any other spot with fine detail.
Here's a look at the Denoise panel in action. Notice how it gives you that immediate visual feedback with the preview and slider.
This simple interface lets you see exactly how the AI is cleaning things up without destroying the good stuff.
While 50 is a solid default, the right amount really depends on the photo. An image shot at ISO 6400 is going to need a much stronger touch than one shot at ISO 800. The goal isn't to obliterate every last speck of grain, but to reduce it enough that it's no longer a distraction.
My Two Cents: I always start with whatever the AI suggests, but I often dial it back just a little. It’s almost always better to leave a tiny bit of natural-looking grain than to end up with an image that looks unnaturally smooth.
AI vs. Manual: Knowing When to Use Each
The AI Denoise tool is a game-changer and works wonders for about 90% of my noisy photos. But the old-school manual sliders still have their place. Knowing which tool to grab is what separates a good workflow from a great one.
-
Go with AI Denoise for:
- High ISO Shots: Anything shot above ISO 1600 is a prime candidate. The AI is brilliant at handling the heavy, chaotic noise you get in low-light situations.
- Batch Editing: If you shot a bunch of products under the same noisy lighting, you can apply the AI Denoise to the whole set at once. This is a massive time-saver.
- Rescuing Underexposed Images: Ever had to crank the exposure slider way up in post? You know how ugly the shadows get. AI Denoise is your best friend for cleaning up those salvaged files.
-
Stick with Manual Sliders for:
- Subtle Noise: For photos with just a tiny bit of grain (like something shot at ISO 400), the AI can be overkill. A gentle nudge of the manual Luminance slider is often all you need.
- Just Color Noise: Sometimes the grain itself is fine, but you have weird color blotches (chroma noise). You can use the manual Color slider to get rid of those splotches without touching the image texture.
- Maximum Control: If you find the AI is making a specific texture look a bit "waxy," switching to manual gives you granular control over the Detail and Contrast sliders to fine-tune the result.
A Simple Workflow for Perfectly Clean Images
Noise reduction should be one of the very first things you do in your editing process, right after applying lens corrections. If you do it before sharpening or making other adjustments, you ensure all your other tools are working on the cleanest possible version of your photo.
- Import & Cull: First things first, pick your winners. There's no point in processing photos you're just going to delete.
- Apply Lens Corrections: Pop over to the Lens Corrections panel and check the box to enable profile corrections. This fixes any distortion or dark corners from your lens.
- Jump to the Detail Panel: Find the Detail panel and hit the “Denoise” button. This will bring up the AI tool.
- Set the Amount: Use the preview window to judge the effect. Start with the default suggestion and move the slider until it looks right. For most of my product shots, a value between 40 and 60 is the sweet spot.
- Enhance & Edit: Once Lightroom works its magic, you can get back to your normal workflow—adjusting exposure, color grading, and sharpening. The great thing is that Lightroom now handles this much more smoothly, without creating massive duplicate DNG files like it used to.
By building this simple AI step into the start of your routine, you lay a rock-solid foundation for a clean, professional, and sharp final image.
Advanced Photoshop Techniques for Precision Control
When Lightroom’s global adjustments just won’t do the trick, it’s time to bring in the big guns: Adobe Photoshop. While Lightroom is fantastic for broad-stroke edits, Photoshop gives you the surgical precision needed for complex noise problems. You can apply noise reduction exactly where it's needed, cleaning up problem areas without turning your entire image into a soft, detail-less mush. For professional product photography, that level of control is non-negotiable.
Think about a typical product shot where noise is uneven. Maybe you have a smooth, dark background that's showing a lot of grain, but your product is a highly textured fabric. If you apply a single noise reduction setting across the whole image, you’re stuck with a bad choice: either the background stays grainy, or you obliterate the beautiful texture of the fabric. Photoshop lets you treat these areas separately.
This is exactly the kind of situation where targeted denoising makes all the difference. On one side, you have distracting digital grain; on the other, a clean, professional result from precise editing.
The takeaway here is that effective noise reduction isn’t a one-size-fits-all solution. It’s a targeted attack.
Using Camera Raw as a Smart Filter
One of my favorite and most flexible ways to handle noise in Photoshop is by using the Camera Raw filter on a Smart Object. This entire workflow is non-destructive, which means you can go back and fiddle with your settings anytime without permanently damaging your original image. It’s a game-changer.
First, right-click your image layer and select "Convert to Smart Object." With that done, head up to Filter > Camera Raw Filter. This opens up that familiar interface you know from Lightroom, complete with the powerful Detail panel for noise reduction. Dial in your Luminance and Color settings as you see fit, then hit "OK."
You'll see the filter appear as a "Smart Filter" right under your layer. Now, you can double-click it whenever you want to reopen Camera Raw and tweak the settings. But here’s the best part: the Smart Filter comes with its own layer mask. You can grab a black brush and simply paint away the noise reduction effect from the sharp parts of your product, leaving it active only on the smooth background.
Key Insight: Combining a Smart Filter with its mask gives you the best of both worlds. You get the powerful algorithms of Camera Raw paired with the pinpoint precision of Photoshop's masking tools. It’s a perfect recipe for high-end edits.
Frequency Separation for Ultimate Control
For those situations that demand the absolute highest level of precision, advanced retouchers often rely on a technique called frequency separation. It sounds complex, but the concept is pretty straightforward: you split your image into two separate layers. One holds all the color and tone (the "low frequency"), and the other holds all the texture and fine details (the "high frequency").
This separation is brilliant for noise reduction because digital noise primarily hangs out in the color and tone information. By isolating it on that low-frequency layer, you can apply a gentle blur—like Gaussian Blur—to smooth out the splotchy noise without ever touching the crisp details on your texture layer.
Here's a quick and dirty breakdown of how it works:
- Duplicate Your Layer Twice: Make two copies of your image. I like to name them "Low Frequency (Color)" and "High Frequency (Texture)" to keep things straight.
- Blur the Low Layer: Select the "Low Frequency" layer and apply a Gaussian Blur. You want to find a radius that just blurs out the noise without turning the image's form into a blob.
- Isolate Texture on the High Layer: Now, select the "High Frequency" layer and go to Image > Apply Image. You’ll set it up to subtract the "Low Frequency" layer from your current one, which leaves you with just the fine details on a neutral gray background.
- Blend and Edit: Change the blend mode of the "High Frequency" layer to "Linear Light," and your image will look normal again. Now for the magic: you can selectively paint or blur on the "Low Frequency" layer to smooth out any remaining noise, and it won't affect the texture at all.
This technique is a true cornerstone of high-end https://prodshot.net/product-photo-retouching and is how pros get those flawless results on even the most difficult images.
Layer Masks for Targeted Adjustments
Even if you don't want to dive into something as involved as frequency separation, you can still get amazing control with simple layer masks. Just duplicate your image layer, apply a strong noise reduction filter to the top one, and then use a layer mask to reveal the effect only where you need it.
For example, you could apply a heavy-handed dose of noise reduction to clean up a messy, shadowy background. Then, add a layer mask and use a soft black brush to paint over your main product. This brings back the sharp, untouched original layer underneath. It's a quick, dirty, and incredibly effective way to manage noise when you have a clear subject and background.
And for those of you looking to really dig into advanced editing, you might want to explore various plugins and extensions that can take your precision control even further.
Stepping Up Your Game with Standalone AI Denoise Software
While Adobe’s built-in tools are fantastic for most situations, there’s a whole world of specialized AI software that takes noise reduction to another level. Several companies have built their entire reputation on one thing: cleaning up digital noise. And frankly, they often achieve results that can feel like pure magic.
These standalone programs are built from the ground up with proprietary algorithms designed for the sole purpose of analyzing and reconstructing image data. If you ever find yourself shooting in seriously challenging light—we’re talking astrophotography, dimly lit indoor events, or wildlife at the crack of dawn—these tools can be the difference between a deleted file and a portfolio hero. They do one job, and they do it exceptionally well.
A Look at the Top Denoise Tools
When you start exploring third-party options, a few names always pop up: Topaz Denoise AI (now rolled into their Photo AI suite), DxO PureRAW, and ON1 NoNoise AI. Each one has its own personality and strengths, so the "best" choice really depends on what you need and how you like to work.
- Topaz Denoise AI is legendary for its ability to recover fine detail. Its algorithm is almost uncanny at telling the difference between noise and actual texture, letting you pull usable details from severely underexposed shots you thought were goners. It’s the tool you grab when you need to pull a rabbit out of a hat.
- DxO PureRAW is all about creating an incredibly clean, natural-looking foundation. It works on your RAW files before you even bring them into your main editor. It applies its famous lens corrections and "DeepPRIME" denoising, then spits out a brand new RAW file (a Linear DNG) that looks like it was shot at a much lower ISO.
- ON1 NoNoise AI offers a fantastic mix of power and hands-on control. It shows you fast previews and includes powerful masking tools right in the app, which means you can apply noise reduction selectively without having to jump between programs.
To help you decide, here’s a quick breakdown of how these popular tools stack up.
Comparing Top AI Denoise Tools
| Tool Name | Key Strength | Best For | Potential Drawback |
|---|---|---|---|
| Topaz Photo AI (Denoise) | Incredible detail recovery and sharpness | Rescuing severely noisy or underexposed images | Can sometimes look over-sharpened if pushed too far |
| DxO PureRAW | Produces exceptionally clean and natural results | Photographers who want the best possible RAW file to start editing with | Less granular control over the denoising process |
| ON1 NoNoise AI | Great balance of speed, control, and masking | Users who want to selectively apply noise reduction within one tool | The user interface can feel a bit more complex than others |
Ultimately, the best way to choose is to download the free trials. Run a few of your own noisy images through each one and see which output you prefer for your style of photography.
Don't Go Overboard: Finding the Right Balance
Here’s the big warning that comes with all this incredible power: it is so easy to overdo it. Pushing the sliders too far can strip an image of its natural texture, leaving you with a weirdly smooth, "plastic" look. This is a deal-breaker for product photos, where preserving the texture of fabric, wood, or leather is everything.
Your goal should be noise reduction, not complete elimination. A little bit of fine, uniform grain often looks more natural and pleasing than an overly scrubbed image that just screams "fake."
This isn't just a matter of taste. A 2017 study on image quality confirmed that what we find technically "clean" doesn't always align with what we find visually appealing. Aggressive smoothing can destroy the very micro-details that make a photo feel real. You can read the full research paper on perceptual quality in denoising to see the science behind it.
Always, always check your work at 100% magnification. What looks fine zoomed out can look like a waxy mess up close. Be gentle with those sliders and always lean toward a more subtle correction.
How to Fit These Tools Into Your Workflow
The good news is that you don't have to abandon your current editor. These programs are designed to slot right into your existing process, usually at the very beginning.
With DxO PureRAW, for instance, your first move is to run your noisy RAW files through the app. It creates new, pristine DNG files that you then import into Lightroom or Photoshop to start your creative edits. This pre-processing step gives you the highest quality base image to work from.
Topaz and ON1 work as both standalone apps and plugins. This is super flexible. You can send an image directly from your Lightroom catalog to the denoise software, do your thing, and have the cleaned-up version sent right back.
For product photographers, this plugin approach is often perfect. It lets you tap into specialized power without blowing up your entire organizational system. This creates a seamless, repeatable process—which is exactly what you need when you're aiming for consistency, much like you would with an AI product photo generator. The end goal is always a reliable workflow that delivers professional results, every single time.
Solving Common Noise Reduction Headaches
Even with incredible AI-powered tools at our fingertips, getting rid of noise isn't always a one-click magic trick. You'll inevitably run into some frustrating issues that can make your edits feel like you're taking two steps back. Knowing how to spot and fix these common problems is what separates a good edit from a great one.
Let’s talk about the most frequent complaint I hear: an image that looks too soft or almost "plastic" after denoising. This is the classic sign of an overly aggressive algorithm. It's doing its job, but a little too well, scrubbing away not just the ugly grain but also the fine, essential details that give an object its texture and character.
You’ve probably seen it. The subtle texture on a wooden table suddenly looks flat, or the intricate stitching on a leather handbag gets smudged into a mushy mess. This is a clear case of overkill. The fix is almost always to simply dial back the intensity. If you're using an AI denoiser, pull back the "Amount" or "Strength" slider until you strike that perfect balance—the distracting noise is gone, but the crucial micro-details are still there.
Restoring Lost Texture and Detail
So, what do you do when a photo is already too smooth? Your goal is to selectively bring back that texture without reintroducing the noise. This is where a more advanced program like Adobe Photoshop really shines with its layered approach.
You can use layer masks to literally paint the noise reduction effect only onto the smooth areas, like a clean background or a sky. This lets you protect the detailed parts of your main subject, keeping them sharp and defined.
Another headache is that persistent, splotchy color noise, especially in the deep shadows of an image. It shows up as ugly green and magenta blotches that can completely ruin an otherwise perfect shot.
There's a reason most editing software separates the controls for luminance noise (the grain) and color noise (the splotches). You can often be far more aggressive with the color noise slider without any negative impact on image detail. Don't be shy—pushing that specific control all the way to its maximum is often a safe and highly effective way to kill those distracting color shifts in the shadows.
Pro Tip: Always, always check your work at a 100% zoom level. An image might look perfectly clean when it fits your screen, but zooming in is the only way to see the real impact on fine details and judge if you've pushed the sliders too far.
Tackling Unique Noise Challenges
Not all noise is created equal. The clean, predictable grain from a modern digital camera is a world away from the chaotic patterns you’ll find in an old, scanned photograph. These historical images throw a real curveball at standard denoising tools.
Old photos often have chaotic noise that can fool modern software. Some fascinating research has explored using specialized fuzzy filters to suppress this exact type of noise, and the results can outperform traditional methods by cleaning the image without excessive blurring. Considering many digitized photos are over 50 years old, these advanced techniques are vital for archival-quality restoration.
Here’s a quick cheat sheet for some common scenarios you might face:
- Problem: Fabric textures on a product look flat and dull.
- Solution: Your first move is to reduce the noise reduction amount. In Photoshop, a better way is to use a layer mask to apply the effect only to the background, leaving the fabric's texture completely untouched.
- Problem: You see distracting color splotches in the dark areas.
- Solution: Zero in on the Color noise reduction slider. Cranking this up usually solves the problem without making the rest of the image soft.
- Problem: The whole image just looks soft and out of focus.
- Solution: You've simply gone too far. Dial back the main denoise slider. If the results are still not sharp enough, it might be time to try a different tool with a more sophisticated algorithm.
Finally, if you find your finished images are losing quality after you export them, the issue might not be noise reduction at all—it could be your resizing process. Understanding how an image resizer can affect your photos is crucial for maintaining clarity. A proper resizing workflow ensures that all the details you worked so hard to preserve aren't lost at the final step.
Answering Your Top Questions on Photo Noise Reduction
As you get deeper into product photography, you'll inevitably run into specific questions about digital noise. Even after you've got the basics down, certain situations can leave you scratching your head. This is where we tackle those common, nagging questions that pop up during an editing session.
Think of this as your go-to guide for troubleshooting the tricky parts. Let's jump into the practical stuff.
Can Noise Reduction Make My Photos Look Worse?
Yes, absolutely. This is probably the single biggest mistake I see photographers make—getting way too aggressive with noise reduction. When you crank those sliders to the max, you're not just removing noise; you're stripping away the fine textures and sharp details that make your product look real. The result is often a soft, waxy, or "plastic" look that just screams "over-edited."
The trick is to find a balance. You want to reduce the distracting grain without completely obliterating the image's character. Modern AI tools are fantastic at walking this line, but your eye is always the final say. Before you hit save, always zoom in to 100% and check the critical areas of your product.
Key Takeaway: The goal is noise reduction, not total noise elimination. A little bit of fine, natural-looking grain is almost always better than a photo that looks unnaturally smooth and fake.
When Should I Apply Noise Reduction in My Workflow?
For the cleanest possible results, noise reduction should happen right at the beginning of your editing process. I always apply it directly to the RAW file, usually right after I’ve applied lens corrections but before I touch anything else like sharpening, color grading, or exposure.
Think of it like cleaning a canvas before you start painting. When you remove noise first, you're giving all your other editing tools a clean, accurate foundation to work with. If you try to sharpen a noisy photo, you'll just end up sharpening the noise itself, making the grain even more obvious and much harder to deal with later.
What Is the Difference Between Luminance and Color Noise?
It's super important to know the difference between the two main types of digital noise because they each need a different touch. Thankfully, most editing software gives you separate controls for both.
-
Luminance Noise: This is the one that looks like classic film grain. It’s monochromatic, affecting only the brightness of pixels and creating that gritty texture across the image.
-
Color Noise: You'll know this one when you see it. Also called chroma noise, it shows up as random, ugly blotches of color, usually little red, green, and blue specks in the shadow areas where they definitely don't belong.
Here's the good news: color noise is usually the easier of the two to fix without ruining your photo's detail. You can often be pretty heavy-handed with the color noise slider to get rid of those distracting speckles. For luminance noise, a much gentler approach is needed to keep that essential texture intact.
Ready to create stunning, noise-free product images in seconds? ProdShot uses advanced AI to automatically clean up your photos, remove backgrounds, and optimize them for any e-commerce platform. Stop wrestling with complicated editing software and let AI do the heavy lifting for you. Try it free and see the difference at https://prodshot.net.