
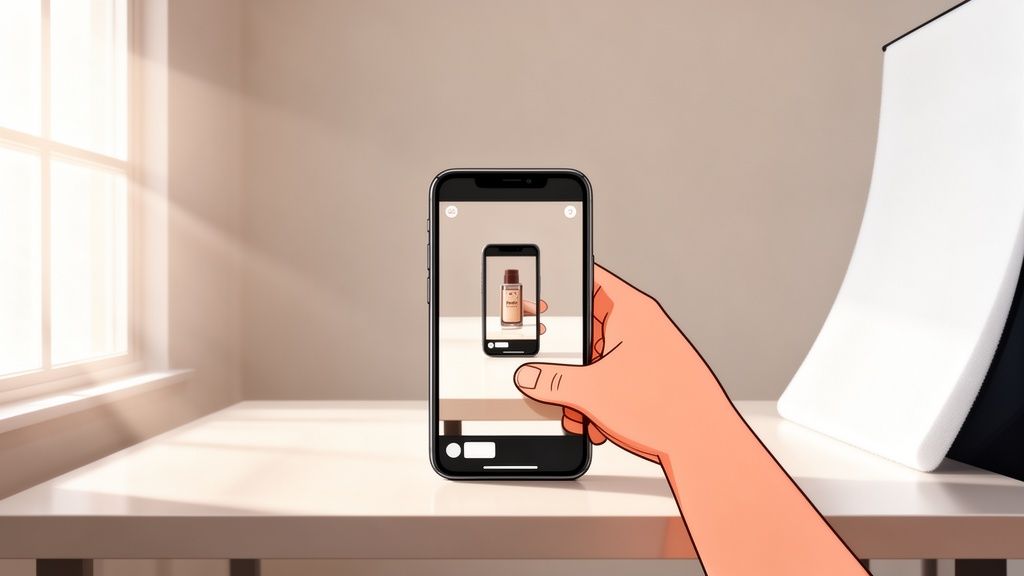
Want to know the secret to a great product photo? It's simpler than you think. Start with soft, natural light from a window. Pair that with a clean, simple background—a white poster board works perfectly. Finally, make sure to shoot from a few different angles to show off all the details. That’s it. Those three things are the foundation for professional-looking shots that grab attention and drive sales, even if you’re just using your smartphone.
Why Great Product Photos Are Your Best Sales Tool
In the endless scroll of an online marketplace, your product photos are your silent salesperson. They're working for you 24/7, doing the heavy lifting to catch a shopper's eye, build trust, and convince them to hit "add to cart."
Picture this: you're shopping on Etsy and see two listings for the exact same product. One has clear, bright, inviting photos. The other is blurry and poorly lit. Which one are you clicking on? It’s a no-brainer. Getting your photography right isn't just a technical detail; it's a core part of your business strategy.
This simple flow shows how quality images directly build trust, which in turn leads to more conversions and, ultimately, more sales.
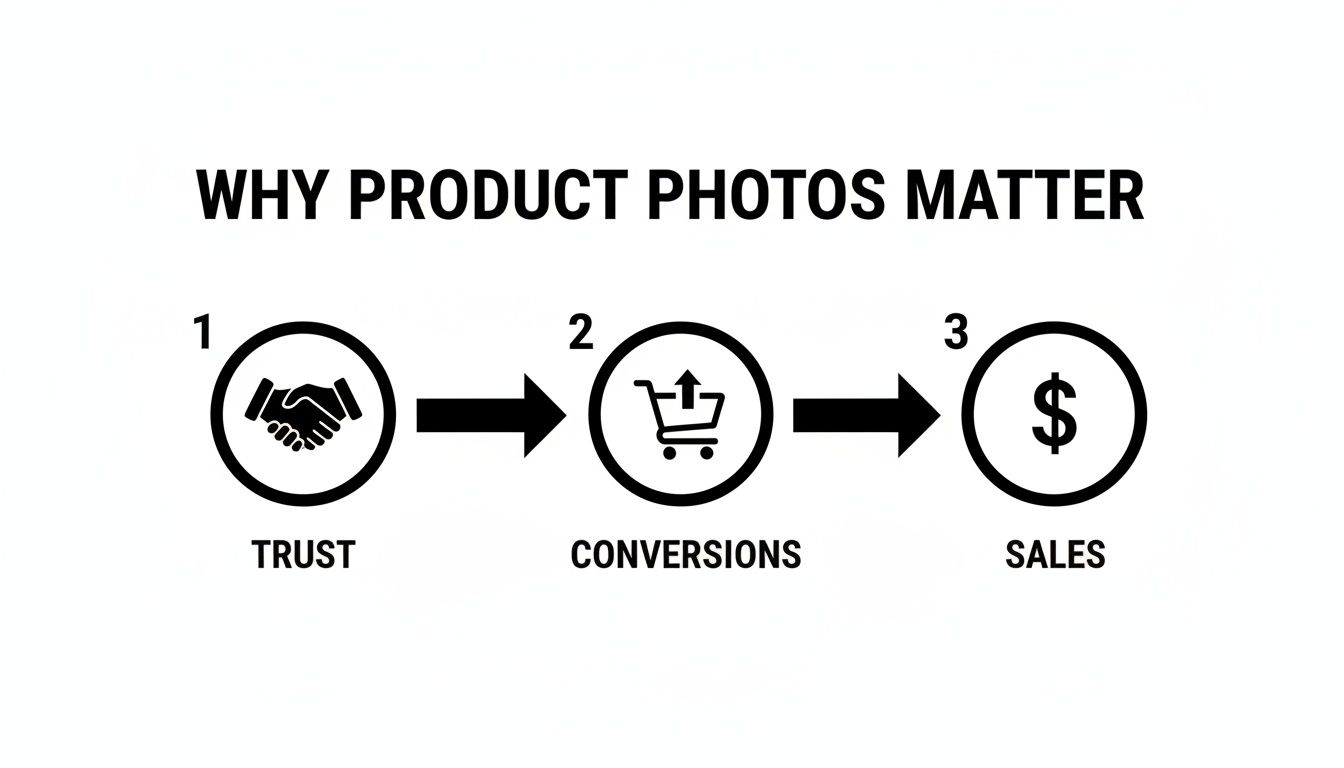
It’s a straightforward path: good photos create a good impression, which makes people confident enough to buy.
The Real Impact on Your Bottom Line
The time you invest in your photos pays off directly in your store's success. High-quality images can seriously boost conversion rates because they’re the closest thing a customer gets to holding the product in their hands.
The data backs this up. A staggering 9 out of 10 online shoppers say high-quality photos are one of the most important factors in their decision to buy. In fact, a whopping 67% of consumers care more about image quality than they do about product descriptions (54%) or even reviews (53%).
Your product photos are more than just pictures. They are the bridge between a potential customer's curiosity and their decision to buy. They communicate quality, professionalism, and trustworthiness before a single word of your description is ever read.
Understanding the basics of visual merchandising in retail is a game-changer here, because great product photos are just a digital version of those same principles. They're designed to attract and persuade online shoppers just like a well-crafted display in a physical store. It's all about creating an experience that not only shows off the product but tells a story, making the buyer feel confident enough to click purchase—which can even help reduce returns down the line.
Setting the Stage for a Perfect Shot
Long before you even touch your smartphone's camera, the real work of creating a fantastic product photo has already begun. The secret to an image that sells versus an amateur snapshot often comes down to the little details you handle in prep. This is where you set your product up for success.
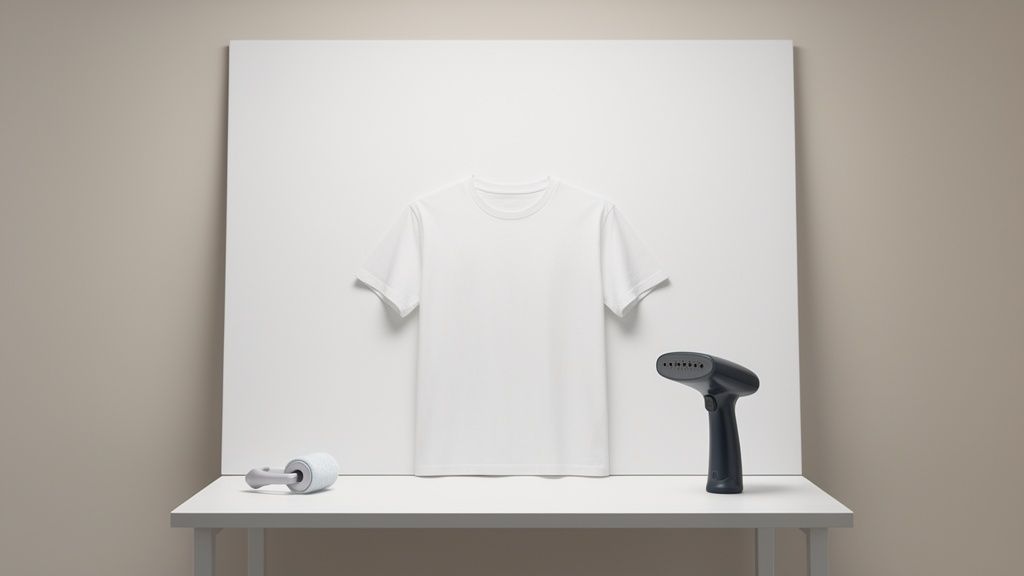
Think of your product as the star of the show. You wouldn't let an actor go on stage with a wrinkled shirt or a smudge on their face, right? The same logic applies here. Every wrinkle needs to be steamed out, every fingerprint wiped away, and every stray piece of lint removed. These tiny imperfections, which you might not even notice in person, become glaring flaws under the unforgiving eye of a camera lens.
Prepping Your Product for Its Close-Up
Every item is different and will need its own specific kind of prep. Your goal is simple: present the product in an idealized state—the exact perfect version a customer dreams of receiving. Spending an extra five minutes here will genuinely save you hours of painful editing later.
For clothing, hide all the tags and make sure the garment is perfectly pressed. If you’re shooting jewelry, a microfiber cloth is your best friend for getting rid of smudges and bringing out that sparkle. Even a simple box needs a once-over to ensure the label is straight and there are no scuffs.
The camera sees everything. A tiny dust speck can become a major flaw in a high-resolution photo. Your preparation phase is your first and best line of defense against time-consuming digital cleanup.
To make things easier, I've put together a quick reference table for some of the most common product types. It covers the essential prep work and highlights the easy-to-make mistakes that can ruin a great shot.
Essential Pre-Shoot Checklist for Any Product
This table is your go-to guide for making sure every product is camera-ready. A quick scan before you start shooting can make a world of difference.
| Product Type | Cleaning & Prep Steps | Common Mistake to Avoid |
|---|---|---|
| Apparel & Textiles | Steam or iron to remove all wrinkles. Use a lint roller generously. | Forgetting to check the inside of collars or cuffs for stray threads. |
| Jewelry & Metals | Polish with a soft, lint-free cloth. Use compressed air for dust. | Leaving fingerprints from handling the item after cleaning it. |
| Glass & Reflectives | Wipe down with a microfiber cloth and glass cleaner for a streak-free finish. | Shooting in a cluttered room that creates distracting reflections on the surface. |
| Packaged Goods | Ensure the box is pristine with no dents. Straighten labels. | Using a product with a slightly damaged or creased box. |
Following these simple checks ensures you're capturing the product at its absolute best, not creating more editing work for yourself down the line.
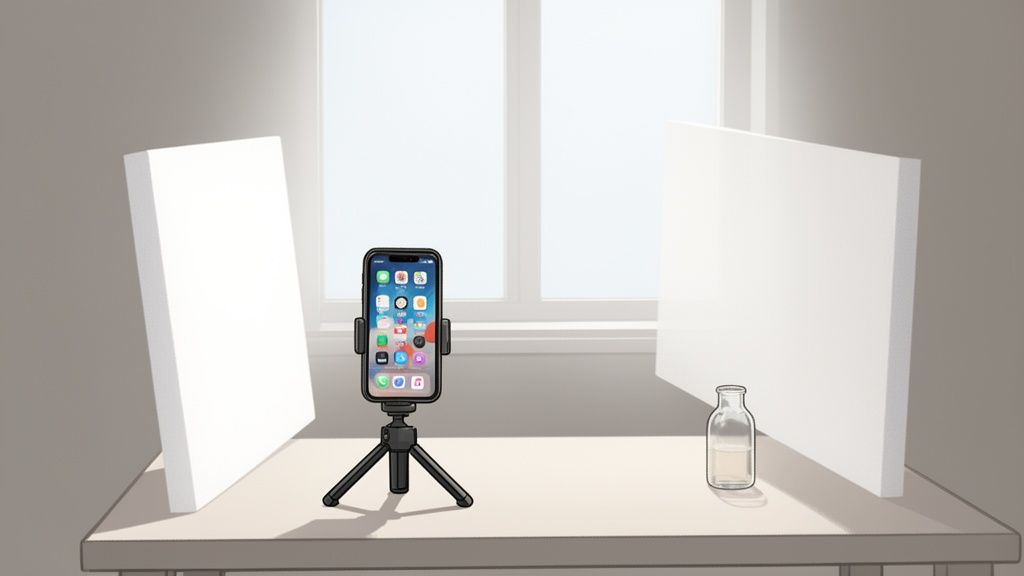
Building Your DIY Mini-Studio
The good news? You don’t need a fancy, expensive studio to get professional results. A simple, clean background is all it takes to eliminate distractions and make your product the hero of the shot. You can easily build one for almost nothing.
The classic DIY method is the infinity sweep. Grab a large piece of white poster board and set it on a table next to a wall. Let the bottom half rest flat on the table and gently curve the top half up against the wall, taping it in place. What you get is a seamless, corner-free background that makes your product look like it's floating in a clean, professional space.
No white wall? No problem. Any neutral-colored wall will do the trick. The most important thing is consistency. Using the same background for all your products creates a cohesive and trustworthy brand look that keeps customers browsing—and buying.
Nail Your Lighting and Angles With Just Your Phone
You've got your product prepped and your mini-studio is ready to go. Now for the fun part—the two things that will make or break your photos: light and composition. Forget all the complicated gear you think you need. Your best tools are right in front of you: a window, your smartphone, and a bit of practical knowledge.
The number one mistake I see new sellers make is using harsh, direct light. A bright sunbeam blasting your product creates ugly, distracting shadows and blows out all the important details. What you're actually after is soft, diffused natural light. It's the secret sauce.
Let the Window Do the Work
Picture the light coming through a big window on a cloudy day. That's the gold standard. It’s soft, even, and wraps around your product in a way that shows off its texture and shape without creating any harsh lines. If the sun is shining right into your window, you can easily soften it up.
- Hang a sheer white curtain: This instantly turns your window into a massive softbox.
- Tape parchment paper to the glass: A fantastic, low-cost trick that works just as well.
Place your setup on a table right next to the window, not directly in front of it. This side-lighting creates a subtle gradient of light across your product, which is what gives it a sense of dimension and depth.
You'll probably notice that one side of your product is nicely lit while the other is lost in shadow. A little shadow is good—it creates depth—but deep, dark shadows just look amateur. The fix for this is incredibly easy and practically free.
Grab a piece of white foam board or even just a thick sheet of white paper. Stand it up on the shadowy side of your product. This little trick turns it into a bounce card, reflecting that beautiful window light right back into the dark areas. Play around with the angle of the board to see how it changes the brightness.
This one simple technique—using a window as your key light and a white board as your fill light—is the foundation of countless professional product shots. Getting this down will immediately level up your photos. The principles are universal, but for specific challenges like shiny surfaces, you can check out our guide for shooting great electronics product photos.
Compose Your Shot Like a Pro
Once your lighting is dialed in, it's time to think about composition—basically, how you arrange everything in the frame. Good composition is all about guiding the viewer's eye and making the shot more interesting. A great place to start is with the rule of thirds.
Just imagine your phone screen has a tic-tac-toe grid over it. Instead of sticking your product smack in the middle, try placing it along one of the lines or at a point where two lines cross. It's a tiny shift that makes your image feel much more dynamic and professional. Most smartphones have a grid option in the camera settings to help you out.
Finally, never settle for just one photo. You need to build a small gallery for each product to give your customers the full picture.
- The Eye-Level Shot: Your main, straight-on "hero" image. This is the first one people will see.
- The Top-Down (or Flat Lay): Fantastic for showing off a collection of items, or for products like plates, rugs, or prints.
- The 45-Degree Angle: A classic for a reason. It shows the front and side of the product at once, giving a great sense of its 3D form.
- The Detail Shot: Get up close and personal. Highlight the texture of a fabric, the clasp on a piece of jewelry, or a cool logo.
When you combine that soft, natural light with thoughtful composition and a variety of angles, you're not just taking pictures—you're telling a complete visual story about your product.
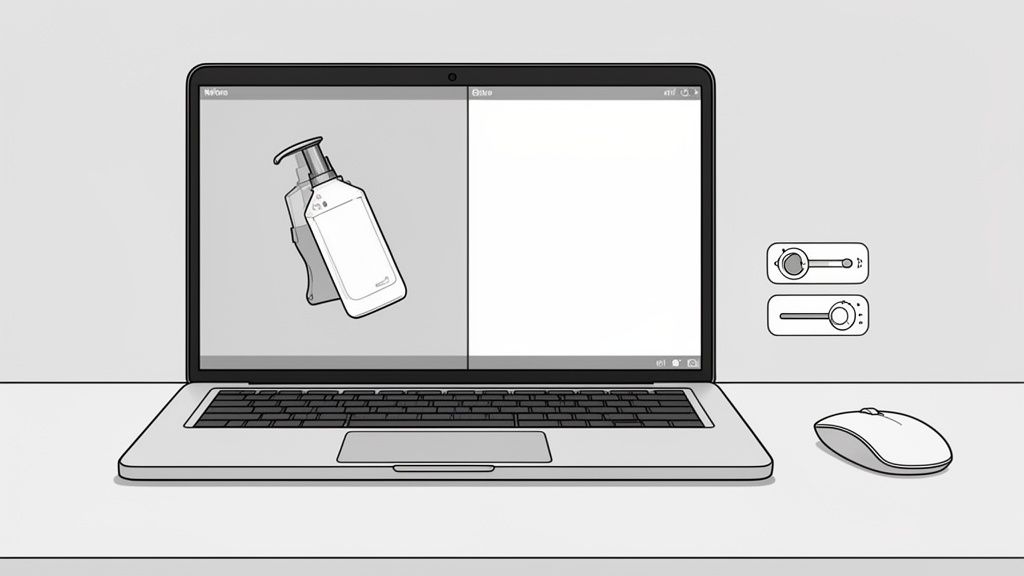
Unlocking Your Phone's Hidden Camera Features
Your phone’s built-in camera app is hiding some serious power right under your nose. Most people never dig into the settings, but a few simple controls are buried just beneath the surface that can completely change your product photos for the better.
Getting a handle on these settings is probably the single fastest way to take your images from “meh” to “wow” without ever downloading a new app.
The first, and I’d argue most important, is the focus lock. Just open your camera and tap directly on your product. You'll see a little box pop up, confirming that's where the camera is now locked. This one simple move tells your phone exactly what needs to be tack-sharp, stopping it from getting confused and focusing on the background instead.
Once you’ve tapped to focus, look for a small sun or lightbulb icon that usually appears right next to that focus box. That’s your exposure slider. Dragging it up brightens the scene, and dragging it down darkens it—all before you snap the picture. This puts you in direct control of the lighting, making sure your product isn't a dark blob or completely washed out.
Fine-Tuning Your Camera Settings
Beyond just focus and exposure, a couple of other built-in tools can give you a massive boost. My personal favorite is the grid overlay. You’ll have to pop into your camera’s main settings menu to turn this on, but it’s absolutely worth it.
This feature lays a simple tic-tac-toe grid over your screen, which makes applying classic composition tricks like the rule of thirds ridiculously easy. A shot that’s straight and well-composed just feels more professional.
Always take a second to make sure you’re shooting at the highest possible resolution. It’s a basic setting, but it’s critical for capturing the maximum detail. You want customers to be able to zoom in and see the quality.
Finally, make a pact with yourself right now to never, ever use the built-in flash. Seriously. The light blasted from your phone's flash is harsh, direct, and incredibly unflattering. It creates nasty glare on shiny products and casts deep, distracting shadows that make everything look cheap. The natural light techniques we talked about earlier will beat the on-camera flash 100% of the time.
These quick tweaks are standard on pretty much every modern smartphone out there, whether it's an iPhone or an Android. They're fundamental tools for anyone learning how to take a good product photo, giving you the control to create crisp, clear, and perfectly lit images every single time.
Editing Your Photos for a Polished Professional Look
Getting a great shot straight from your phone is a fantastic start, but the final edit is where the magic really happens. This is the last crucial step that turns a good photo into a powerful, sales-driving image. Post-processing polishes your pictures, making sure they meet marketplace standards and truly reflect the quality of your brand.
Don't worry, you don't need to become a Photoshop guru overnight. Modern editing tools, especially those built with AI, can handle the heavy lifting with just a few clicks. They're designed to be fast and efficient, saving you a ton of time while delivering consistently professional results.
The effort you put into quality visuals pays off, big time. Professional product photography can actually cut customer returns by 22-25% and boost sales by up to 30%. Why? Because the vast majority of shoppers make buying decisions based on images they can clearly see and remember. High-quality shots build trust and remove doubt, which means fewer returns from customers whose expectations weren't met.
Essential Edits for Every Product Photo
Before you even think about uploading, every single image should get a quick once-over. These simple adjustments make a world of difference in how professional your product looks to potential buyers.
- Cropping and Straightening: Line up your product perfectly. A slightly tilted image can make your whole store feel a bit amateur. Crop to a standard aspect ratio, like a 1:1 square or 4:3 rectangle, to keep your shop looking clean and consistent.
- Brightness and Contrast: Tweak the exposure so the image is bright and clear, but not blown out. A little boost in contrast helps details pop without making the photo look fake.
- White Balance Correction: This one is non-negotiable. Make sure your whites are truly white, not tinted yellow or blue. This ensures your product colors are accurate, which is absolutely vital for keeping customers happy.
Think of these as the foundation of a solid edit. Nailing these basics ensures every photo you post looks sharp, clean, and trustworthy.
Don't go for dramatic, Instagram-style filters. Your goal is accuracy. The whole point of editing is to make the product in the photo look exactly like the one that will arrive at the customer's door. This simple approach builds trust and keeps returns way down.
Using AI for a Faster Workflow
The real game-changer for online sellers is using AI-powered editing tools. These platforms automate the most tedious, time-sucking tasks, so you can get back to actually growing your business.
For example, marketplaces like Amazon and Shopify have strict rules, often requiring products to sit on a pure white background. Manually cutting out a product used to take forever, but AI can now remove backgrounds perfectly in seconds. It can also intelligently fix colors, balance the lighting, and even clean up tiny dust specks or imperfections you might have missed. Our guide on professional product photo editing services dives deeper into how these tools can build an incredibly efficient workflow.
Once your photos are edited to perfection, you'll also find some handy free image resizing tools out there. These help you optimize your images for different platforms, ensuring they load quickly without losing quality. By bringing these smart tools into your process, you can churn out a high volume of marketplace-ready photos that build your brand's credibility and drive your bottom line.
Common Questions About Smartphone Product Photography
Even with the best plan, you're bound to hit a few snags. It’s just part of the learning curve. Let's walk through some of the most common questions and sticking points I see sellers struggle with when they're getting started.
The absolute classic? Shooting anything shiny. Jewelry, glassware, polished metal—they can all turn into a reflective nightmare, often starring you and your smartphone in an unwanted cameo.
The trick isn't to kill all reflections but to control what gets reflected. You want the shiny surface to "see" a clean, neutral environment. This is where those simple foam boards become your most valuable tool. Try building a little "tent" or box around your product with white poster board. This simple setup blocks out all the visual clutter from the room and replaces it with a soft, even white reflection.
How Do I Handle Tricky Items Like Jewelry or Clothing?
For tiny, detailed things like jewelry, you have to get close. So many people make the mistake of shooting from too far away and then cropping the image way down. That just kills your image quality. Instead, move your phone as physically close as you can while still being able to focus. Most modern phones have a "macro mode" that will kick in automatically to handle this.
Clothing presents a totally different set of challenges. It's all about showing off the texture, fit, and true color.
- The "Ghost Mannequin" Look: If you're not using a model, you still need to give the garment some life. Stuffing it with tissue paper or bubble wrap gives it a three-dimensional shape, making it look far more appealing than a sad, flat piece of fabric.
- Getting Colors Right: Your phone's screen might not tell the whole story. Always double-check your final photos on another screen, like a laptop, to make sure the color is accurate. A tiny tweak to the white balance in your editing app can be the difference between a happy customer and a return because the "mustard yellow" sweater was actually more of a "lime green."
The goal here is to manage expectations. An honest photo that clearly shows the product—even its minor imperfections—builds far more trust than a misleading one. That trust is what dramatically cuts down on returns.
Wrestling with these challenges is just part of the DIY process. While it’s incredibly rewarding, it’s also smart to know what your time is worth. It can be eye-opening to compare the hours you spend shooting and editing against what a pro might charge. You can learn more about the typical cost of professional product photography to get a better sense of that balance.
What Are the Best Apps for Quick Edits?
Your phone’s built-in photo editor is fine for a quick crop or brightness boost, but a dedicated app will give you so much more control. You definitely don’t need a complicated desktop program to get incredible results.
Most sellers hit a sweet spot with apps like Adobe Lightroom Mobile or Snapseed. They're both super intuitive but pack a punch with features for adjusting everything from exposure and color to making selective edits on just one part of the photo. The real key is to pick one, get comfortable with it, and stick with it.
Pro tip: In Lightroom Mobile, you can create and save your own editing "presets." This is a game-changer for keeping a consistent, professional look across all your product listings, which instantly makes your brand look more cohesive.
Can I Really Get Professional Results Without a DSLR Camera?
Yes, 100%. The camera you have in your pocket right now is more powerful than professional cameras were just a decade ago. The sensor technology, combined with all the smart "computational photography" software baked in, can produce images that are sharp, vibrant, and more than big enough for any online marketplace.
The secret isn’t the gear, it's the technique. Once you master your lighting, composition, and a few basic editing skills, you can create images that absolutely hold their own against shots from a big, clunky DSLR. The best part about using your smartphone is how seamless it is—you can shoot, edit, and upload from one device, making your entire workflow incredibly fast and efficient.
Ready to turn your phone snaps into high-converting product images? ProdShot uses AI to automatically remove backgrounds, enhance lighting, and deliver marketplace-ready photos in seconds. Try ProdShot for free and see the difference.