
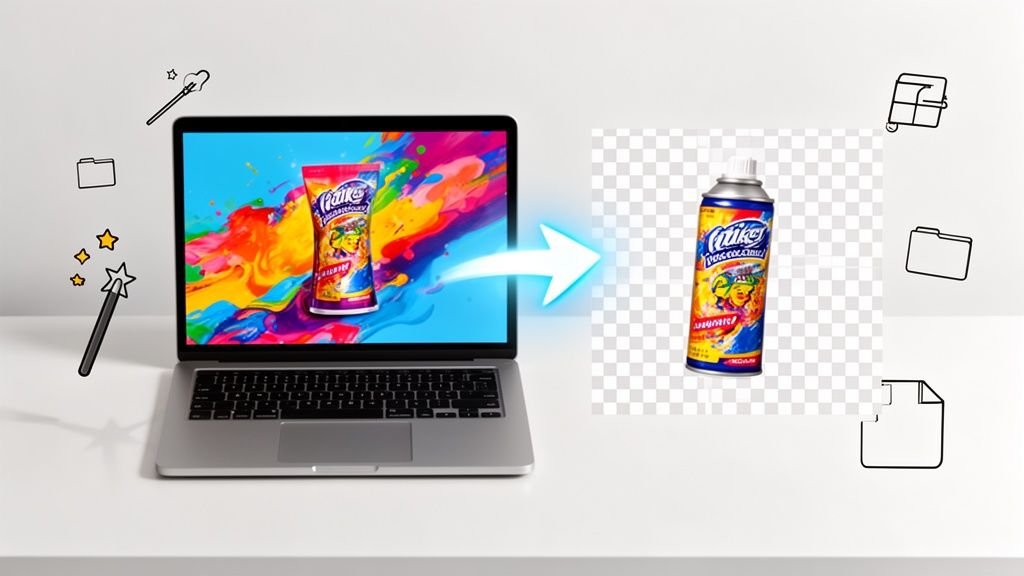
To turn a JPG into a transparent PNG, you first have to cut the subject out from its background with an editing tool. Once the background is gone, you save (or export) the image as a PNG file. That's the secret sauce—unlike JPGs, the PNG format supports transparency, which lets your image sit cleanly on top of any background. This is a must-know skill for anyone creating professional product photos, logos, or web graphics.
Why Transparent PNGs Are a Game-Changer for Your Brand
Before we get into the "how," let's talk about the "why." Switching from a standard JPG to a transparent PNG isn't just a file conversion; it's a smart branding move. If you're selling online on platforms like Shopify, Amazon, or Etsy, this single change can completely transform how people see your products and your business.
A clean product photo with no background distractions makes the item you're selling the star of the show.
This level of polish instantly builds trust. When a potential customer sees a crisp product image that looks great no matter the background color, it signals that you care about quality and detail. That consistency is key to creating a cohesive, professional look across your website, social media, and marketing.
The Power of Professional Presentation
There's no debating the impact of high-quality visuals on e-commerce sales. Time and again, products displayed with clean, transparent backgrounds just sell better. This has driven a massive shift in how online stores present their products over the last decade.
The e-commerce background removal market has exploded. Today, around 85% of successful product listings feature transparent backgrounds, a huge leap from just 35% back in 2015. Digging into the data, these images also enjoy an average 27% boost in click-through rates. By 2024, it was estimated that 92% of Shopify store owners and 88% of Etsy sellers had made the switch.
Knowing how much better images perform is crucial. For instance, learning how to improve your Amazon CTR often begins with upgrading your main product photo to a professional standard.
Quality and Versatility Combined
Beyond just looking good, the PNG format has a technical edge that's vital for protecting your brand's integrity: lossless compression. JPGs lose a little bit of quality every time you save them, which can make them look blurry or pixelated over time. PNGs, on the other hand, keep all their original data.
This means your logo or product photo will stay perfectly sharp, no matter how many times you edit or reuse it. It’s the best way to make sure your brand always looks its best.
This versatility opens up a world of possibilities:
- Layer images effortlessly: You can place your product on a promotional banner, an ad, or a lifestyle shot without that ugly white box framing it.
- Maintain brand consistency: Use the exact same high-quality graphic across your website, emails, and social media with total confidence.
- Future-proof your content: Your images will look professional on any new website design or background color you might use down the road.
The Fastest Way to Convert Your Images with AI
If you're an online seller or a creator, you know that time is one thing you can't get back. When you need a JPG converted to a transparent PNG—and you need it done right now without losing quality—fiddling with complex software isn't the answer anymore. AI tools have completely changed the game, delivering a level of speed and precision that was once unthinkable.
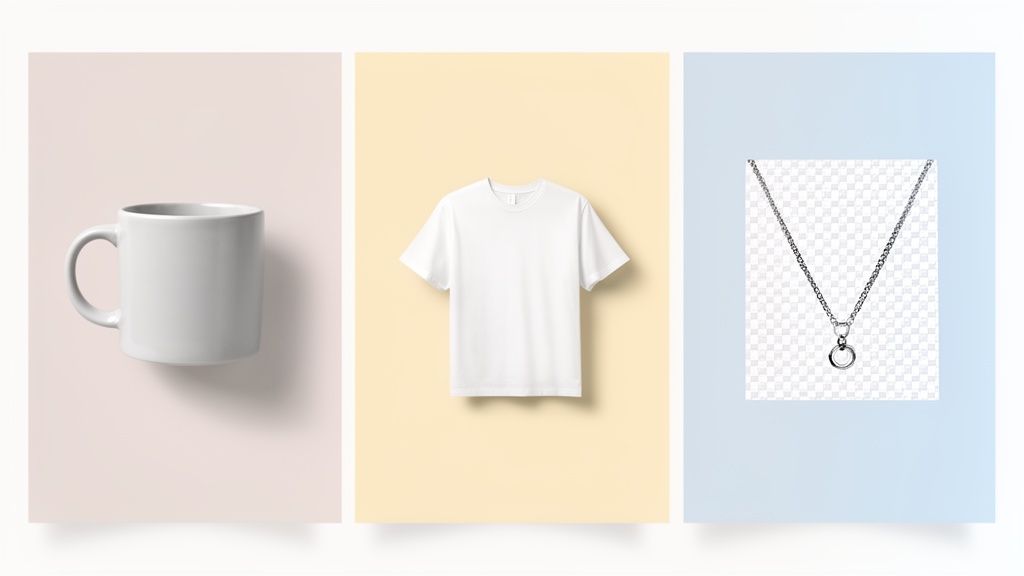
Tools like ProdShot are built from the ground up for exactly this task. Picture this: you just snapped a photo of your new jewelry line with your phone. Instead of the old-school drudgery of tracing around delicate chains and tiny gemstones, you can just upload the JPG and let the AI do all the hard work in seconds.
Get Perfect Edges in Just a Few Clicks
The real beauty of using AI for this is how it handles the tricky details. Manually removing a background from certain images is a classic headache. Think about trying to work with:
- Fine hair or fur: This is the stuff of nightmares for designers. AI can isolate individual strands, giving you a result that looks natural, not like it was hacked out with a digital pair of scissors.
- Sheer or delicate fabrics: Algorithms are now smart enough to detect those subtle edges and varying levels of transparency that are nearly impossible to trace by hand.
- Intricate objects: Things with complex shapes, like a bicycle or a piece of ornate furniture, get cut out cleanly without any of those tell-tale jagged edges.
This screenshot from ProdShot shows you just how straightforward the process is. It's a simple drag-and-drop.
That’s all it takes. You can go from a basic photo to a professional, marketplace-ready image without needing a design degree. It’s a workflow designed for people who have a business to run.
Save Time and Scale Your Business
The most obvious win here is the massive amount of time you get back. A recent survey of 5,000 online retailers found that businesses using AI for image conversion saved an average of 18-22 hours every single month. That's huge.
Where removing a background by hand used to take a solid 3-5 minutes per image, modern AI knocks it out in under 10 seconds. That’s a 95% reduction in time. It's no wonder this technology has opened the door for so many sellers to achieve professional-looking product photos. You can read more about these findings on transparent image conversion.
By turning this tedious step into an automated task, you reclaim hours. That’s time you can pour back into marketing, talking to customers, or developing your next big product. This isn't just about moving faster; it's about working smarter.
This kind of efficiency means you can keep your brand looking sharp and consistent everywhere you sell, without the high costs of freelancers or agencies. You can even take it a step further and create unlimited high-quality visuals for your products using an AI product photo generator.
And if you're looking to streamline more than just your images, you can explore comprehensive AI automation services. At the end of the day, using AI for image editing is a direct line to scaling your business and making your brand look its absolute best.
Getting Your Hands Dirty: A Guide to Manual Conversion Tools
AI tools are brilliant for speed, but there are times when a project just needs that human touch for pixel-perfect control. For creative pros, marketing agencies, or anyone tackling a really complex image, manual tools like Adobe Photoshop and GIMP are still the gold standard. Sure, these methods take more time and a bit of practice, but the precision you get is second to none.
Going the manual route means you can make those tiny, nuanced decisions an algorithm might completely miss. This is especially true when you're dealing with images that have intricate details, semi-transparent elements (like glass or smoke), or backgrounds that are frustratingly similar in color to your main subject. Mastering these tools gives you total creative freedom over the final transparent PNG.
This infographic really puts the efficiency gains into perspective, comparing old-school manual editing with modern AI solutions.
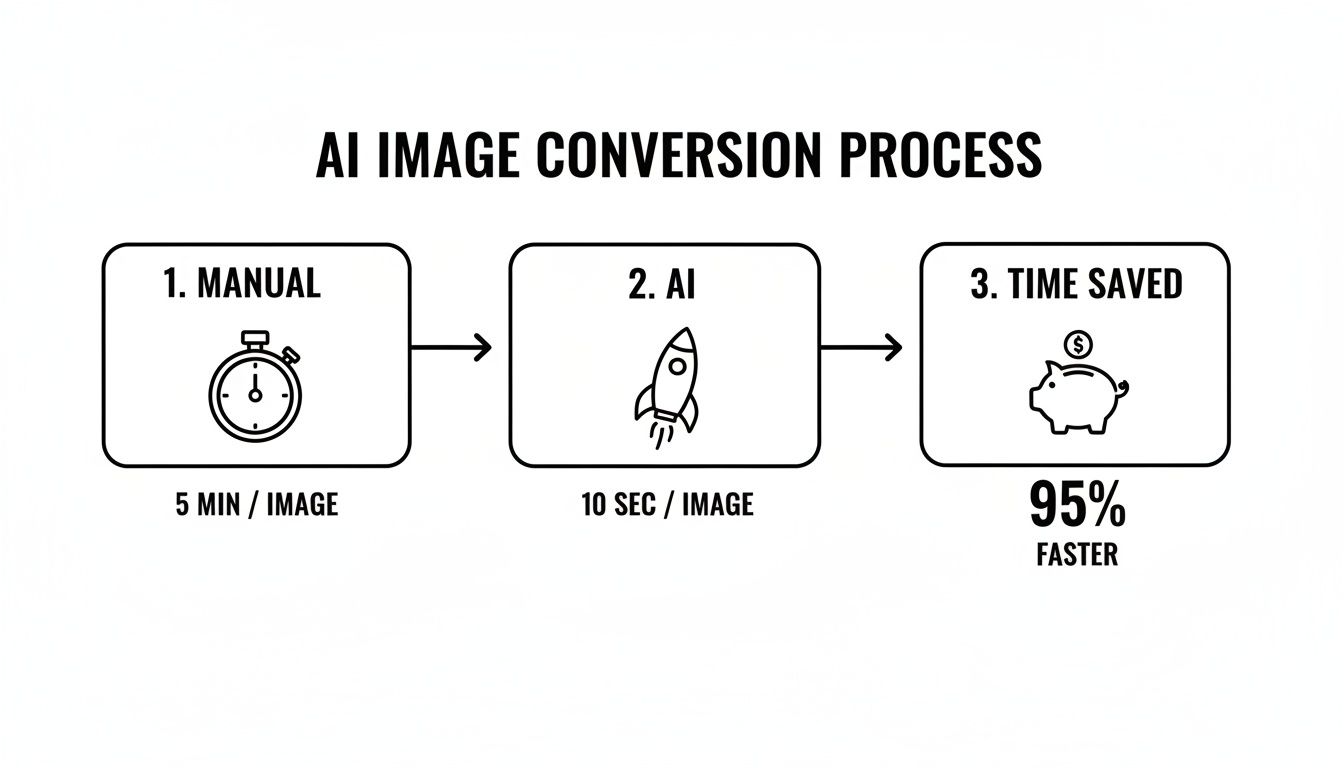
The numbers don't lie. For routine conversions, AI can slash a task that takes several minutes down to just a few seconds. That’s a massive 95% time-saving advantage.
Precision Edits in Adobe Photoshop
There's a reason Adobe Photoshop is the industry leader—its suite of selection tools is incredibly powerful. The right tool for the job really depends on how complex your image is.
For a product with clean, simple edges, like a book or a box, the Object Selection Tool is a fantastic starting point. It uses AI to identify the main subject, and honestly, it often gets you 90% of the way there with just one click.
But what about subjects with tricky curves or sharp, geometric lines? Think logos, machinery, or even intricate jewelry. For those, the Pen Tool is your best friend. It lets you create a precise vector path around your object, giving you ultimate control over every curve and corner. It definitely has a steeper learning curve, but mastering the Pen Tool is a game-changer for professional-quality cutouts.
Once you have your selection, the real pro-tip is to avoid permanently deleting the background. Instead, you'll want to use a layer mask.
A layer mask is a non-destructive way to hide parts of an image. When you apply your selection as a layer mask, you can easily go back and refine the edges with a soft brush. This is perfect for perfecting tricky areas like hair or soft shadows without ever damaging the original image pixels.
Mastering Selections in GIMP
If you're looking for a powerful and completely free alternative, GIMP (GNU Image Manipulation Program) is an excellent choice to convert a JPG to a transparent PNG. The workflow is very similar to Photoshop's, all centering on making a clean selection before removing the background.
GIMP’s Fuzzy Select Tool (you might know it as the Magic Wand) works wonders for images with solid, high-contrast backgrounds. Just click on the background color, and the tool grabs all the similar, connected pixels. You can even adjust the "Threshold" to control how sensitive it is to different shades.
For more complex jobs, GIMP's Paths Tool is the direct equivalent of Photoshop's Pen Tool. It offers the same level of precision for tracing around your subject. After creating your path, you convert it to a selection. From there, you just need to add an alpha channel to your layer (which is what enables transparency) and delete the background. You'll see that classic checkerboard pattern appear, letting you know it worked.
For Shopify sellers who need to get this done quickly without the Photoshop subscription, learning these tools can be a huge asset. We have more tips for platform-specific image needs in our guide on how to remove a background for Shopify.
No matter if you're using Photoshop or GIMP, the final step is exporting. Always choose the PNG format and double-check that the transparency option is enabled to save all your hard work.
Choosing the Right Free Online Converter
Sometimes you just need to get a job done quickly without firing up a big software program like Photoshop. For a one-off task, a free online converter can be a lifesaver. These browser-based tools are perfect when you need to quickly convert a JPG to a transparent PNG without installing a thing.
Maybe you’re a Facebook Marketplace seller who just needs to clean up a photo of a vintage chair, or a blogger who wants to pop a headshot onto a new graphic. In those moments, speed and convenience are what matter most. A good online tool can get you a usable image in minutes, right from your web browser.
The Trade-Offs of Free Tools
As convenient as they are, these online converters come with a few strings attached. "Free" usually means you're trading something, and it's good to know what those trade-offs are before you upload your images.
First off, keep an eye out for file size and resolution limits. Many free services won't let you upload a super high-resolution photo, which can be a dealbreaker. The quality of the final image can also be a bit hit-or-miss. The automated algorithms that remove the background can sometimes struggle with tricky edges, like hair or fuzzy textures, leaving you with a slightly jagged or blurry outline.
The biggest thing to watch out for, though, is privacy. When you upload a picture to a random website, you're handing your data over to a third-party server. I always advise people to be cautious about uploading sensitive or proprietary product images to a free service.
Finding the Best Fit for Your Task
Of course, not all free online tools are the same. Some are great for cutting out simple, geometric shapes, while others have slightly smarter tech for handling more detailed edges. It really comes down to what you need for the task at hand.
To help you decide, here’s a quick look at some of the most popular free online converters. I've used all of these at one point or another for quick jobs.
Comparing Free Online JPG to PNG Converters
| Tool Name | Best For | Batch Processing | Output Quality | Ease of Use |
|---|---|---|---|---|
| remove.bg | Quick, single-image cutouts for social media or personal projects | No (paid plans only) | Good, but free version is low-res | Excellent |
| Canva | Content creators already using Canva for design work | Yes (Pro feature) | Very Good | Excellent |
| Photopea | Users who want Photoshop-like control without the cost | Manual (one by one) | Excellent (user-dependent) | Moderate |
| Adobe Express | Simple background removal for quick marketing graphics | No | Very Good | Excellent |
For most people just needing a quick transparent background for a social media post, a tool like remove.bg is more than enough. But for anyone running a business where image quality can make or break a sale, the control and consistency you get from a dedicated tool will always be a better investment in the long run.
How to Export Your PNG for Flawless Quality
Alright, you've meticulously removed the background. Don't stumble at the finish line! The next step—exporting—is what seals the deal when you convert your JPG to a transparent PNG. Get these settings right, and your hard work pays off with a crisp, professional image that looks great anywhere.
Think of it like this: you just baked a perfect cake. The export settings are the frosting and presentation. A sloppy job here can ruin the whole thing.
This final step is surprisingly easy to mess up, usually by picking the wrong format or compression level. What you choose here directly affects your file size, visual quality, and—most critically—the transparency you worked so hard to create.
PNG-24: The Only Choice for Transparency
When you go to save your file, you'll probably see options for PNG-8 and PNG-24. It might be tempting to choose PNG-8 for its smaller file sizes, but for product photos, it's a huge mistake. It’s limited to only 256 colors and has a very crude, on-or-off transparency. This is what causes those jagged, pixelated edges that scream "amateur."
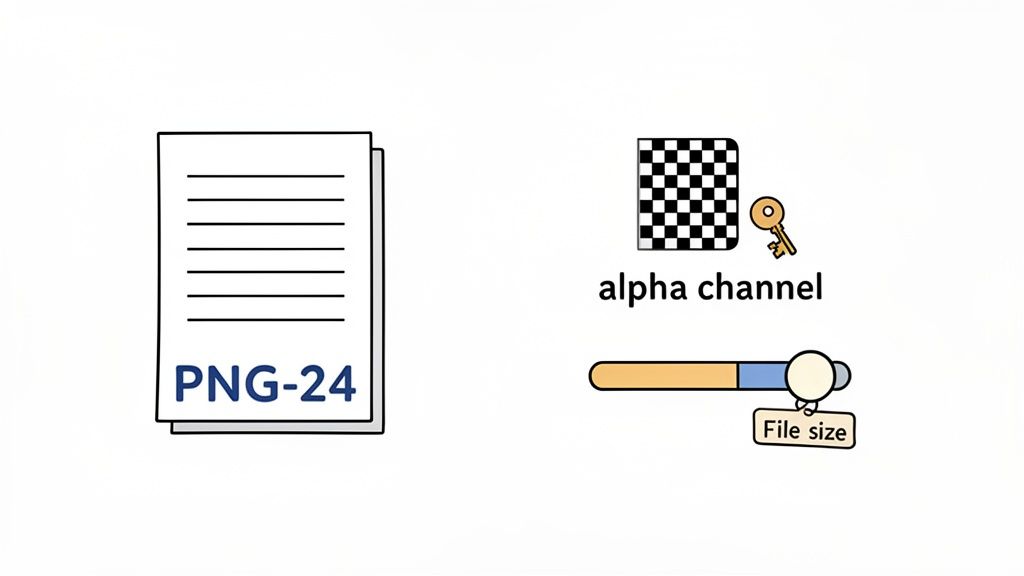
For professional work, PNG-24 is non-negotiable. Why? It supports over 16 million colors and, most importantly, an alpha channel.
The alpha channel is the magic that makes true transparency work. It doesn't just make pixels either visible or invisible; it allows for varying levels of opacity, from 0% to 100%. This is how you get those soft, feathered edges that let your product blend seamlessly onto any background.
Optimizing Your File for the Web
The only downside to PNG-24 is that the files can get pretty beefy. This is where a little optimization makes a big difference. A massive image will slow your website to a crawl, which is bad for both user experience and your SEO rankings.
Here are a few best practices I always follow when exporting:
- Compression: Most design software gives you a compression slider. Since PNG uses lossless compression, you can usually reduce the file size without any noticeable drop in quality. A medium setting is almost always a safe bet.
- Resolution: For web use, 72 DPI (dots per inch) is the gold standard. Anything higher is just overkill and will bloat your file size for no good reason.
- Dimensions: Before you even hit export, double-check that your image dimensions fit your website or e-commerce platform's requirements. If you need to resize things, check out this guide on using an online image resizer to do it without trashing your quality.
Paying attention to these final details ensures your transparent PNG isn't just beautiful—it's also lightweight and ready to perform.
Common Questions About Converting JPGs to PNGs
When you're trying to make an image transparent, it's easy to get tripped up by the details. Getting from a standard JPG to a clean, transparent PNG can feel a bit technical, but a few key insights can clear up the most common frustrations.
Let's walk through the questions I hear most often. Answering these will help you get that polished, professional look for your product photos and graphics every single time.
Why Is My PNG Still Showing a White Background?
This is, without a doubt, the number one stumbling block. You saved your JPG as a PNG, but the background is still there. What gives?
The problem isn't the file format itself; it's the creation process. A PNG file can be transparent, but you have to explicitly make it transparent first. Just re-saving the file doesn't do the trick.
You need to use an image editor to select and completely remove the background. Once the background is gone, you'll see that signature gray-and-white checkerboard pattern behind your subject. That checkerboard is your visual cue that the area is now transparent. Only then should you export or save the file as a PNG.
What’s the Difference Between PNG-8 and PNG-24?
This one boils down to a trade-off between file size and quality, specifically when it comes to color and transparency.
- PNG-8: This format is much more limited, supporting only 256 colors. Its transparency is binary—a pixel is either fully transparent or fully opaque, with nothing in between. This is why you often see jagged, pixelated edges around curves when using PNG-8.
- PNG-24: This is the format you'll want for high-quality work. It supports millions of colors and includes a full alpha channel. That alpha channel is the magic ingredient, allowing for various levels of transparency (from 1% to 99% opaque). This creates the smooth, soft edges that make an object look naturally blended into any new background.
For any important graphic or product photo, always stick with PNG-24. The difference in quality is night and day, especially for images that need to look seamless and professional.
Can I Convert a Bunch of Images at Once?
Absolutely. This is called batch processing, and it's a lifesaver when you're dealing with a large catalog of product images. Manually converting hundreds of photos one by one is a recipe for a very long day.
You can do this in programs like Adobe Photoshop by creating custom "Actions," but it's a fairly technical process. This is where specialized tools really come into their own. AI-powered services like ProdShot are built for this exact scenario. You just drag and drop a whole folder of images, and the AI gets to work removing the backgrounds on all of them simultaneously. Most free online converters, on the other hand, typically make you do them one at a time.
Will I Lose Image Quality When Converting to PNG?
Good news here: as long as you do it right, converting from JPG to PNG won't degrade your image quality. In fact, it preserves it.
JPG is a "lossy" format, which means a tiny bit of data is discarded every time you re-save it. PNG, on the other hand, is "lossless"—it keeps every single pixel of image data intact.
When you open your original, high-quality JPG and save it as a PNG-24, you are essentially freezing its quality at that point. No further degradation will occur. Just remember, your final PNG will only ever be as good as the source JPG, so always start with the highest-resolution file you have.
Ready to create flawless product shots in seconds? With ProdShot, you can convert your JPGs to transparent PNGs with a single click, saving you hours of tedious editing. Try ProdShot for free today and see the difference AI can make!