

In the competitive world of e-commerce, high-quality product photos are essential. They not only attract potential buyers but also build trust and credibility. While professional photography services are an option, many sellers prefer the hands-on approach of editing their product photos at home. This guide will walk you through the process, providing practical steps to achieve professional-looking images without the hefty price tag.
Why Quality Product Photos Matter
Before diving into the editing process, it's crucial to understand the impact of quality product photos:
- First Impressions: High-quality images grab attention and make a positive first impression, setting the stage for customer engagement.
- Increased Conversions: Clear and detailed photos can lead to higher conversion rates as they help customers make purchasing decisions with confidence.
- Reduced Returns: Accurate representations of products help set correct expectations, reducing the likelihood of returns and enhancing customer satisfaction.
Essential Equipment for DIY Product Photo Editing
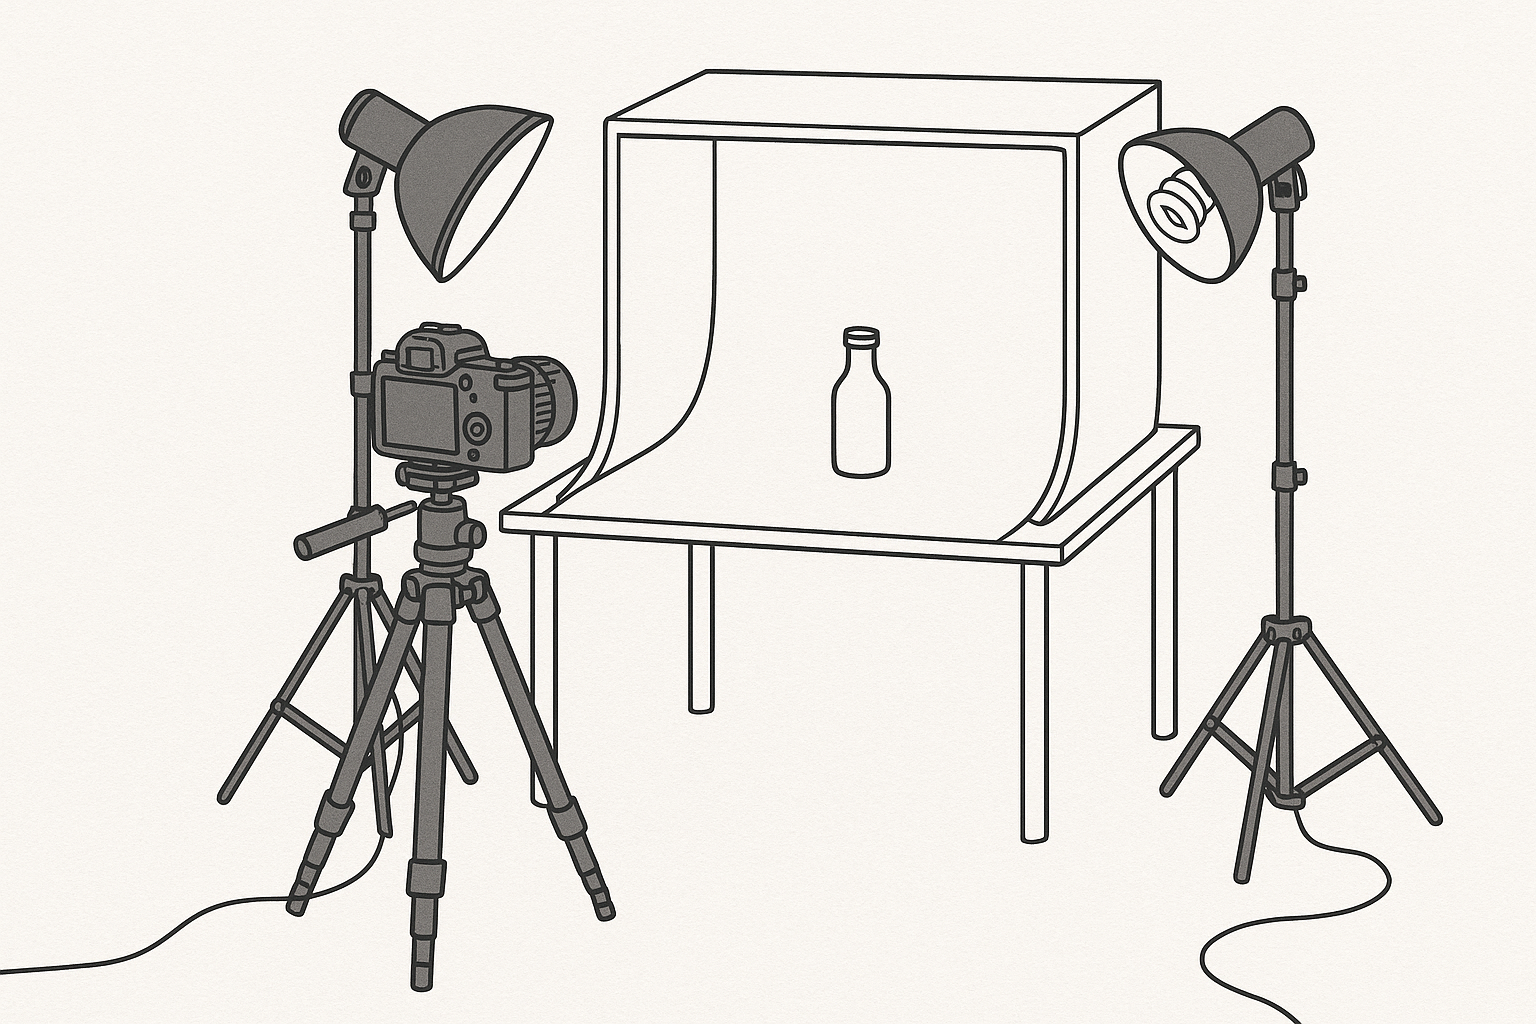
Ensure you have the following tools to get started:
- Camera: A DSLR or a smartphone with a good camera. Pay attention to resolution quality and manual settings.
- Tripod: For stability and consistency. Consider a flexible tripod for diverse angles.
- Lighting: Utilize natural light or affordable lighting kits. Softbox lights can simulate daylight and reduce shadows.
- Background: Use white or neutral-colored backgrounds for a clean, professional look. Consider using a lightbox for small items.
- Editing Software: Choose options like Adobe Photoshop, Lightroom, or free alternatives like GIMP and Free product photo tools.
Step-by-Step Guide to Editing Product Photos at Home
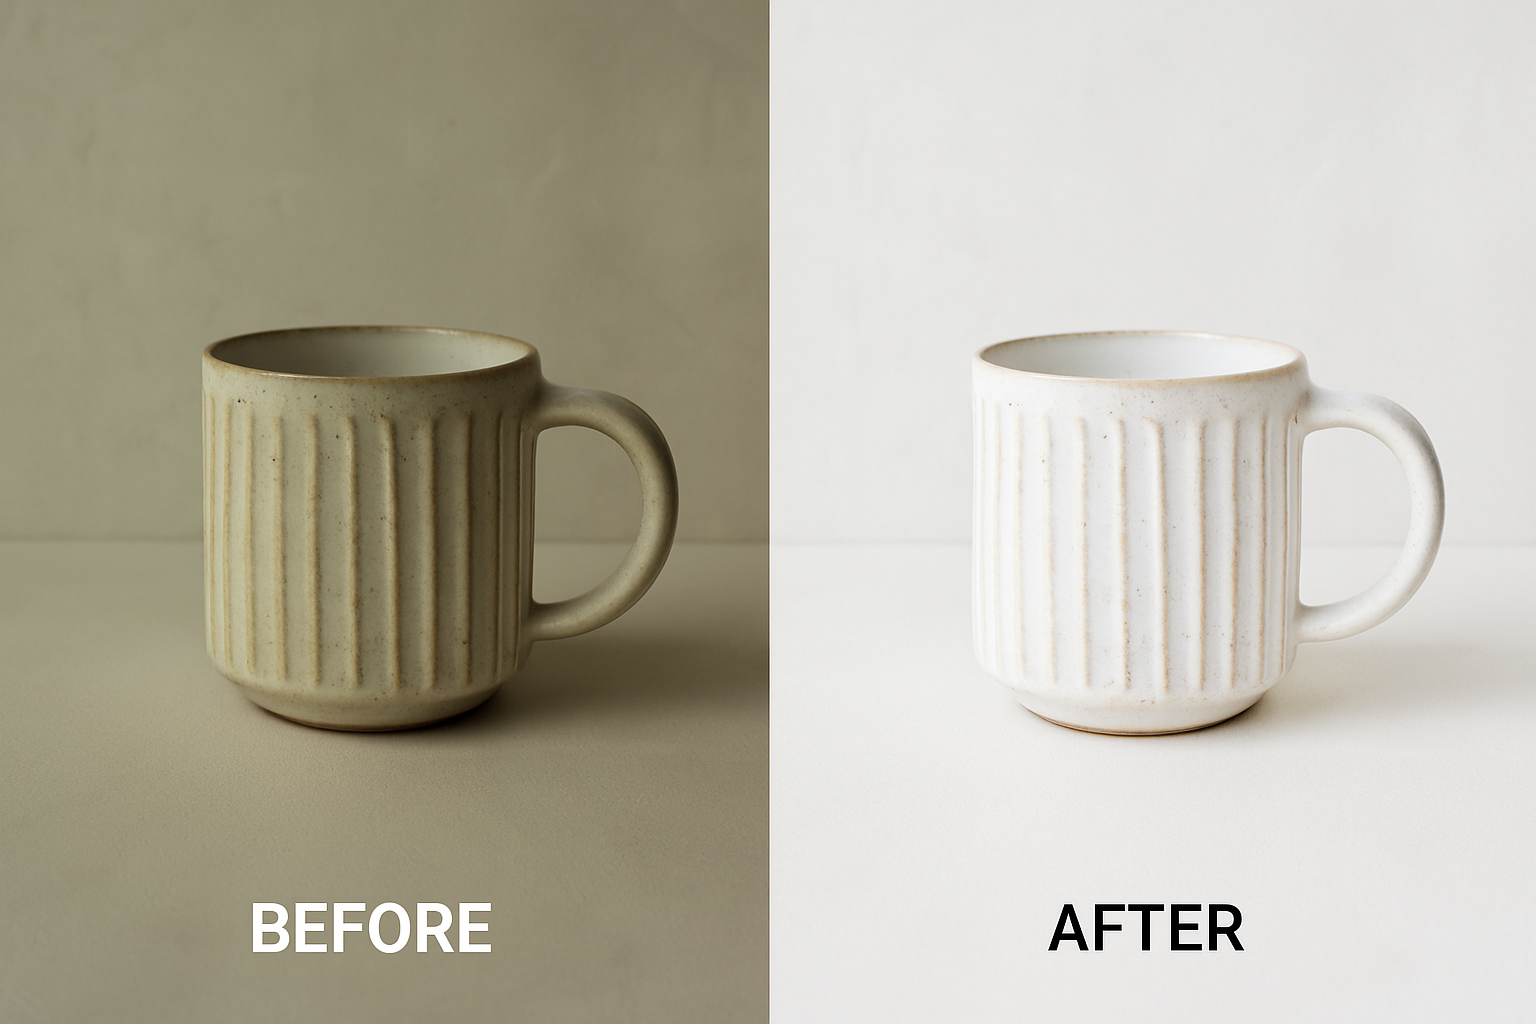
1. Organize Your Files
Start by organizing your photos. Rename files systematically (e.g., productname_view1.jpg) to keep track of different angles and versions. Use a dedicated folder system to streamline your workflow.
2. Adjust White Balance
Correcting the white balance ensures that the colors in your photos are accurate. Automatic settings can be useful, but manual adjustments often offer more precision, crucial for items with unique color characteristics.
3. Correct Exposure and Contrast
Adjust the exposure to ensure the image is neither too dark nor too bright. Enhancing contrast makes your product stand out by emphasizing the difference between light and dark areas, enhancing depth and detail.
4. Crop and Straighten
Crop the image to remove unnecessary background elements and focus on the product. Ensure the product is centered and level; asymmetry can be visually distracting.
5. Retouch Imperfections
Use retouching tools to remove dust, scratches, or other imperfections. Be careful not to overdo it; the goal is to present the product accurately and authentically.
6. Sharpen the Image
Apply sharpening to enhance the details of your product. This step should be subtle to avoid an unnatural look, especially important for textures like fabric or wood grain.
7. Save and Export
Save your edited photos in the appropriate format and resolution for your e-commerce platform. JPEG is commonly used for web images due to its balance of quality and file size, but consider PNG for images requiring transparency.
Advanced Editing Techniques
For those looking to take their editing skills further:
- Background Removal: Isolate the product by removing the background. This technique is useful for creating a uniform look across product listings.
- Color Correction: Ensure the product's colors are true to life, especially if the initial photo has color casts. Use color grading tools to enhance vibrancy.
- Shadow Creation: Adding natural-looking shadows can give depth to your product images. Experiment with reflection effects for a polished aesthetic.
Common Mistakes to Avoid
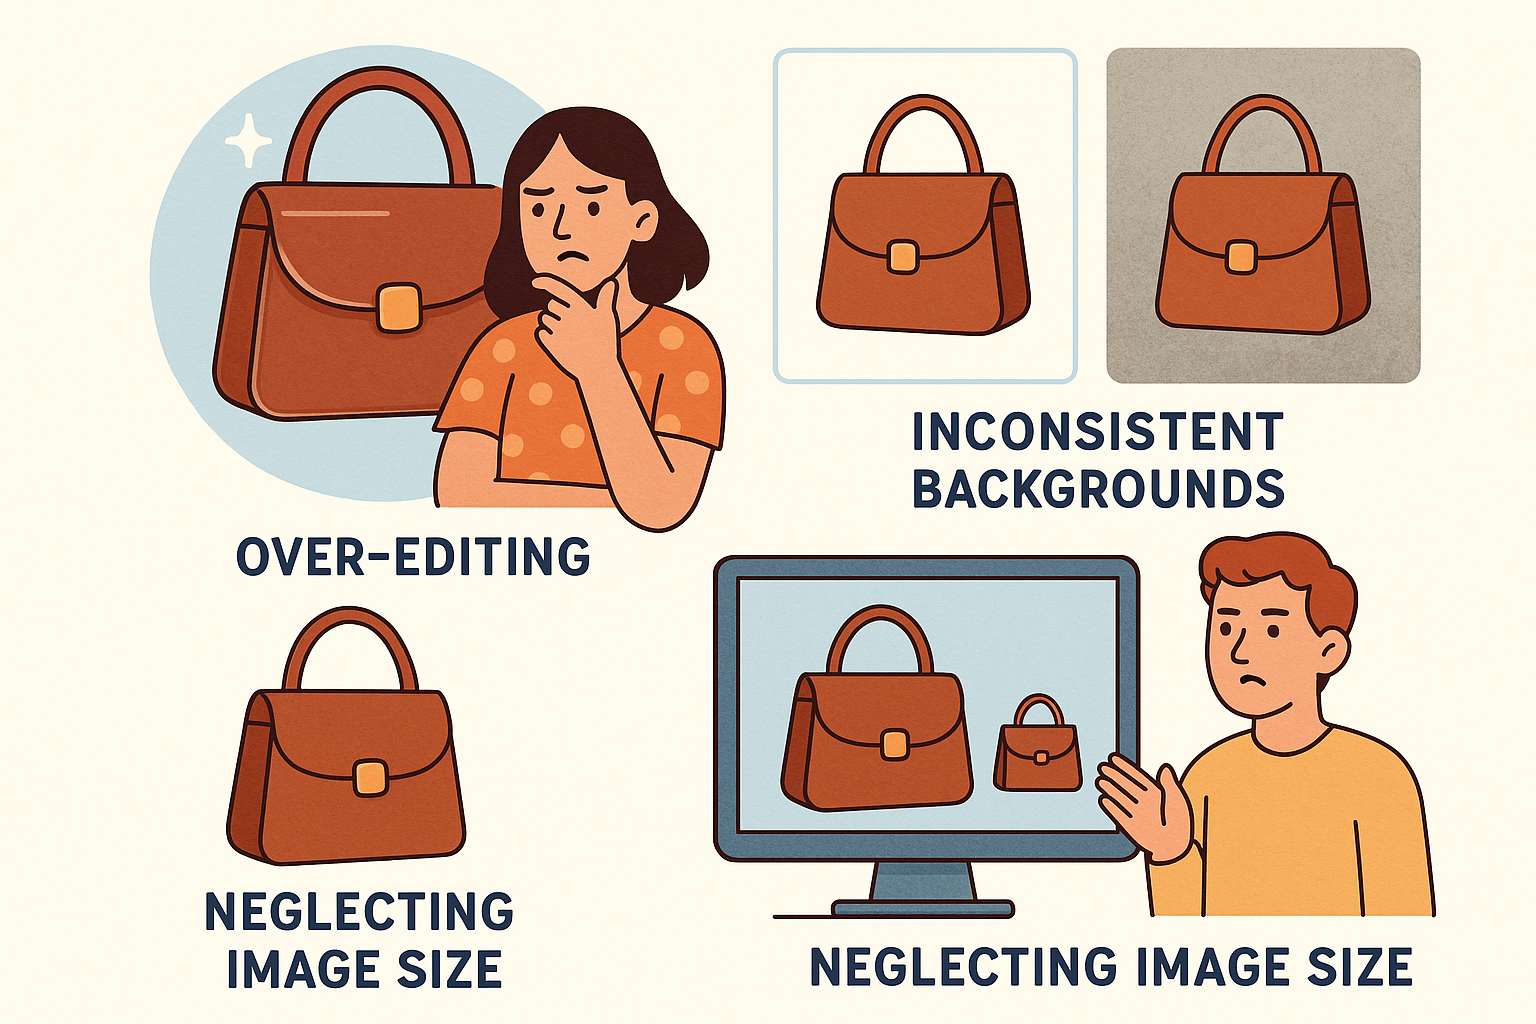
- Over-Editing: Excessive editing can make images look unnatural and misleading.
- Ignoring Consistency: Ensure all product photos have a consistent style and background to reinforce brand identity.
- Neglecting Image Size: Large file sizes can slow down your website; optimize images for web use by adjusting resolution and compression settings.
FAQ
Q: Can I use my smartphone for product photography?
A: Yes, modern smartphones have capable cameras. Ensure good lighting and stability for the best results. Explore manual mode settings for greater control.
Q: What is the best free editing software for beginners?
A: GIMP is a popular free alternative to Photoshop, offering a range of editing tools suitable for beginners. You can also look into Free product photo tools for other resources.
Q: How can I ensure color accuracy in my photos?
A: Use a gray card during shooting to set a reference point for white balance adjustments during editing. Monitor calibration is also key.
Q: How important is background consistency across product images?
A: Very important. Consistent backgrounds enhance your shop's visual cohesion, making it easier for customers to focus on the products.
Sources and Further Reading
- DIY Product Photography Setup: The Complete Guide to Stunning eCommerce Images at Home
- DIY Product Photo Editing with Clipping Ace | Pro Tips
- Top Mistakes in Product Photography
By following these steps and utilizing the right tools, you can create professional-quality product photos that enhance your e-commerce listings. For those looking to streamline the process further, consider exploring ProdShot's AI-powered product photography services to transform your images effortlessly.