

Introduction
In the competitive world of Etsy, high-quality product photography can make or break your shop's success. Exceptional images not only capture the attention of potential buyers but also instill trust and effectively convey the value of your products. This guide will walk you through the process of creating compelling Etsy product images that adhere to Etsy's guidelines and significantly boost your sales.
What Are Etsy's Image Requirements?
Understanding Etsy's image requirements is the first step toward creating images that not only look professional but also adhere to platform standards. Here's what you need to know:
- File Types: Etsy accepts formats like .jpg, .gif, .png, .svg, and .heic. Note that animated .gif files and transparent .png files are not supported. Complying with these formats ensures your images are displayed correctly. (Etsy Help Center)
- Image Size: Aim for images to be at least 2,000 pixels on the shortest side. This allows for high-resolution display across different devices and enables Etsy's zoom function, crucial for detailed product examination. (Sellhound)
- Aspect Ratio: The recommended aspect ratio is 4:3 in landscape orientation. Typical resolutions include 2,000 x 1,500px, 2,400 x 1,800px, or 3,000 x 2,250px. Sticking to these dimensions ensures your images look their best on all screens. (Sellhound)
Planning Your Photo Shoot
When it comes to photography, preparation is key. A well-organized photo shoot can save time and enhance the quality of your images.
1. Schedule Time for Photography
Set aside a specific period for photographing. This not only ensures consistency across your product range but also allows you to get into a productive flow.
2. Crafting a Shot List
Consider a variety of shots, each serving a unique purpose:
- Studio Shot: Showcases the product against a plain backdrop, highlighting its features.
- Detail Shot: Focuses on closer details that may enhance buyer interest.
- Size and Scale Shot: Helps customers understand the product's size, often achieved by including a common object for reference.
- Lifestyle Shot: Presents the product in a real-world situation, helping buyers envision its use in their lives.
- Group Shot: Features multiple products, useful for listings involving sets or collections. (Etsy Seller Handbook)
Essential Photography Equipment
To achieve professional quality images, ensure you have the right equipment:
- Camera or Smartphone: Many modern smartphones have cameras that rival traditional cameras in quality. Choose based on your comfort and desired quality levels.
- Tripod: Essential for stability, reducing the risk of blurry images.
- Lighting: Softbox lights or natural light can make a significant difference. Ensuring your subject is well-lit is fundamental for highlighting product features.
- Backdrop: Choose neutral backgrounds such as seamless paper or plain walls to keep the focus on the product.
- Reflector: Bounces light, minimizing shadows, and adding depth to your images.
- Props: These can illustrate the product's use, scale, or appeal to specific audiences. (Etsy Seller Handbook)
Crafting the Perfect Backdrop
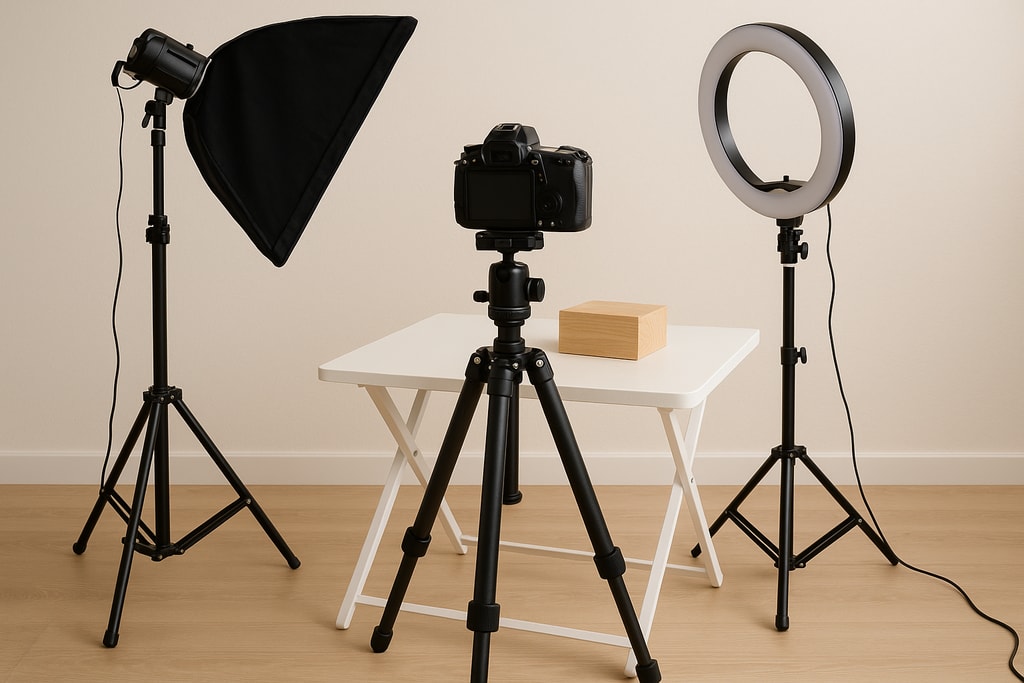
The choice of backdrop can dramatically affect how your product is perceived:
- Simplicity Is Key: An uncluttered background such as white or neutral-colored fabric keeps attention on the product.
- Position Matters: Position the product slightly away from the backdrop curve to minimize unwelcome shadows.
- Consistency: Use the same backdrop for all your products to create a visually coherent shop.
Selecting the right background keeps the focus on your product and enhances its presentation. (Etsy Seller Handbook)
Mastering Product Lighting
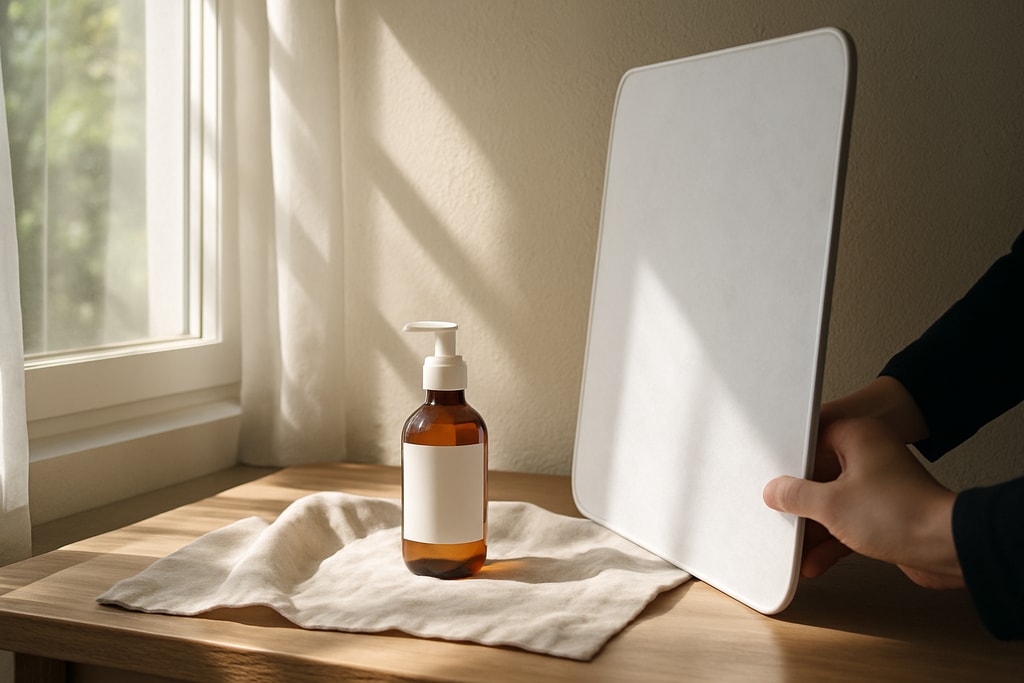
Lighting can dramatically improve the quality of your photos:
- Utilize Natural Light: Position your setup next to a sunny window, using sheer curtains to diffuse the light for softer shadows.
- Incorporate Artificial Light: Softbox lights can aid visibility and diminish harsh shadows; ideal when natural light is limited.
- Avoid Direct Flash: Flash can create harsh shadows and may alter the product's color.
Proper lighting brings out product details and ensures the colors appear authentic. (Etsy Seller Handbook)
Ensuring Camera Stability
To capture crisp, clear images, it's crucial to stabilize your camera:
- Tripod: A tripod is your best ally for eliminating camera shake.
- Remote Shutter Release: This tool allows you to take pictures without physically touching the camera, crucial for maintaining image sharpness.
Stability is non-negotiable for professional-quality product photos. (Etsy Seller Handbook)
Capturing Compelling Images
Composition plays a critical role in product photography:
- Apply the Rule of Thirds: This guideline places the product at intersecting points of an imaginary grid, drawing the viewer's eye naturally.
- Vary Angles: Offering different angles provides a comprehensive view and can appeal to different customer preferences.
- Focus on Close-Ups: Highlighting unique textures or features can set your product apart.
Offering diverse angles and close-ups enriches the viewer's understanding and appreciation of your products. (Etsy Seller Handbook)
Post-Production Image Refinement
Editing sharpens up your photos and ensures they represent your products truthfully:
- Crop and Correct: Cropping and straightening ensure the product is front and center.
- Brightness and Contrast Adjustments: These edits improve visibility and highlight product features.
- Color Accuracy: Use editing tools to ensure accurate color representation, critical for customer trust.
- Avoid Over-Editing: Ensure that edited images remain true to life; exaggerated editing can mislead buyers.
Effective editing enhances image quality while maintaining authenticity. (Etsy Seller Handbook)
Practical Examples and Mistakes to Avoid

Examples
- Candle Sellers: Use warm lighting to evoke coziness in lifestyle shots, and capture tiny design specifics in detail shots.
- Jewelry Designers: Pair products with simple, elegant props to highlight their elegance without distraction.
- Clothing Retailers: Employ models for lifestyle shots to convey fit and movement, and include detailed shots of fabric texture and stitching.
Mistakes to Avoid
- Cluttered Backgrounds: These divert attention from the product.
- Inaccurate Colors: Use calibrated screens for editing to maintain true-to-life color representation.
- Ignoring Etsy's Guidelines: Resulting issues might include image rejection or reduced sales potential.
Avoid these pitfalls to ensure your shop’s images are helping, not hindering, your sales.
Marketplace-Specific Tips
Each marketplace has its nuances. For Etsy, consider these tailored tips:
- Highlight Uniqueness: Etsy buyers value originality, so accentuate unique product features.
- Consistency: Keep a uniform style across photos to reinforce brand identity.
- Optimize for Mobile: Ensure images are clear on smaller screens, as many Etsy users browse on mobile devices.
Adapting your techniques to fit Etsy's audience ensures a better connection with potential buyers.
Frequently Asked Questions
Why is photo quality so important on Etsy?
Photo quality is your virtual storefront's first impression. High-quality images encourage trust and interest.
Can I use my smartphone for Etsy product photography?
Yes, as long as it has a high-resolution camera. Ensure you use good lighting and editing tools to maximize image quality.
How many photos should I include per listing?
Etsy allows up to ten images per listing. Utilize the opportunity to capture various angles and contexts.
Are props necessary?
Props can enhance perception of product utility and appeal, but should not overshadow the product.
For further guidance, check out our Create product photos resource or our Etsy listing photo checklist. These resources dive deeper into crafting effective product images to increase your conversion rates.