In the fiercely competitive marketplace of Etsy, the impact of your product photos cannot be overstated. As the initial touchpoint with your potential buyers, high-quality and well-edited images are pivotal in enhancing your listings. This comprehensive guide dives deeper into photo editing techniques tailored for Etsy sellers, ensuring your products not only stand out but also convert visits into sales.
Understanding and Leveraging Etsy's Image Requirements
Before refining your photo editing skills, it’s crucial to understand Etsy’s image guidelines and how to use them to your advantage.
- Resolution Matters: Ensure your images are at least 2000 pixels on the shortest side. High-resolution images enable the zoom feature, allowing buyers to scrutinize details they care about, effectively reducing buyer hesitation.
- Aspect Ratio Alignment: Since Etsy displays thumbnails in a 4:3 aspect ratio, adapt your shooting and cropping accordingly. This ensures optimal presentation in search results, potentially increasing click-through rates.
- Maximize Image Slots: Utilize all 10 image slots per listing. A variety of images that include close-ups, different angles, and lifestyle shots cater to different buyer preferences and create a comprehensive view of your product.
Essential Photo Editing Techniques
1. Mastering Light: Brightness and Contrast
Natural lighting is ideal, but adjustments are often necessary. Use tools like Snapseed and Lightroom Mobile to tweak brightness and contrast, enhancing clarity and vibrancy. This adjustment mimics professional lighting setups, making your products look more appealing.
2. Achieving True-to-Life Colors
Accurate color representation sets buyer expectations and reduces returns. Utilize the white balance tool to correct color casts. Regularly calibrate your monitor to ensure that colors remain consistent across devices.
3. Refining Focus: Cropping and Composition
Keep the viewer's focus on your product by cropping out unnecessary background elements. Consistent composition across listings not only enhances the shop aesthetic but also strengthens brand identity.
4. Background Enhancement Techniques
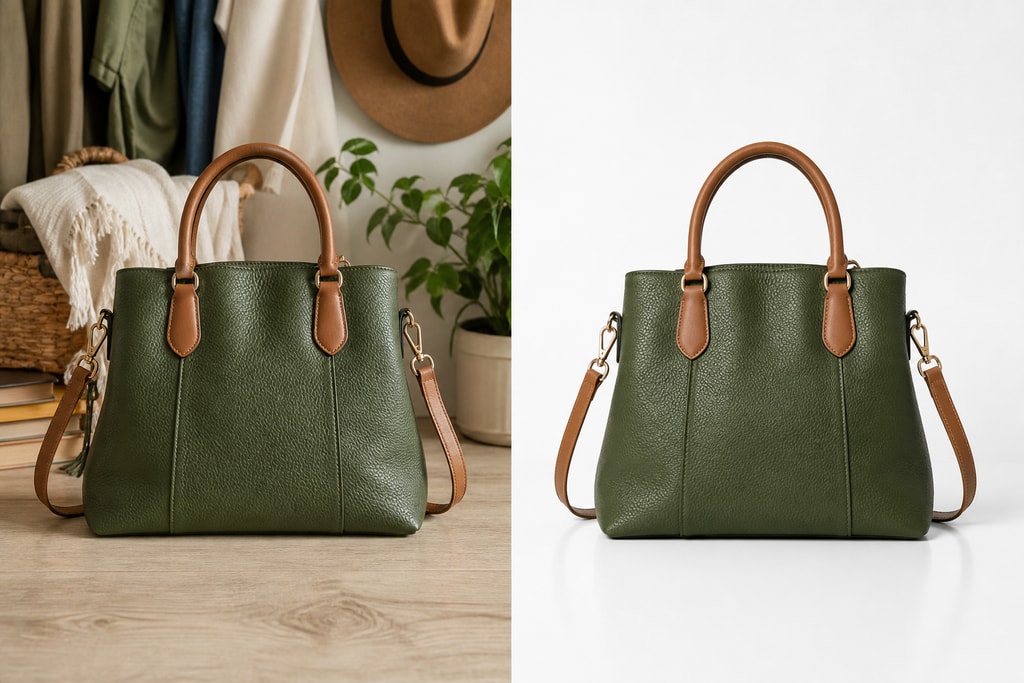
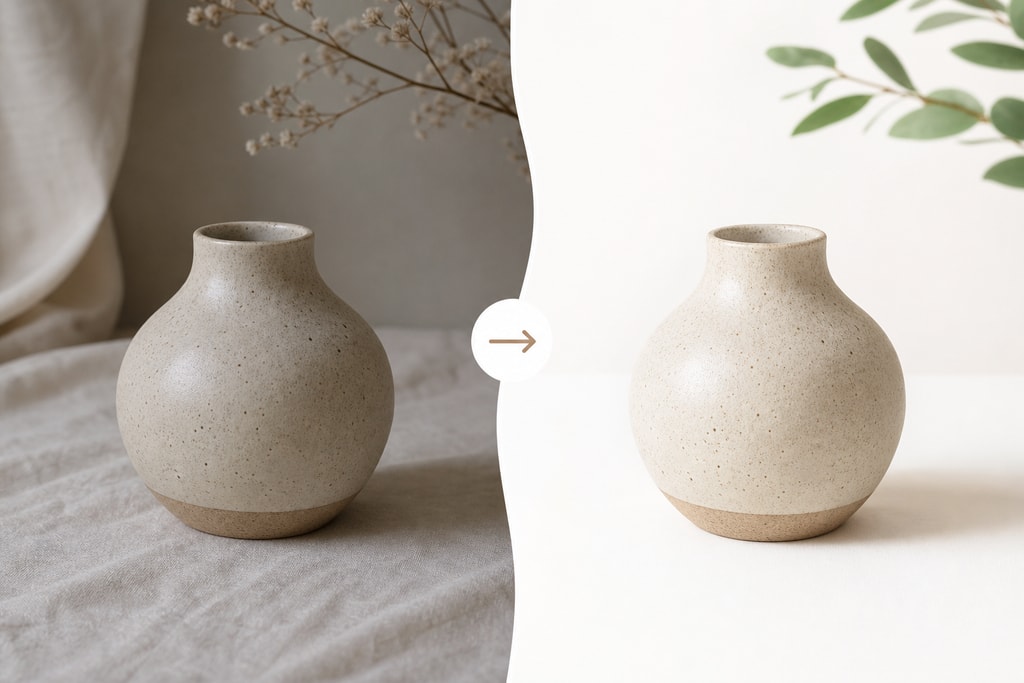
The background should complement, not compete with your product. Use background removal tools to eliminate distractions, choosing neutral or white backgrounds. A solid background accentuates the product's features, making it more enticing.
5. Highlighting Details with Precision
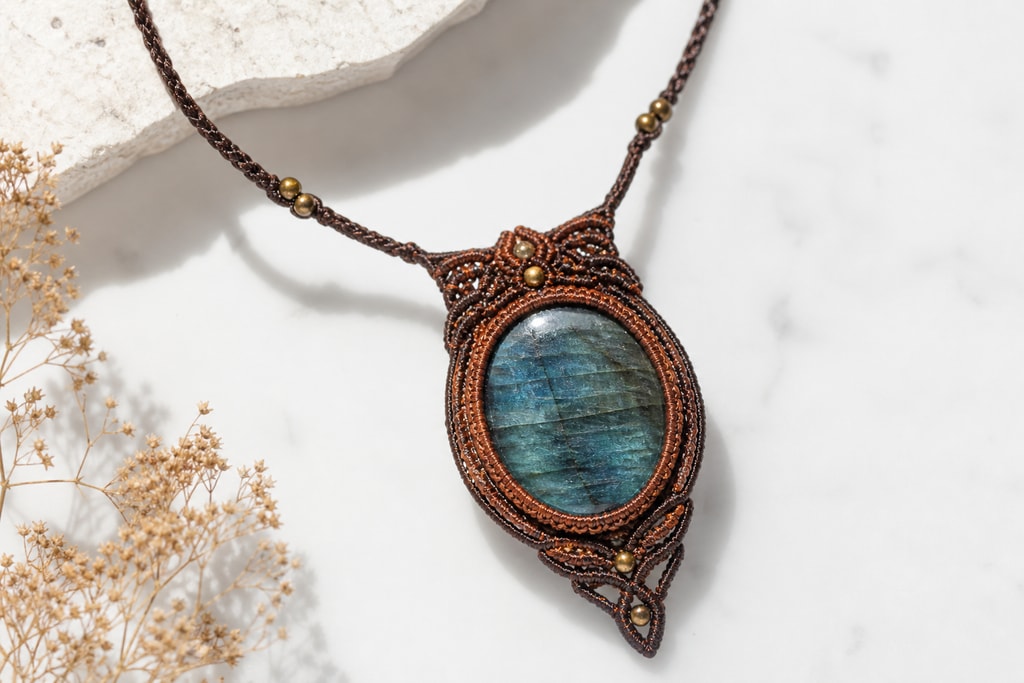
Sharpen your images to draw out intricate details especially for products like jewelry. Be wary of over-sharpening, which can introduce noise and degrade picture quality.
Consistency Across Listings: Building Brand Trust
Consistency fosters professionalism and trust. Develop a strategic editing workflow that can be applied universally across all product photos. This practice not only standardizes your visuals but also streamlines your editing process.
Harnessing Free Editing Tools
Explore the capabilities of free tools that can simplify the editing journey:
- Snapseed: Features a robust set of editing tools perfect for beginners and advanced users alike.
- Lightroom Mobile: Offers nuanced control for precise edits, including expert-level color correction techniques.
- VSCO: Useful for applying filters uniform across photos to maintain a cohesive shop appearance.
For more on free tools, check out our Free product photo tools.
Avoiding Common Photo Editing Mistakes
- Over-Editing: Striking a balance is key; too much editing can make images look unnatural.
- Neglecting Consistency: Inconsistent styles across photos can confuse potential buyers.
- Not Utilizing Image Slots: Failing to use all available slots limits the information available to buyers.
In-Action: Practical Examples
- Before & After Analysis: Showcase edits on an example product photo, highlighting before and after comparison to illustrate the impact of editing.
- Case Study: Walk through a case study of a successful Etsy shop that effectively utilized these techniques to enhance their visibility and sales.
Checklist: Preparing Your Photos for Etsy
- [ ] Ensure images are at least 2000 pixels on the shortest side.
- [ ] Crop to a 4:3 aspect ratio.
- [ ] Adjust brightness and contrast for clarity.
- [ ] Correct white balance for accurate colors.
- [ ] Remove distracting background elements.
- [ ] Sharpen details without introducing noise.
- [ ] Apply and maintain a consistent editing style across all listings.
For more specific tips, explore our Etsy listing photo checklist.
Frequently Asked Questions
Q: Can I edit photos directly on my smartphone?
A: Yes, with powerful apps like Snapseed and Lightroom Mobile, you can achieve professional-grade edits right from your phone.
Q: How many images should I include in my Etsy listing?
A: Etsy allows up to 10 images per listing. Utilizing all slots can provide buyers with an extensive understanding of your product.
Q: Is a white background essential for product photos?
A: While not mandatory, neutral or white backgrounds keep the focus on your product and ensure visual consistency.
Q: How often should I update my product photos?
A: Regular updates, especially for seasonal items or after improving your photography skills, can keep your listings fresh.
Q: Can I use filters on my product photos?
A: Use filters sparingly to maintain color accuracy. Excessive filtering may misrepresent your product, leading to customer dissatisfaction.
Sources and Further Reading
- Etsy Listing Photo Optimization | Insight Agent
- How to Edit Etsy Photos Like a Professional (2026)
- Etsy Product Photo Guide: Requirements, Tips & Styling | EditThisPic
- Etsy Product Photography Tips (2025 Guide) – Outfy