
Getting that clean, professional white background for your product photos is way easier than most people think. You really have two solid paths to get there: you can either nail it almost perfectly right in the camera with a basic setup, or you can lean on some incredibly simple editing tools to clean things up after the shoot. Either way, you'll end up with those crisp, high-quality images that look great on any online store.
Why a White Background Is Such a Big Deal
Before we get into the nuts and bolts, let's talk about why this is so important. A crisp white background isn't just a design trend; it's a powerful sales tool. It’s a deliberate choice that changes how shoppers see your products and your entire brand. When you place your product against a clean, uncluttered backdrop, it becomes the undisputed star of the show, pulling the customer's eye right where it needs to be.
This approach pays off in a few key ways:
- Makes Product Colors Pop: With no other colors fighting for attention, your product's true shades look more accurate and vibrant.
- Builds a Professional Vibe: A consistent, clean look across all your product shots tells customers you're serious and detail-oriented, which is a huge trust-builder.
- Kills Distractions: A busy background is just visual noise. A white canvas lets the product’s quality and features do all the talking.
- Meets Marketplace Rules: Big players like Amazon and eBay often require a pure white background. It's their way of keeping the shopping experience uniform and professional for everyone.
The Real-World Impact on Sales
The fact that white backgrounds dominate e-commerce is no accident. The numbers back it up. A whopping 82% of top online retailers rely on them to make their products look sharp and clear. Even more telling, studies have shown that photos with a white background can boost a shopper's trust and their likelihood to buy by up to 30% compared to images with cluttered backdrops. You can dig into similar trends on stock data platforms.
Key Takeaway: A white background isn't just for looks—it's a proven conversion booster. When your products are presented clearly and professionally, you build a stronger connection with customers and give them the confidence to hit that "add to cart" button.
At the end of the day, learning how to create photos with a white background is a non-negotiable skill if you're selling online. Whether you decide to master your lighting in-camera or tidy things up in post-production, the goal is the same: a polished, trustworthy image that does the heavy lifting for you. Both methods are totally achievable, and I'm going to walk you through exactly how to do it.
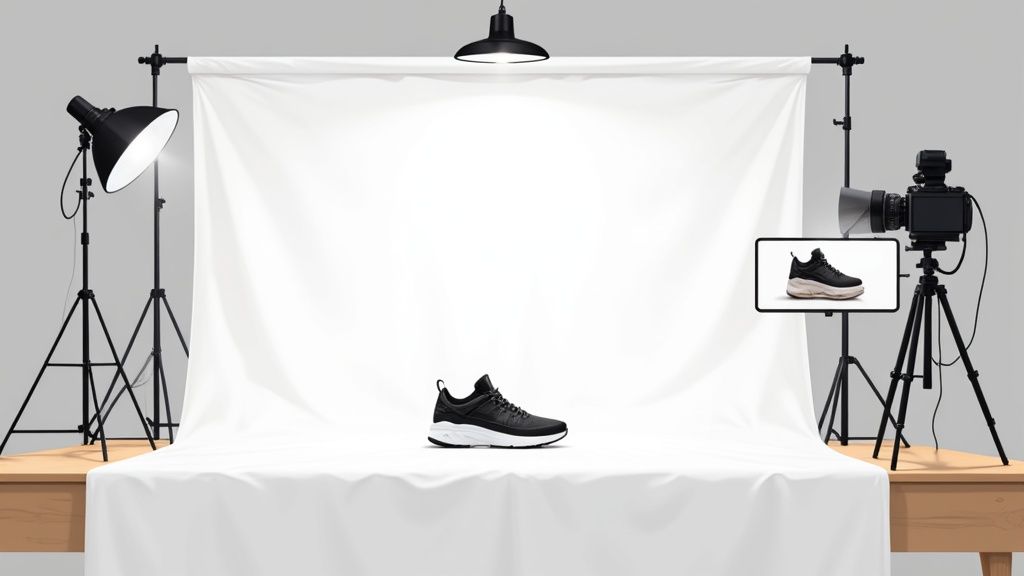
Building Your DIY Home Photography Setup
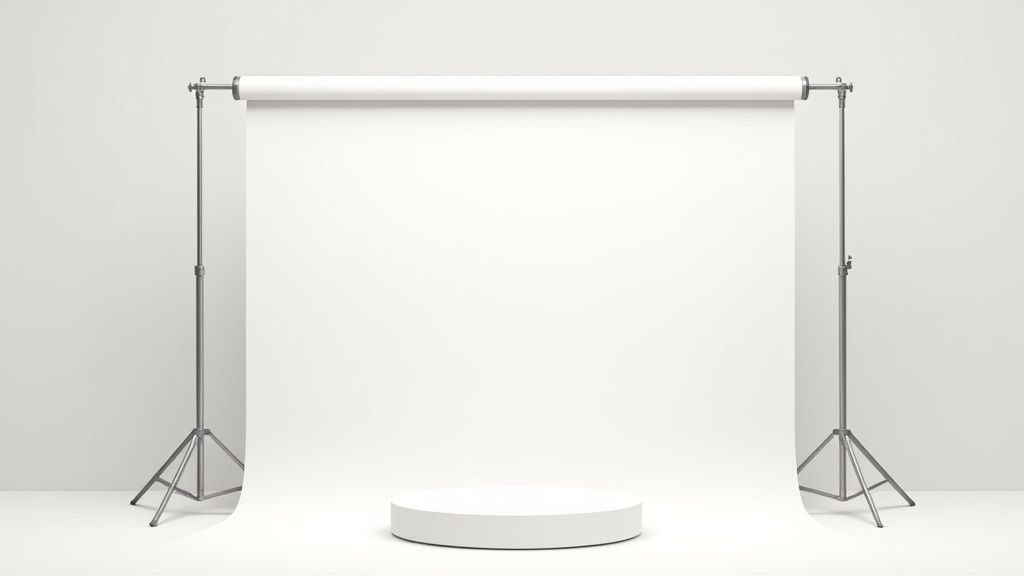
You really don't need a high-end studio to master taking pictures with a clean white background. In fact, you can pull together a surprisingly professional-looking setup with things you probably already have lying around. It's all about being a little resourceful and knowing a few key photography tricks.
The heart of this entire setup is what’s known in the pro world as an “infinity sweep”. The whole idea is to create a seamless background without any corners or lines where the wall meets the floor. This simple trick is what makes your product look like it’s floating in a clean, distraction-free white space.
Crafting Your Infinity Sweep
First things first, you need a background. A big roll of white paper or even a large piece of poster board works perfectly. The only real requirement is that it’s flexible enough to bend into a curve without creasing.
Next, find a small table and set it up next to the biggest window you have. Natural light is your best asset here; it’s soft, diffused, and flatters products by minimizing harsh shadows.
Here’s how to put it all together:
- Set the Scene: Push your table a few feet away from the window. You're looking for soft, indirect light, not harsh, direct sunbeams. An overcast day is actually perfect for this.
- Hang Your Background: Use some tape to attach the top of your white paper or poster board to the wall behind the table.
- Let it Flow: Allow the rest of the paper to drape down and curve smoothly across the tabletop. This gentle curve is what creates that seamless "infinity" look. The key is to avoid any sharp folds or creases—they will absolutely show up in your final shot.
Finding the Right Light
Where you place your setup makes a huge difference. If you have one, a room with a large, north-facing window is the holy grail for natural light photography. It gives you consistent, soft light all day long, minus the drama of direct sunlight.
My Go-To Tip: Before you start shooting, turn off every other light in the room. Mixing the natural light from your window with the warm, artificial light from your lamps will create a weird color cast in your photos. Your whites will end up looking slightly yellow or blue. Stick to one light source for a much cleaner, more professional result.
Once your sweep is ready, place your product right in the middle of the flat part of the paper on the table. Make sure you leave plenty of space around it so you can shoot from different angles without the edges of your DIY setup creeping into the frame. This simple rig is the foundation for countless great product shots and a core skill in professional Etsy product photography.
Of course, a good setup is only half the battle. Brushing up on general photography principles will take your images to the next level. If you're looking for more visual inspiration, it's worth learning how to take amazing Instagram photos.
Getting Your Lighting and Camera Settings Right
Okay, your DIY studio is set up. Now for the fun part: dialing in your light and camera. These two are a team, and getting them to work together is the secret to turning that white poster board into a crisp, seamless background right in the camera. Nailing this step will save you a world of hurt in editing later on.
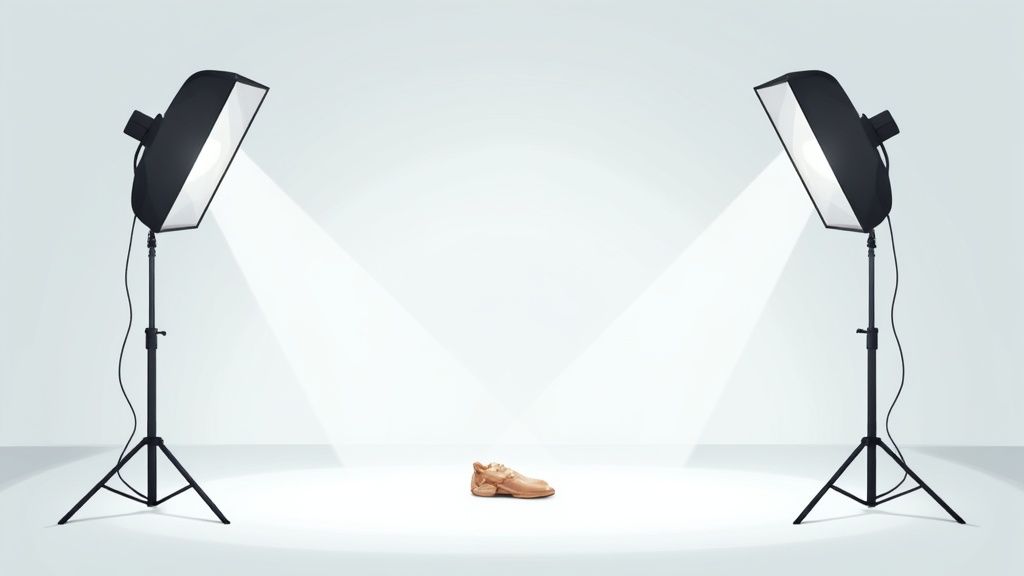
The magic ingredient? Soft, diffused light. Imagine the difference between the harsh, defined shadows on a bright sunny day and the gentle, wrapping light of an overcast sky. That soft glow is exactly what we're after, and you can get it with a big window or a basic softbox.
Mastering Your Light Source
Whether you're working with natural light from a window or an artificial lamp, the game is all about killing harsh shadows. It really all comes down to positioning. If you're using a window, set up your product so the light hits it from the side, at roughly a 90-degree angle. This carves out the product's shape beautifully without creating ugly shadows.
The same idea applies if you’re using a softbox. Place it to one side of your product. You'll immediately see one side is perfectly lit, but the other is cast in shadow. Don't worry, the fix is simple.
- Grab a Reflector: A cheap white foam board from a craft store is perfect. Even a clean sheet of printer paper works in a pinch.
- Place It Opposite the Light: Position your reflector on the shadowy side of the product, just out of the camera's frame.
- Bounce the Light Back: Now, just angle the board until it catches the light and bounces it back, filling in those dark spots. This one little trick is a game-changer for creating balanced, professional-looking light.
Dialing In Your Camera Settings
You don't need a top-of-the-line camera, but you do need to take control of a few key settings. Most modern smartphones (in "pro" mode) and any DSLR will give you what you need. The single most common frustration I hear is, "Why does my white background look gray in the photo?"
It's a simple explanation: your camera's automatic meter is trying to be smart. It’s programmed to see the world in "middle gray," so when it sees a scene that's overwhelmingly bright white, it panics and darkens the shot to compensate. The result? A muddy, gray background. Thankfully, the fix is easy.
Pro Tip: Your camera's light meter gets easily fooled by a big white surface. You have to override it and tell it to brighten things up. Look for the exposure compensation setting—it’s usually a button with a
+/-symbol—and crank it up to +1 or +2.
Here are the core settings to get right:
- Exposure Compensation (+/-): This is your best friend. Nudge it up until the background on your camera's screen looks pure white, not a dull gray.
- ISO: Always set this to the lowest native value your camera allows, which is usually ISO 100. A low ISO means less digital noise or "grain," keeping your shot super sharp and clean.
- White Balance (WB): Auto is a good starting point. If the whites look a little yellow or blue, you can manually set the white balance to match your light source (like the "Daylight" or "Cloudy" preset for window light).
- Aperture (f-stop): If your camera lets you adjust this, a higher f-stop number like f/8 or f/11 is ideal. This creates a wider depth of field, which just means more of your product will be in sharp focus from front to back.
While perfecting the white background is a great start, great photography involves much more. To really level up your skills, especially if you're shooting small, intricate items, check out these Top Jewelry Photography Tips. Spending a few minutes tweaking these settings will make a massive difference and get you a nearly perfect shot before it ever touches an editing app.
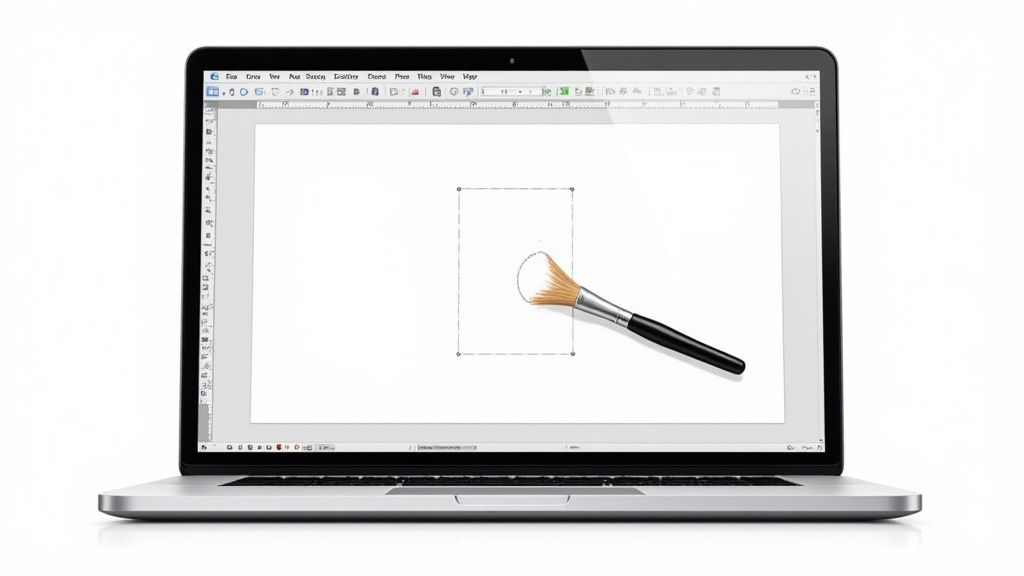
Polishing Your Photos for That Perfect White Background
Even when you nail the shot in-camera, a little bit of post-production magic is usually needed to get that flawless, pure white background. This is where you take a background that's "close enough" and turn it into a crisp, professional canvas that lets your product do all the talking. The best part? You really don't need to be a graphic design wizard to pull it off.
Modern editing tools, especially those packed with AI, have made this whole process incredibly straightforward. While a powerhouse program like Adobe Photoshop gives you ultimate control, it also comes with a notoriously steep learning curve. These days, you can often achieve the exact same result—or even better—with just a couple of clicks.
Making Minor Tweaks for a Major Impact
Sometimes, your photo just needs a gentle nudge. If your background is already pretty clean but looks a little dull or grayish, a few basic adjustments in almost any photo editor will get you there.
Start by playing with the brightness and contrast sliders. Bumping up the brightness will lift the entire image, pushing that light gray background closer to a true white. A small boost in contrast then helps sharpen your product's edges, so it doesn't look washed out.
For a bit more finesse, look for the levels or curves tool. These are fantastic because they let you specifically target the highlights (the brightest parts of your image) and push them to pure white without blowing out the details on your actual product. It's a small change that makes a huge difference.
The image below gives a great visual breakdown of how your camera settings—like aperture, ISO, and shutter speed—affect the initial shot and, consequently, how much editing you'll need to do later.
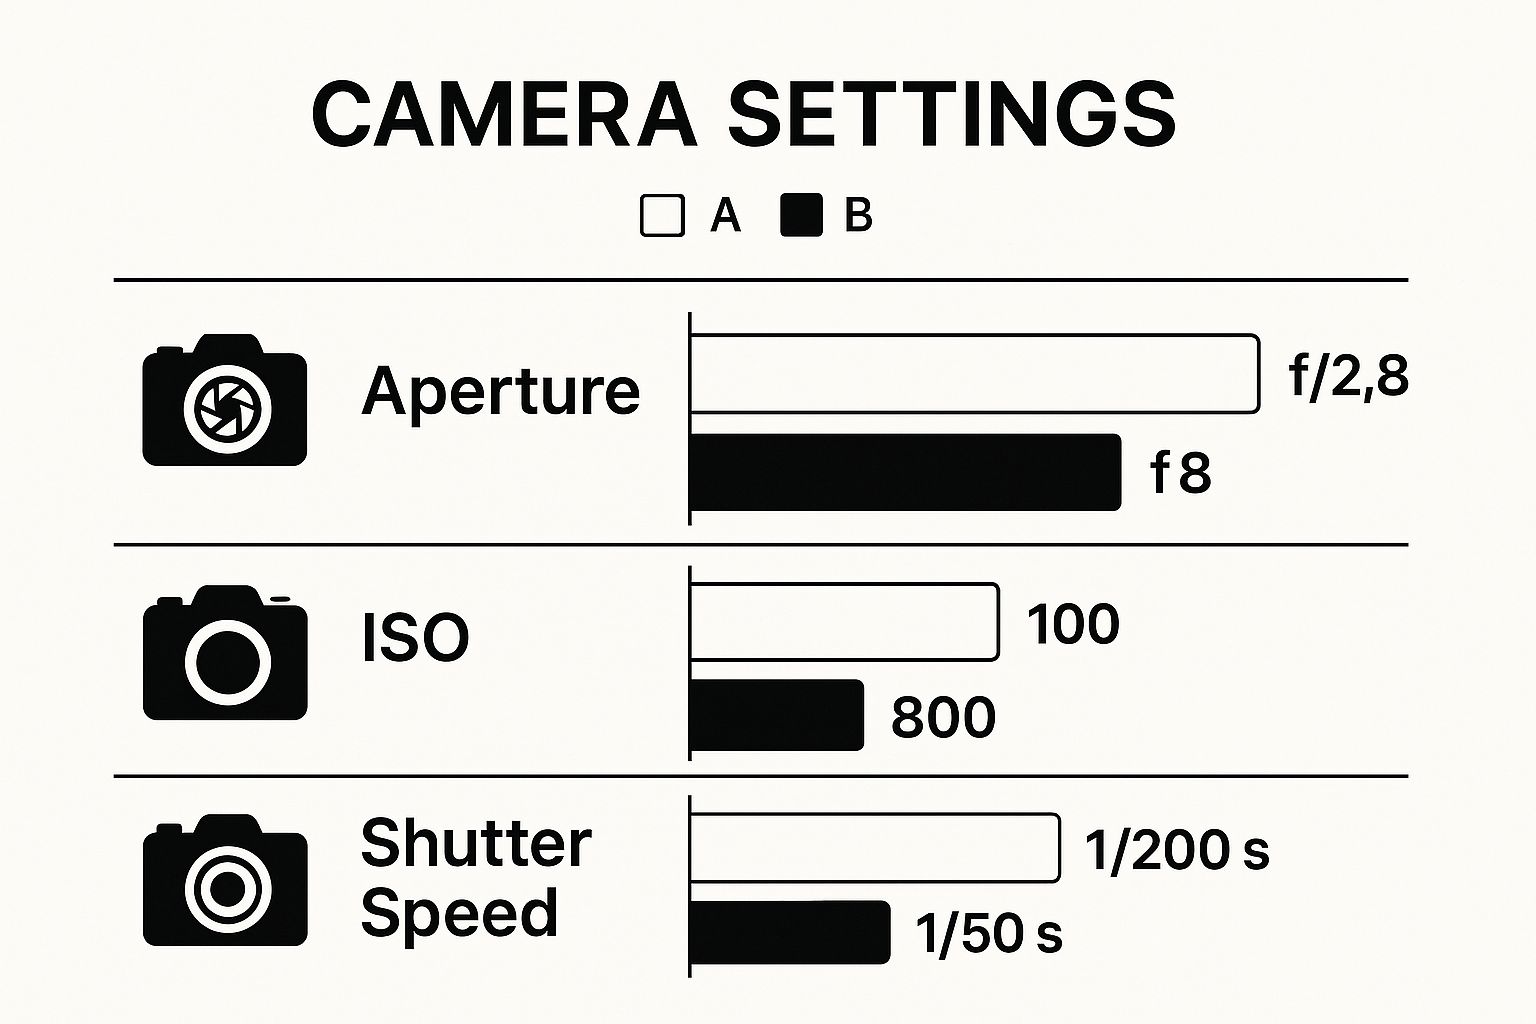
As you can see, settings like a lower ISO and a smaller aperture (which is a higher f-number) are your best friends for capturing sharp, clean photos that make the editing process a breeze.
Letting AI Handle the Heavy Lifting
For a truly perfect, no-compromises result, nothing beats removing the original background entirely and dropping in a pure white one. In the past, this was a tedious job that involved carefully tracing around your product with selection tools. Now, AI-powered tools do all that work for you in seconds.
These tools use sophisticated algorithms to instantly identify the subject in your photo and cleanly erase everything else. The accuracy is often stunning, even with subjects that used to be a total nightmare for editors.
Think about these tricky situations:
- Fuzzy Sweaters: AI can detect all those fine, fuzzy fibers, preserving the texture without leaving a harsh, "cut-out" edge.
- Delicate Jewelry: It can cleanly isolate the intricate details on a necklace chain or the tiny prongs holding a gemstone.
- Transparent Objects: Even glass or clear plastic items are handled with impressive precision, keeping their natural transparency intact.
Pro Tip: The biggest win with AI tools is the sheer speed. A task that might take a skilled editor 15-20 minutes in Photoshop is now done in under 10 seconds. That's time you can pour back into other parts of your business.
The a clean, minimalist aesthetic has fueled a huge demand for these simple backdrops. Since 2010, the availability of white-background images on stock photo sites has shot up by over 250%. This trend really underscores the need for efficient editing tools that deliver professional results without the hassle.
To help you decide which path is right for you, here’s a quick comparison of the two main approaches.
Manual Editing vs AI Tools Comparison
This table breaks down the key differences between traditional editing software and modern AI background removal tools.
| Feature | Manual Editing (e.g., Photoshop) | AI Background Remover Tools |
|---|---|---|
| Speed | Slow; can take 5-30+ minutes per image depending on complexity. | Extremely fast; typically under 10-15 seconds per image. |
| Skill Level | High; requires understanding of layers, masks, and selection tools. | Very low; usually a one-click process requiring no prior skill. |
| Precision | Can be highly precise but is entirely dependent on user skill. | Very high for most common subjects, but may struggle with rare edge cases. |
| Consistency | Can vary from image to image, even with the same editor. | Highly consistent results across large batches of photos. |
| Cost | Typically a monthly subscription (e.g., Adobe Creative Cloud). | Varies from free tools with limitations to affordable subscription plans. |
| Use Case | Best for complex creative compositions or when absolute pixel-perfect control is needed. | Ideal for e-commerce, product listings, and high-volume batch processing. |
Ultimately, both methods can get you to that perfect white background. The choice just depends on your specific needs, volume, and how much time you want to spend editing.
If you're looking to make this process as efficient as possible, our guide on product photo retouching takes a deeper dive into how automated solutions can completely change your workflow. Whether you go for a quick manual fix or a one-click AI solution, the end goal is always the same: create a clean, distraction-free image that puts your product center stage and helps you make more sales.
Common White Background Mistakes to Avoid
Getting that perfect white background look takes a little practice. I've seen even the most well-intentioned photoshoots get derailed by a few common slip-ups that lead to hours of frustrating editing. Knowing what to watch for from the start can save you a massive headache.
The biggest culprits? Uneven lighting that leaves you with gray, splotchy areas, and harsh shadows that are a nightmare to edit out cleanly. Both can kill that crisp, professional look you're going for before you even open your editing software.
Let's walk through these common traps and, more importantly, the easy ways to sidestep them.
Ignoring Unwanted Shadows
Nothing screams "DIY photo" faster than a hard, dark shadow cast by your product. This almost always happens when your main light source is too direct or intense, creating a sharp outline that’s nearly impossible to remove without making the product look like it's been poorly cut and pasted onto the background.
Fortunately, the fix is surprisingly simple and cheap. All you need is a reflector—and a piece of white foam board from any craft store works perfectly.
- Position your reflector: Place the foam board on the side of your product directly opposite your main light source (like a window or a single lamp).
- Fill in the shadows: Just angle the board to catch the light and bounce it back onto the dark side of your product. This "fills" the shadows with soft, diffused light, making them much less harsh.
Pro Tip: The goal isn't to get rid of shadows entirely. Soft, subtle shadows add depth and make your product look three-dimensional. You just want to soften them enough so they define the shape without being a distraction.
Forgetting About White Balance
Ever taken a picture of a perfectly white object, only to look at it later and see a weird yellow or blue tint? That’s a white balance (WB) problem. Our eyes are amazing at adjusting to different light sources, but a camera needs to be told what "true white" is in any given scene.
Most cameras default to Auto White Balance, and it does a pretty good job most of the time. But when your entire frame is dominated by one color—like a massive white background—the camera can get confused and overcompensate.
The fix is right in your camera's menu. Look for the white balance settings, where you'll find presets like "Daylight," "Cloudy," or "Tungsten." Simply choosing the preset that matches your current lighting will give you a much more neutral, accurate white right from the get-go. And if you find your editing skills aren't quite there yet, professional photo editing services for ecommerce are always a reliable option for getting perfect results every time.
Your Questions About White Backgrounds Answered
Even after walking through the whole process, a few specific questions always seem to come up. Let's tackle the most common hurdles people run into when trying to nail that perfect white background.
I get asked all the time, "Can I really pull this off with just my smartphone?" The answer is a definite yes. Today's phone cameras are surprisingly powerful, especially when you pair them with an app that unlocks manual controls for things like exposure.
The fundamental concepts of lighting and exposure are universal, whether you're using a $5,000 DSLR or the phone in your pocket. The goal is always to get your lighting as bright and even as possible right from the start. A good mobile editing app can then easily finish the job.
Why Does My White Background Look Grey?
This is, without a doubt, the number one problem people face. The reason is surprisingly simple: your camera is trying to be too smart for its own good.
Cameras are designed to see the world in "middle grey." When they see a scene that's overwhelmingly bright and white, their automatic settings kick in and intentionally underexpose the shot. The camera thinks it's preventing you from blowing out the highlights, but in doing so, it turns your crisp white backdrop into a dull, muddy grey.
The fix? You have to take back control from the automatic settings by using exposure compensation.
Look for the little +/- symbol on your camera or in your phone's "pro" mode. By dialing this up to +1 or even +2, you're manually telling the camera to let in more light. This one small tweak is often all it takes to push that grey background back to the pure white you wanted in the first place, saving you a ton of hassle in editing.
Ready to skip the manual work and get perfect, high-converting product photos in seconds? ProdShot uses AI to instantly remove your background, enhance lighting, and deliver stunning, marketplace-ready images from a simple phone snapshot. Try it now at https://prodshot.net.