
An e-commerce image edit is the process of taking your raw product photos and transforming them into professional, sales-driving assets. It’s all about creating visuals that are clean, consistent, and conversion-focused. Think of it as the final polish that turns a basic snapshot into a powerful tool that convinces customers to buy. This means adjusting colors, cleaning up backgrounds, and sharpening all the little details to make sure your products look their absolute best.
Why Better Images Mean Better Business
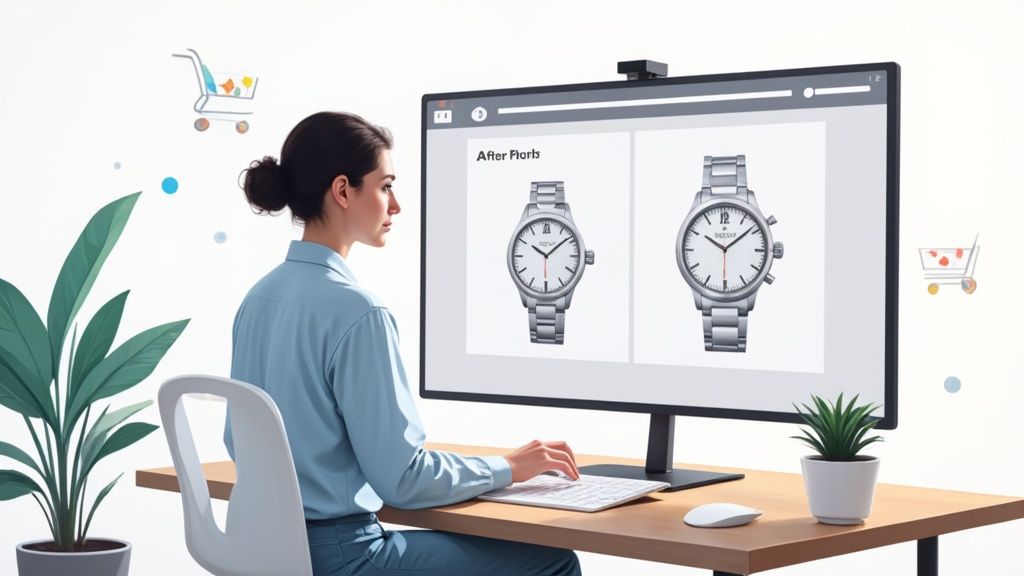
In the online world, your images do the heavy lifting. They're often the very first—and sometimes only—interaction a customer has with your product. Since they can't physically touch or see the item, they’re relying completely on what you show them. This is where high-quality, professionally edited images become your silent, 24/7 salesperson, bridging that crucial sensory gap.
This isn't just about aesthetics; it's a strategic move that directly impacts your revenue. Here's how a solid image editing process pays off:
- Builds Unshakable Trust: Polished, uniform images scream professionalism. They tell shoppers they're dealing with a legitimate, trustworthy brand.
- Reduces Product Returns: When colors are accurate and details are crystal clear, customers know exactly what they’re getting. This drastically cuts down on returns from mismatched expectations.
- Justifies Premium Pricing: Let's be honest, perception is reality. A product showcased with flawless visuals instantly has a higher perceived value, allowing you to command a better price than a competitor with sloppy photos.
A Real-World Scenario: The Tale of Two Jewelers
Picture this: two online jewelry stores are selling a very similar silver necklace.
Store A snaps a few pictures on a smartphone. The lighting is off, you can see a cluttered desk in the background, and the silver has a few tiny, distracting blemishes.
Store B, on the other hand, puts their photos through a professional editing process. Their necklace pops against a pure white background. The lighting is bright and even, highlighting the craftsmanship, and all minor imperfections have been carefully retouched. Which one looks more valuable? Which one would you trust with your credit card? Store B, every time. The quality of the image directly reflects the perceived quality of the product.
In the world of online retail, your product is only as good as its photo. Great editing isn't an expense; it's an investment in customer confidence and sales.
The demand for high-quality visuals is only growing. The global image editing software market hit a value of around USD 3.5 billion in 2024 and is expected to keep climbing, all thanks to e-commerce brands needing to stand out.
Of course, great images are just one piece of the puzzle. Once you've wowed a customer with stunning visuals, you need to deliver a smooth experience. This includes fundamentals like managing shipping restrictions effectively in WooCommerce. Polished visuals get the sale, and seamless logistics keep customers happy and coming back.
Before you even think about opening an editing program, the real work begins. Getting your ducks in a row right after the photoshoot is what separates a frustrating, hours-long editing session from a smooth, efficient workflow. It all comes down to how you handle your files from the moment they're off the camera.
This isn't just about being neat for the sake of it—it's a core business strategy. Setting up a logical folder system, maybe by product SKU or the date of the shoot, will save you from future headaches. Even more critical is naming your files properly from the get-go. A generic filename like IMG_8452.jpg does you no favors. Something like blue-suede-loafers-side-view.jpg is descriptive, packed with keywords, and instantly gives you a leg up with search engines.
Start With the Right File Type
If there’s one decision that will have the biggest impact on your final images, it’s this: shoot in RAW format. I can't stress this enough. JPEGs might seem easier because they're smaller, but they're compressed. That means your camera has already made permanent choices about color, exposure, and sharpness, and a lot of valuable image data has been thrown away.
A RAW file is the digital equivalent of a film negative. It holds every bit of unprocessed data from your camera's sensor, giving you incredible flexibility later on. You can pull details out of shadows you thought were lost, perfectly correct the white balance, and make major exposure tweaks without destroying the image quality. For anyone serious about their store's visuals, shooting in RAW isn't just a preference; it's a necessity.
Cull Your Images Mercilessly
You've just finished a shoot and now you're staring at hundreds of photos. It's time to cull the herd. This is the process of picking your winners, and it's essential. There’s no point wasting a single second editing an image that’s just going to end up in the digital trash can.
Fly through your images and judge them on a few key things:
- Focus: Is the product tack-sharp where it matters most?
- Lighting: Is the exposure good, without any distracting shadows or blown-out bright spots?
- Composition: Does the photo actually show off the product's best features?
Be ruthless here. You only want to move forward with your absolute best shots. This laser-focused approach not only saves a ton of time but also guarantees your final product pages are filled with nothing but top-tier images.
Here’s a pro-tip I always give to clients: create a simple 'brand preset' in your editing software, like Adobe Lightroom or Capture One. It's just a saved group of basic adjustments—maybe a slight bump in contrast and your brand's specific color tones. Applying this to every photo ensures a t-shirt you shot in January looks like it belongs with a handbag you shot in June, building incredible brand consistency across your entire store.
Core Techniques for Every Product Photo
Alright, let's get our hands dirty. This is where we take those solid raw shots and turn them into images that actually sell. The goal isn't just about making things look pretty; it's about making them perform. Every tweak, from color to background, has a single purpose: to build trust, showcase detail, and get that product into a customer's cart.
To make this practical, let's imagine we're working with a photo of a stainless steel watch. We'll walk through each essential ecommerce image edit to see how these techniques build on each other to create a polished, professional result.
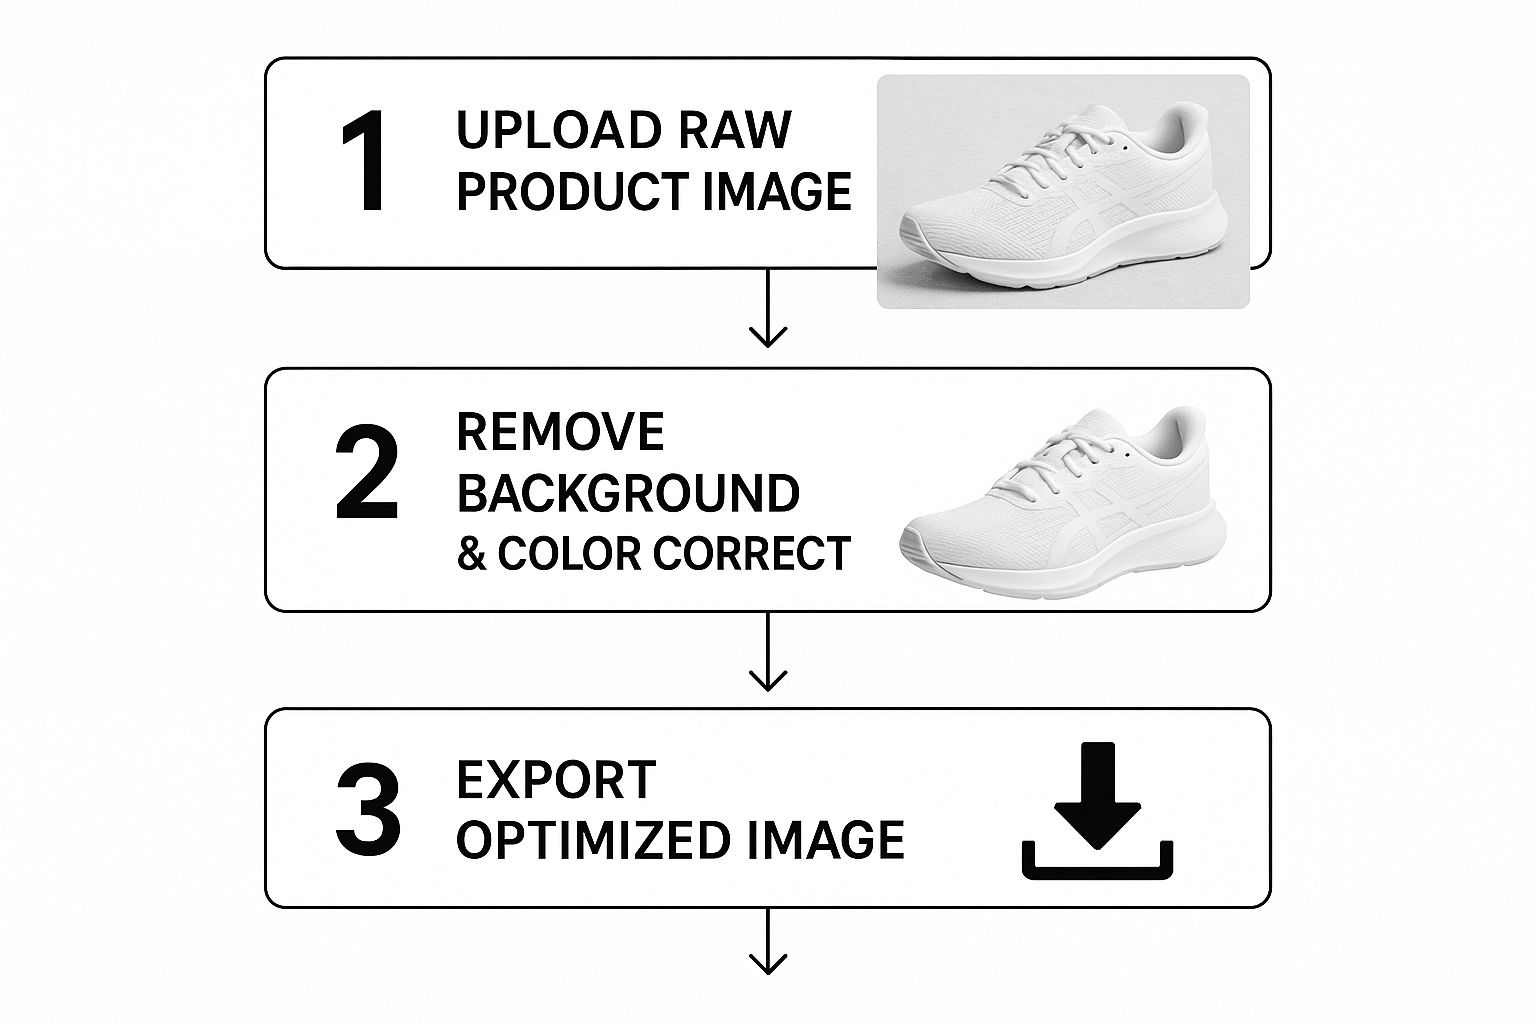
As you can see, the basic workflow is straightforward. You start with the raw photo, knock out the essential edits, and export a web-ready file. It proves you don't need a hundred complicated steps to get a professional look.
Master Clean Background Removal
First things first: isolate your product. A crisp, pure white background (RGB 255, 255, 255) is the gold standard for a reason. It’s a requirement on major marketplaces like Amazon and for good reason—it eliminates every possible distraction, focusing the shopper’s eye entirely on what you’re selling.
For our watch, this means carefully tracing its outline to lift it from the surface it was shot on. This is where good software makes all the difference. Using a tool with smart edge detection can save you a ton of time, especially with tricky parts like the watch strap and buckle. You get clean cuts without those amateurish-looking jagged edges.
A flawless background removal does more than just look clean; it creates a consistent, shoppable catalog. When every product floats on the same neutral canvas, customers can compare items easily, leading to a much smoother browsing experience.
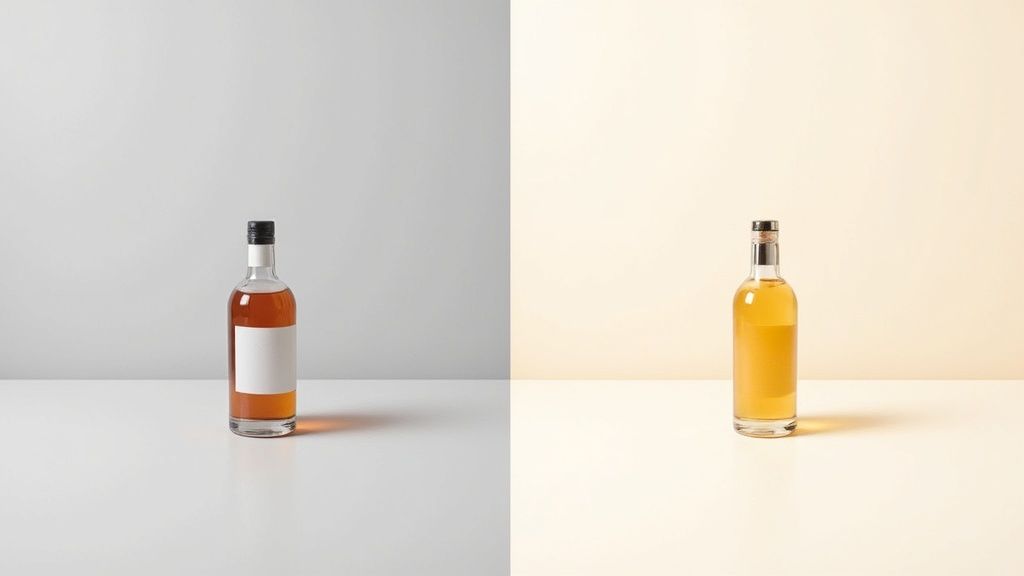
Perfect Your Color Correction
Color accuracy is all about trust. If a customer buys a "deep navy" wallet and receives something that looks almost black, you’re not just getting a return—you're getting a bad review. This step is about making sure the colors on the screen are a true, honest match to the product sitting in your warehouse.
This is where shooting in RAW really shines. With our watch photo, we can dial in the white balance so the stainless steel doesn’t have an odd yellow or blue tint. We might then add a touch of vibrancy to make the watch face pop, but we have to be careful not to push it so far that the colors look fake. The goal is always authenticity, not exaggeration.
The tools for these edits are getting better and more accessible every year. In fact, the photo editing software market was valued at USD 1.15 billion in 2024 and is expected to grow to USD 1.82 billion by 2034, according to a report from Market.us. This just shows how critical high-quality visuals have become for online stores.
Editing Software Features for Ecommerce
Choosing the right software can feel overwhelming, but it really comes down to your specific needs. Are you doing basic background removals or complex multi-layer retouching? Here’s a quick breakdown of how some popular tools stack up for common ecommerce tasks.
| Feature | Adobe Photoshop | Canva | Pixlr | Best For |
|---|---|---|---|---|
| Background Removal | Excellent (AI-powered selection, manual pen tool) | Good (One-click tool, requires Pro account) | Good (AI-powered, with manual refinement) | Photoshop for precision, Canva for speed. |
| Color Correction | Professional-grade (Curves, Levels, Hue/Saturation) | Basic (Filters, sliders for brightness, contrast) | Intermediate (Sliders for temperature, tint, vibrance) | Photoshop for unmatched color accuracy. |
| Retouching Tools | Extensive (Healing Brush, Clone Stamp, Patch Tool) | Very limited (No dedicated retouching tools) | Good (Spot Heal, Clone Stamp) | Photoshop for detailed cleanup; Pixlr for minor fixes. |
| Batch Processing | Yes (Actions and Scripts for automating edits) | No | No | Photoshop for handling large volumes of photos efficiently. |
Ultimately, the best tool is the one that fits your workflow and budget. For serious ecommerce sellers, Adobe Photoshop remains the industry standard, but tools like Canva and Pixlr offer fantastic, user-friendly alternatives for simpler tasks.
Apply Subtle Retouching
The final polish is all about the little details. We're not talking about changing the product itself, but about cleaning up tiny, temporary flaws that can distract a shopper. Think of a speck of dust on the lens, a fingerprint on a shiny surface, or a nearly invisible scratch from handling the item during the photoshoot.
Zooming in on our stainless steel watch, we’d use a healing brush or clone tool to gently erase any dust on the watch face or a minor smudge on the casing. The trick is to be subtle. You’re removing distractions, not reality. The watch needs to look like a real, tangible object—just the cleanest, most perfect version of it.
For stores handling hundreds or thousands of products, this level of detail can be a huge time sink. That’s when exploring professional https://prodshot.net/product-photo-editing-services becomes a smart, cost-effective move.
Advanced Edits That Create a Premium Feel
Basic edits get the job done, but advanced techniques are what make your products truly stand out. This is where you graduate from simple color tweaks and background removal to add a layer of polish that screams quality. These subtle touches are what give your products a tangible feel online, helping customers connect with them before they even click "add to cart."

Just think about how things look in the real world—they cast shadows and create reflections. Bringing these natural effects into your digital images is a game-changer. A soft, natural drop shadow gives your product a sense of weight and place, preventing it from looking like a flat sticker on a white background. A subtle reflection on a glossy surface adds that extra touch of sophistication.
Crafting the Perfect Ghost Mannequin Effect
If you sell apparel, the ghost mannequin (or invisible mannequin) effect is your best friend. It elegantly solves a common problem: how do you show a garment's true shape and fit without the distraction of a live model or a clunky mannequin? The technique involves merging a few different shots—one of the item on a mannequin and another showing the interior tag and lining—to create a hollow, 3D appearance.
The final result is a perfectly formed piece of clothing that looks like it's floating. Your customers can see the cut, drape, and interior details clearly, without anything getting in the way. It’s a clean, high-end look that puts your apparel in a different league than a simple flat lay.
Streamlining Your Workflow with AI and Batch Edits
Let's be realistic. Manually editing every single product image isn't an option if you have a large catalog. This is where smart automation becomes a non-negotiable part of your workflow. Batch processing is a great start, letting you apply the same adjustments—like cropping, resizing, or adding a watermark—to hundreds of photos all at once.
But modern tools can do so much more. An AI product photo generator can now handle complex tasks like removing backgrounds and creating realistic shadows with incredible speed and consistency. This doesn't just save you a massive amount of time; it also ensures every single image on your store meets the same quality standard, creating that professional, cohesive look shoppers trust. Learn more about how an AI product photo generator can help.
The market for professional ecommerce photography, valued at around USD 1 billion in 2024, is projected to double by 2033. This boom is fueled by the demand for these very techniques, proving just how essential these premium touches are for modern retail. You can read more about the ecommerce photography market growth.
Creating Compelling Lifestyle Composites
Sometimes, a product sitting on a stark white background just doesn't tell the full story. A lifestyle composite places your product into a relatable scene, helping customers actually picture it in their own lives. This could be as simple as putting a watch on a wrist against a scenic background or showing a coffee mug on a cozy kitchen counter.
This doesn't mean you need an expensive on-location photoshoot for every product. A good composite starts with your professionally cut-out product image, which is then placed onto a high-quality stock photo. The secret is to meticulously match the lighting, shadows, and perspective to make the final image look completely natural. This approach is perfect for grabbing attention on social media, in email campaigns, and for hero images on your website.
After all the creative work is done, the final, most crucial step before your images go live is optimization. You can have the most stunning product photo in the world, but if it takes ages to load, it’s practically useless. Slow pages are the number one killer of conversions, so this last phase isn't just a suggestion—it's essential.
The whole game is about striking that perfect balance: maintaining crisp, beautiful quality while shrinking the file size as much as possible. A single heavy image can torpedo your site's performance, which not only frustrates customers but also hurts your search engine rankings. Google cares a lot about page speed, so think of image optimization as a core SEO task.
https://www.youtube.com/embed/lY1bpHSmg6g
Choosing The Right File Format
The file format you choose has a massive impact on both file size and visual quality. While there are tons of options out there, for ecommerce, you really only need to focus on a few key players. Getting this right is a huge part of choosing the best image format for web performance.
To help you decide, here’s a quick reference table.
Image File Format Guide for Ecommerce
This table breaks down the most common formats, so you can pick the right one for any situation on your store.
| File Format | Best Use Case | Key Feature | Consideration |
|---|---|---|---|
| JPEG | Standard product photos, lifestyle shots | Excellent compression for complex images | Doesn't support transparency; can lose quality if over-compressed |
| PNG | Logos, icons, images with transparent backgrounds | Lossless quality & transparency support | File sizes are significantly larger than JPEGs |
| WebP | All image types (if supported) | Superior compression and quality | Not yet universally supported by all older browsers or platforms |
Think of this as your go-to cheat sheet. Most of the time, you'll be deciding between these three formats.
A good rule of thumb I've learned over the years: Default to WebP if your ecommerce platform supports it. If not, use JPEG for all your standard photos and only use PNG when you absolutely need that transparent background. Aim to keep hero images under 500 KB and your other product shots below 300 KB.
Nail Your Image SEO Fundamentals
Search engines are smart, but they can't "see" your images like a person can. You need to give them clues, and that’s where some basic image SEO comes in. This helps Google understand what your images are about, which can get you valuable traffic from image searches.
It all starts with the file name. Before you even think about uploading, ditch those generic camera names like IMG_4075.jpg. Get descriptive and use your keywords. A much better name would be something like womens-blue-leather-tote-bag.jpg. Right away, this tells search engines exactly what the image contains.
Next up is your alt text (or alternative text). This is what shows up if an image breaks, but more importantly, it’s what screen readers use to describe the image to visually impaired users. It’s a huge win for both accessibility and SEO.
Write a clear, simple description. Using our tote bag example, a great alt text would be: "Woman carrying a blue leather tote bag with gold hardware." It’s a small step that makes a big difference.
Your Ecommerce Image Editing Questions, Answered
When you're deep in the trenches of running an online store, a lot of questions pop up about getting your product photos just right. I’ve heard them all over the years. Here are my answers to some of the most common ones I get from sellers trying to perfect their images.
What’s the Best Software for Ecommerce Image Editing?
This is the big one, and the honest answer is: it depends.
If you’re a professional photographer or need surgical precision for complex edits—think intricate background removals or high-end retouching—then Adobe Photoshop is still the king. Nothing else gives you that level of granular control.
But let's be realistic, most store owners don't need that kind of firepower. For quick, clean, and effective edits, tools like Canva or Pixlr are fantastic. They’re much more intuitive and handle the essentials—like cropping, resizing, and basic color tweaks—perfectly. The "best" tool is the one that fits your skills, budget, and how many photos you're tackling.
How Do I Get My Product Colors to Look Accurate?
Getting colors wrong is a fast track to customer returns and bad reviews. The secret to accuracy starts before you even open your editing software.
During your photoshoot, use a grey card or a color checker. It’s a simple, cheap tool that lets you set a perfect white balance from the get-go, giving you a true-to-life baseline for your colors.
Then, when you're editing, sit down with the actual product next to you. Compare it to your screen under good, neutral lighting. Use your software’s color correction tools (like Curves or Levels) to make small, careful adjustments until they match.
My Two Cents: It's so tempting to crank up the saturation to make colors pop. Don't do it. A slightly more vibrant image might grab attention, but if it misleads the customer, you've lost their trust. Authenticity sells better in the long run.
What Are the Main Image Rules for Marketplaces?
Selling on big platforms like Amazon or Shopify means you have to play by their rules. Their image guidelines are strict because they want a uniform, high-quality experience for all shoppers. While you should always double-check their latest seller guides, a few non-negotiables almost always apply:
- Background: Your main image needs a pure white background (RGB 255, 255, 255). No exceptions.
- Resolution: Aim for at least 1000 pixels on the longest side. This is crucial for enabling the zoom feature shoppers love.
- Framing: The product itself should take up at least 85% of the entire image. You want it front and center.
Following these rules isn't optional; it's the price of admission to sell on these massive marketplaces.
When Should I Outsource My Image Editing?
Outsourcing can be a game-changer, especially as your store grows. If you're bogged down with hundreds of photos, passing them off to a pro frees you up to work on marketing, customer service, or product development. It’s a strategic move to ensure your entire catalog has a consistent, polished look.
There are tons of great photo editing services for ecommerce that can handle things like background removal or color correction efficiently.
On the other hand, if you're just starting out with a small number of products, learning the basics yourself is an incredibly valuable skill. It gives you complete creative control over your brand’s visual identity and saves you money when you’re on a tight budget.
Ready to stop spending hours on tedious edits? With ProdShot, you can turn basic smartphone photos into high-converting, professional product images in seconds. Let our AI do the heavy lifting so you can focus on growing your business. Try ProdShot for free today!