
Before a potential buyer reads a single word of your product description, they’ve already made a judgment based on your images. Let's be honest, your photos are your most critical sales tool on Amazon. They can be the single deciding factor between a customer clicking "Add to Cart" or bouncing to a competitor’s listing.
These visuals are your silent salesperson, working 24/7 to build trust and answer questions before they're even asked.
Why Images Drive More Sales Than Copy
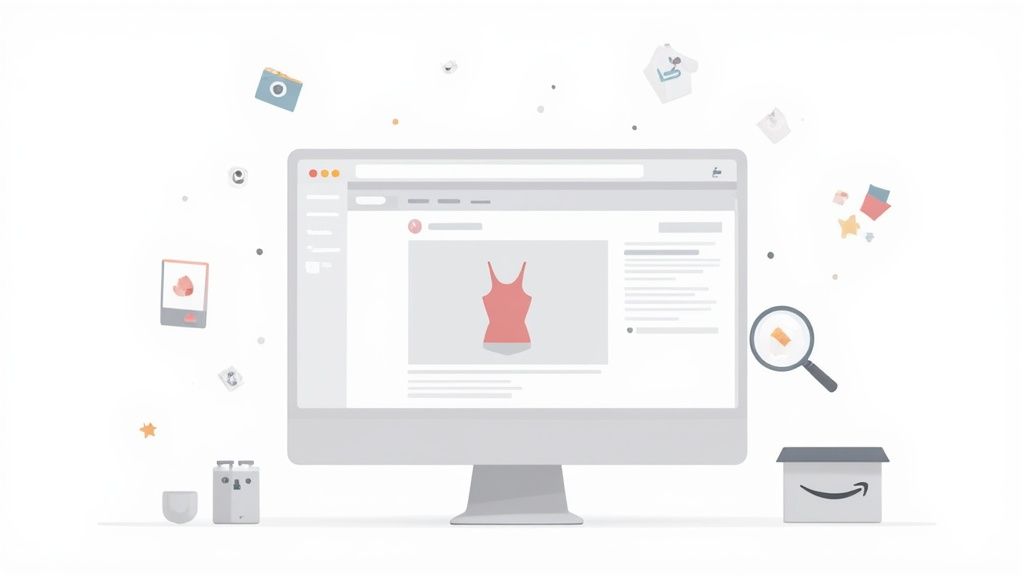
On a platform as visually cluttered as Amazon, your product photos are your first and, frankly, best chance to stand out. People are hardwired to be visual shoppers; we process images in a fraction of the time it takes to read text. While your meticulously written copy is crucial for sealing the deal, it’s the images that stop the scroll and earn that initial click.
Put yourself in the customer’s shoes. They can’t hold your product. They can’t feel its weight or test its features. Your photos have to do all the heavy lifting, bridging that sensory gap by clearly communicating quality, scale, and function in just a few seconds. Blurry, poorly lit, or non-compliant photos scream amateur, eroding trust before you even get a chance to make your case.
The True Impact of High-Quality Visuals
Great images do more than just show off your product—they directly fuel your most important metrics. A compelling set of photos is proven to boost click-through rates from search results and dramatically improve on-page conversion. This isn't just a hunch; the data backs it up.
Surveys consistently show that 70% of Amazon shoppers weigh product image quality as heavily as price when deciding what to buy. That’s a massive commercial incentive to get your images right.
The bottom line is simple: investing in excellent product photography isn't an expense; it's a direct investment in your sales velocity and brand credibility. Every image slot is an opportunity to answer a question, highlight a benefit, or create an emotional connection.
This kind of visual storytelling is fundamental to winning online. Understanding how visuals fit into broader e-commerce branding strategies is key to building a brand that lasts.
By mastering the Amazon listing image requirements, you turn a simple product page into a powerful, trustworthy shopping experience. Ignore them, and you're just leaving money on the table for your competitors to grab.
Before you can even think about creative lifestyle shots or compelling infographics, your images have to get past Amazon's gatekeepers. There's a technical inspection, and if you get these foundational details wrong, your images will be rejected or suppressed before a single customer lays eyes on them.
Think of these rules as the non-negotiable pre-flight check for your product listing. They exist to create a clear, consistent, and reliable shopping experience for millions of people. It’s less about stifling creativity and more about setting a baseline of quality that buyers have come to expect.
Choosing the Right File Format
Amazon accepts a few standard file formats, which is nice, but in my experience, there's really only one you should be using for your main photos.
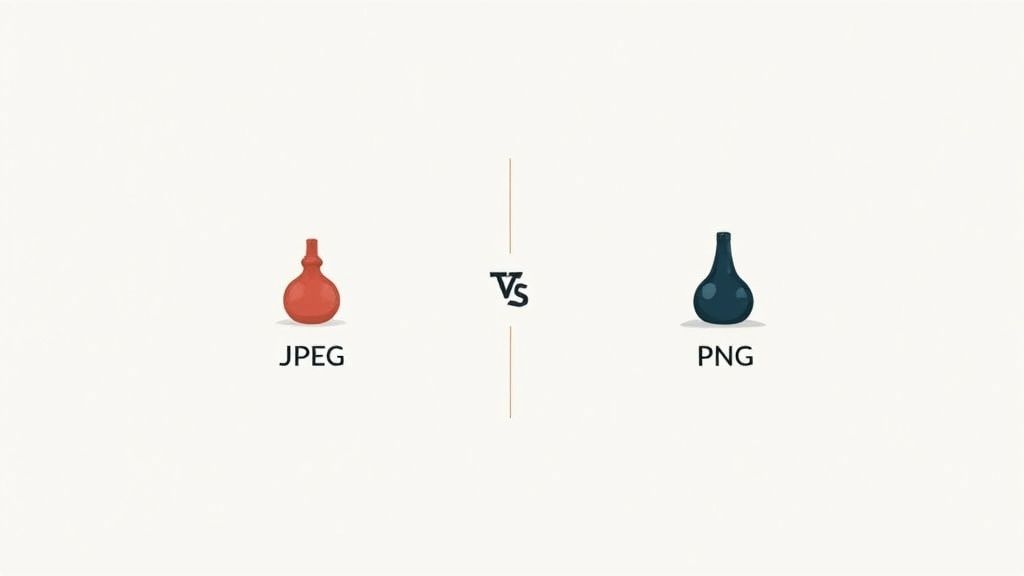
- JPEG (.jpg): This is the undisputed champion on Amazon. JPEGs give you that perfect blend of high quality and small file size, which is critical for making your product page load quickly. Seriously, for almost all your product photos, just stick with this.
- PNG: The big draw for PNG files is their ability to handle transparent backgrounds. This won't work for your main image (which needs that pure white background), but it can be a handy tool for creating specific graphics or overlaying logos in your secondary images.
- TIFF & GIF: While you technically can upload these, you really shouldn't. TIFF files are usually massive and will slow everything down, and GIFs are meant for animations, which Amazon doesn’t support for product images anyway.
Understanding Pixel Dimensions for That All-Important Zoom
Pixel dimensions are probably the most critical technical detail because they directly affect the customer's ability to inspect your product. That zoom feature isn't just a gimmick; it's how shoppers get a closer look and build the confidence to click "Add to Cart."
Amazon requires images to be a minimum of 1000 pixels on their longest side just to turn the zoom feature on. But let's be real, "minimum" is rarely the goal. To give your listing a premium feel, you should be aiming higher—1600 pixels or more is the sweet spot for a super crisp, detailed zoom. The last thing you want is a potential customer zooming in only to be greeted by a blurry, pixelated mess.
This image lays out the core technical workflow you need to follow.
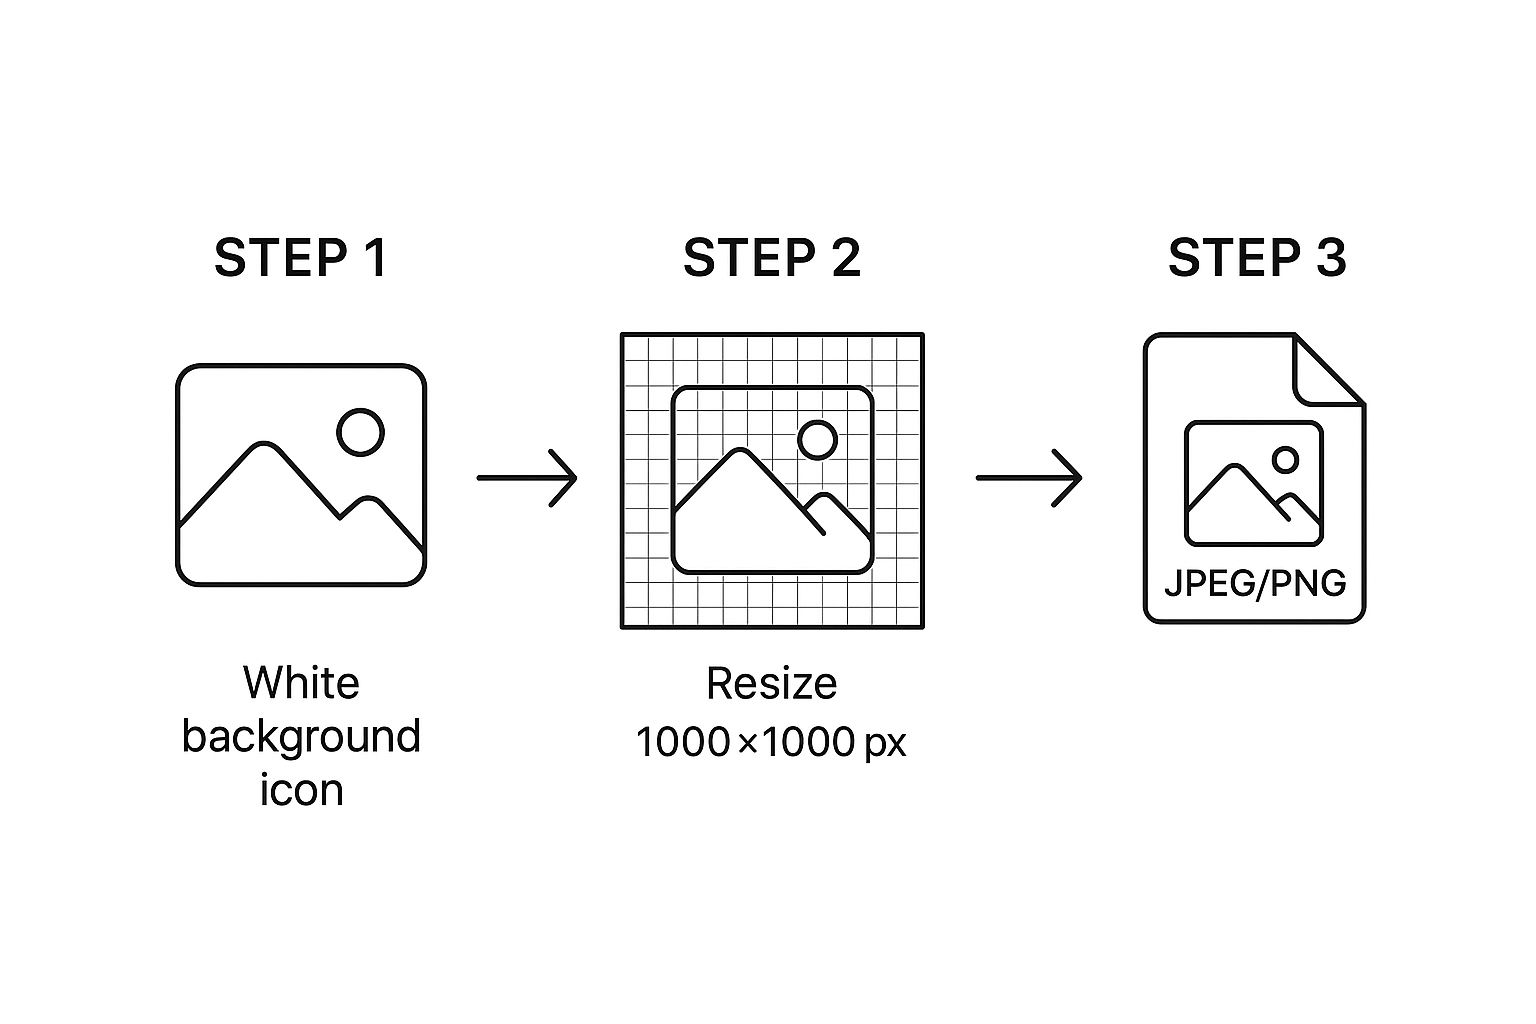
The process itself is straightforward but absolutely vital. You start with a compliant background, make sure the image is sized properly for zoom, and then save it in the correct format. Following this order saves you from those frustrating upload errors down the line.
To make things even clearer, here’s a quick rundown of the essential technical specs.
Amazon Image Technical Requirements At a Glance
| Requirement | Specification | Recommendation |
|---|---|---|
| File Format | JPEG, PNG, TIFF, GIF | Use JPEG for the best balance of quality and file size. |
| Pixel Dimensions | Min. 1000px on the longest side | Aim for 1600px+ on the longest side for high-quality zoom. |
| Color Mode | sRGB | Always export in sRGB to ensure accurate color display online. |
| File Naming | Product identifier (ASIN, EAN, etc.) followed by a period and the file extension (e.g., B000123456.jpg). | Follow this convention strictly for proper image mapping. |
Getting these settings right from the start will save you a world of headaches.
Nailing the Color Mode Requirement
Color accuracy is another huge piece of the puzzle. We’ve all been there—you order something that looks one color online, and it shows up as a completely different shade. More often than not, this is because of a mismatched color profile.
To prevent this, Amazon mandates that all images be saved in the sRGB (Standard Red, Green, Blue) color mode. This is the universal color space for the web, and it ensures the colors a shopper sees on their screen are as true-to-life as possible.
The other common color mode, CMYK (Cyan, Magenta, Yellow, Black), is strictly for print. If you upload a CMYK file to Amazon, the colors will look distorted and bizarre. This can kill customer trust and lead to a spike in negative reviews and returns. Always double-check your export settings in Photoshop or whatever editor you use.
When you're getting a new product ready, applying all of Amazon's image rules is a critical step. For a complete roadmap on this and other launch essentials, check out this A-Z Guide for New Product Launches on Amazon.
Ticking all these technical boxes can feel a bit tedious, but it's a non-negotiable part of the process. If you’d rather skip the technical headaches entirely, a service that provides https://prodshot.net/professional-amazon-product-photography can ensure every image is perfectly optimized and compliant from the get-go.
Nailing Your Main Image: The First Impression That Counts
Your main image is your product’s handshake with every potential customer. It's the single visual that pops up in a crowded search result, fighting for attention and that all-important click. Because it carries so much weight, Amazon has a set of strict, non-negotiable rules just for this one photo.
Think of it like the cover of a book. A blurry, cluttered, or unprofessional cover makes shoppers assume the story inside isn't worth their time. Getting this image right is absolutely fundamental. It’s not just about staying compliant; it's about building a listing that actually converts.
Why the Pure White Background Is a Deal-Breaker
Amazon’s insistence on a pure white background—specifically RGB (255, 255, 255)—is no accident. It’s the bedrock of their clean, consistent, and professional shopping aesthetic. When every product floats on that same stark white, the product itself becomes the hero.
This uniformity strips away visual noise, letting customers scan and compare items effortlessly. It creates a seamless experience where the focus is squarely on what’s for sale, not on some seller’s questionable background choices. A slightly off-white or light gray background might seem like a minor detail, but I’ve seen it make products look dingy and amateurish next to competitors who’ve nailed the requirement.
An off-white background can subtly signal a lack of professionalism to discerning shoppers. Achieving that pure RGB (255, 255, 255) is one of the quickest ways to make your listing look like it belongs on the platform.
Getting this right isn't as hard as it sounds. You don’t need a massive studio. A simple setup with a white sweep (a curved sheet of paper works great) and decent lighting gets you most of the way there. But let's be realistic—post-production editing is almost always needed to zap shadows and guarantee that perfect, pure white.
The 85 Percent Rule: Maximize Your Real Estate
Here's another non-negotiable: your product has to fill at least 85% of the image frame. This rule exists for a simple reason—it ensures customers can actually see what you’re selling without having to squint or zoom in from the search results. You're maximizing the visual space dedicated to your product.
Imagine you're selling a small bottle of face serum. If the bottle only takes up 30% of the frame, adrift in a sea of white, it looks tiny and insignificant. Now, picture that same bottle filling 85% of the frame. It immediately looks more substantial and detailed, giving the customer a much better sense of its quality before they even click.
Here's how that plays out in the real world:
- Bad Example: A photo of a wristwatch where the watch is just a small circle in the middle, surrounded by tons of empty space. You can't make out the details on the watch face or the band.
- Good Example: The same watch is cropped tightly, nearly touching the edges of the frame. The customer can instantly see the texture of the leather strap and the markings on the dial.
The Absolute "Don'ts" for Your Main Image
To keep that clean, product-first look, Amazon strictly forbids adding anything extra to the main image. This is a zero-tolerance policy, and ignoring it is one of the fastest ways to get your listing suppressed by Amazon's bots.
Here’s a quick-and-dirty list of what you must never include on your main photo:
- Text, Logos, or Badges: No "Sale," "Made in the USA," or your company logo. Save that for your other images.
- Watermarks: Absolutely no watermarks. Not even subtle ones.
- Extra Props or Accessories: Don't show anything that isn't included in the box. If you're selling a camera body, don't show it with a lens that's sold separately. It's misleading.
- Multiple Angles: The main image needs to be a single, clear view of the product. No collages.
- People (Usually): Unless you're selling apparel, human models are a no-go in the main image.
Following these rules isn't just about avoiding trouble. It's about creating an image that is clear, trustworthy, and perfectly optimized for the platform. Your main image is your first impression—make it a powerful one by mastering these essential Amazon listing image requirements.
Using Secondary Images to Tell a Compelling Story
If your main image is what gets the click, your secondary images are what close the deal. This is your chance to finally move beyond Amazon's rigid main image rules and start telling a real story about your product. Think of those seven-plus image slots as your personal billboard, ready to connect with customers and show them what you're all about.
Once a shopper is on your product page, they've moved from casual browsing to serious consideration. Your mission now is to use every pixel you've got to build confidence, answer their unspoken questions, and squash any doubt they might have about clicking "Add to Cart."
Show Your Product in the Real World
Want to make a real connection? Show people how your product will actually fit into their lives. This is where lifestyle photography works its magic, transforming your item from a sterile object on a white background into a real solution for a real person.
For instance, if you're selling a rugged, waterproof backpack, a picture of it on a smiling hiker conquering a misty trail says a thousand times more than another studio shot. Selling a minimalist coffee maker? A photo of it sitting on a bright, modern kitchen counter next to a steaming mug helps the customer instantly picture it in their own home. These images aren't just pictures; they're invitations for customers to imagine a better version of their life with your product in it.
Educate and Inform with Infographics
Let's be honest, people skim. A sharp, well-designed infographic can deliver your key selling points much faster than a paragraph of text ever could. This is your opportunity to shout about the top three to five benefits that set your product apart.
Put yourself in the customer's shoes. What are they wondering?
- How big is it? Show them with an infographic that has clear measurement lines.
- What’s it made of? Use a graphic to call out the high-quality materials you used.
- How does it work? Use simple icons and short phrases to highlight the main features.
A great infographic is like a silent salesperson, grabbing a skimmer's attention and feeding them the key facts they need to feel good about their purchase. As you put these together, it's worth looking into advanced techniques for overlaying text on images to make sure your visuals look professional and are easy to digest.
Overcome Objections with Comparison Charts
One of the most powerful moves you can make is to dedicate an image slot to a comparison chart. It's a brilliant way to take on your competition without ever saying their names. Just create a simple table comparing "Our Product" to a generic "Other Brands."
By creating a direct comparison, you control the narrative. You get to spotlight the features where you shine—like better materials, a longer warranty, or an included accessory—and you make the customer's decision ridiculously easy.
This strategy is a game-changer, especially in a crowded market. You're proactively answering the "Why you?" question and proving your product's value in a clear, visual format. You’re not just telling them you're better; you're showing them exactly why.
Answer Questions Before They're Even Asked
At the end of the day, every single secondary image needs to have a job. Don't waste precious space with slightly different angles of the same shot. Instead, treat each image as a chance to tackle a potential customer hesitation head-on.
Show the packaging so they know what will arrive at their door. Zoom in for a "detail shot" that highlights the fine craftsmanship, like the precise stitching on a leather wallet or the sturdy clasp on a necklace. Each image should build on the last, painting a complete picture that leaves no room for doubt. Getting this part of the Amazon listing image requirements right is what consistently separates the top-selling products from everyone else.
Common Image Mistakes That Get Listings Suppressed

There are few things more gut-wrenching for a seller than logging into Seller Central to find your best-selling product has vanished. That's what a suppressed listing feels like. It’s still there, just invisible in search results, bringing your sales to a screeching halt. And more often than not, the culprit is a totally preventable image violation that Amazon's bots caught.
Getting your images right isn't just about looking professional; it's about staying in business on the platform. Knowing the common tripwires is the best way to keep your listings safe and your revenue flowing. These mistakes might seem small, but to Amazon's algorithms, they're black-and-white policy violations.
The most frequent offender, by far, is a flawed main image. Submitting a hero shot with an off-white, cream, or even light gray background is an instant red flag. It must be pure white (RGB 255, 255, 255). Even a soft, subtle shadow can be enough to trigger a suppression and make your product look amateurish next to compliant ones.
Promotional Text and Badges
Tempted to add a "Sale" or "Best Seller" banner to your photo? Don't. Slapping text overlays, promotional badges, or logos onto any of your images is a direct violation of Amazon's terms of service. These are strictly forbidden because they create a cluttered, inconsistent shopping experience.
This rule is non-negotiable and also includes watermarks or company logos. Amazon wants the customer's focus squarely on the product itself, creating a clean, uniform environment for everyone. Any attempt to brand the image space will get your listing pulled.
Think of it this way: Amazon's platform is their store, not yours. They set the visual merchandising rules. Adding promotional text is like putting up your own unapproved sign in their window—it’s a surefire way to get taken down.
Low Resolution and Blurry Photos
Another classic mistake is uploading blurry or low-resolution images. This kills the customer experience. Shoppers depend on the zoom function to inspect details, and if your image is below the 1,000-pixel minimum on its longest side, that feature won't even work.
Even if an image technically meets the minimum, poor quality erodes trust. A pixelated photo screams "low-quality product" or "unreliable seller." You should always aim for images that are at least 1,600 pixels on the longest side. This ensures everything stays crisp and clear when a potential buyer zooms in for a closer look.
Getting the technical details perfect across a large catalog can be a real headache. For sellers who need consistently compliant, high-quality visuals without the hassle, using professional product photo editing services can be a smart investment to guarantee every image meets Amazon's strict standards from the get-go.
Misleading Content and Props
A more subtle but equally damaging violation is showing items that aren't actually included with the purchase. For example, picturing a phone with a fancy case, charger, and headphones when you're only selling the phone is a huge problem. It’s not just misleading; it's a fast track to listing suppression, bad reviews, and costly returns.
To stay in the clear, make sure every single item in your main image is exactly what the customer will unbox. You can use secondary images to show the product in a real-world setting with other items, but you have to make it crystal clear that those props are "not included."
Here's a quick audit you can run on your images to avoid suppression:
- Main Image Background: Is it pure white (RGB 255, 255, 255), with no sneaky shadows or textures?
- Text and Logos: Are all images—especially the main one—completely clean of any text, watermarks, or badges?
- Resolution: Is every photo sharp, in focus, and well over 1,000 pixels on its longest side?
- Product Representation: Does your main image only show what the customer is actually buying?
By proactively checking your listings for these common slip-ups, you can avoid the pain of a suppressed listing and keep your products front and center where they belong.
Answering Your Top Amazon Image Questions
When you're in the weeds of creating an Amazon listing, specific questions always seem to pop up about the images. You're not alone. I've gathered some of the most common questions I hear from sellers and will give you clear, no-nonsense answers to get you past those roadblocks.
Think of this as your personal cheat sheet for handling those tricky image situations.
So, How Many Images Do I Really Need?
Amazon gives you nine image slots, but only the first seven show up on the desktop product page before a customer has to click. While technically you only need one, that's just not going to cut it in today's market.
For almost any product, you should aim for at least six or seven high-quality images. This is the sweet spot. It gives you enough real estate to show your main shot, a few infographics calling out key features, a lifestyle image, and maybe a picture of the packaging. Filling these slots signals to buyers that you're a serious, thorough seller.
Can My Other Images Have a Non-White Background?
Yes, and they absolutely should! The rule for a pure white background (RGB 255, 255, 255) applies only to your main, or "hero," image. Your secondary images are where you bring your product to life.
This is your chance to tell a story. Show that picnic blanket on vibrant green grass. Place your fancy kitchen gadget on a sleek marble countertop. These real-world settings help customers imagine your product in their own homes and lives, which is a huge step toward making a sale.
What's the Best Way to Show My Product's Size?
Putting dimensions in your bullet points is one thing, but showing them visually is far more powerful. Most people can't accurately picture what "8 x 5 x 3 inches" really looks like. A dedicated image that communicates scale is one of the most effective things you can do.
Here are a few methods that work wonders:
- Simple Infographics: Create a clean graphic with arrows clearly labeling the product's height, width, and depth.
- Comparison Shots: Put your product next to an everyday object everyone recognizes, like a quarter, a coffee mug, or even an iPhone.
- In-Use Photos: This is often the best approach. A photo of a person wearing a backpack or holding a water bottle gives an instant, intuitive feel for its size.
Getting this right can dramatically cut down on returns from customers who just guessed wrong on the size.
Do I Actually Need to Hire a Professional Photographer?
Look, you can get by with a modern smartphone and a decent lighting setup. But hiring a pro gives you a serious competitive advantage. It’s about more than just a fancy camera—it's their mastery of lighting, composition, and editing that makes a product truly pop.
A great product photographer knows how to do more than just meet Amazon's technical rules. They know how to craft images that trigger an emotional response and drive people to click "Add to Cart." They can make a simple product look like a premium, must-have item.
The right photos can justify a higher price and boost your conversion rate. If you're serious about your brand, it's an investment that pays for itself. To figure out if it fits your budget, it's worth looking into the typical cost of professional product photography. For most successful sellers, it's a no-brainer.
Can I Put My Logo on My Product Images?
On your main image? Absolutely not. Don't even think about it. Amazon's policy is crystal clear: no logos, watermarks, or extra text on the primary photo. Violating this will get your listing suppressed in a heartbeat.
For your secondary images, it's a bit of a gray area. You'll see some sellers sneak a small logo into an infographic, but it's risky and generally not recommended. Amazon wants the focus squarely on the product itself. A much better—and safer—way to build brand identity is through a consistent visual style, using the same fonts, colors, and photo aesthetic across your images.
Help! My Listing Was Suppressed Because of an Image. What Do I Do?
First off, don't panic. This is a common issue and usually an easy fix.
Just log in to your Seller Central account and go to the "Manage Inventory" page. You'll likely see a quality alert next to the suppressed listing. Amazon is pretty good about telling you exactly what's wrong—for example, "Main image has a non-white background."
All you need to do is edit the offending image to bring it into compliance, re-upload it, and save your changes. Your listing will typically be back up and running within a few hours.
Ready to create stunning, compliant product images without the hassle? ProdShot uses AI to turn simple smartphone photos into professional-grade visuals in seconds. Remove backgrounds, perfect lighting, and get your images Amazon-ready with just a few clicks. Try it for free at https://prodshot.net.