
Nothing kills the vibe of a great product shot faster than blur. That sinking feeling you get when you open up your photos and realize the perfect angle is just a little fuzzy? We've all been there.
It's tempting to blame the camera, but the real culprits are usually subtle things: a tiny bit of camera shake from shooting handheld, a subject that moved just as you clicked, or the camera's autofocus latching onto the background instead of your product.
Understanding what kind of blur you're dealing with is the first step to actually fixing it. Each type has a unique fingerprint, and that's where a dedicated app comes in.
Why Your Photos Are Blurry and How an App Fixes It
Modern photo-fixing apps, like ProdShot, aren't just slapping a generic sharpening filter over your image and calling it a day. That old-school method often just makes things look grainy and unnatural.
Instead, these tools use sophisticated AI that's been trained on millions of images. This AI has learned to recognize the distinct digital patterns left behind by different kinds of blur.
The Brains Behind the Fix
Think of it like a digital detective. The AI analyzes your photo and identifies the specific "crime" that caused the blur.
- Motion Blur: This happens when your product or the camera moves during the shot. The AI can actually detect the direction of that movement and work backward, realigning pixels to reconstruct the sharpness that was lost. It’s a bit like unscrambling a signal.
- Focus Blur: This is what you get when the lens just misses the mark, leaving your subject soft and indistinct. The software intelligently finds those out-of-focus zones and enhances the edge contrast, essentially recreating the sharp lines that should have been there.
- Lens Blur (Bokeh): While sometimes you want that creamy, out-of-focus background, accidental lens blur can ruin a shot. The algorithms can simulate reversing the lens's optical flaws to bring unintended soft spots back into focus.
This intelligent, targeted approach is a world away from the tedious manual editing of the past. If you've ever spent hours trying to fix a photo in a complex program, you know the struggle. For more on how tech is changing the game, check out our guide on photo editing services for ecommerce.
The key thing to remember is that an AI-powered app isn't just guessing. It's performing a complex digital reconstruction based on the visual data already in your image. It’s piecing together the hidden clues to reveal the crisp, clear picture underneath.
And this technology is booming for a reason. The AI image enhancer market was valued at a massive USD 2.6 billion in 2024 and is expected to skyrocket to USD 50.7 billion by 2034. The software part of that market makes up over 73.7% of the share. This huge growth shows just how much people need powerful, easy-to-use tools to solve these common photography headaches. You can dive deeper into the data on the AI image enhancer market growth.
To help you get started, let's break down the common types of blur you're likely to encounter.
Common Types of Photo Blur and Their Causes
Use this quick-reference table to diagnose the blur in your photos and understand its root cause.
| Type of Blur | Common Cause | Visual Cue |
|---|---|---|
| Motion Blur | Camera or subject movement during a slow shutter speed. | Streaky or ghost-like trails following the edges of objects. |
| Focus Blur | The camera's autofocus missed the intended subject. | The entire subject is uniformly soft, with no sharp areas at all. |
| Gaussian Blur | Often a result of low-resolution images or digital noise. | A hazy, soft-focus effect that lacks distinct edges. |
| Lens Blur (Bokeh) | An optical effect from the lens, often intentional but sometimes not. | Circular or hexagonal light patterns in out-of-focus areas. |
Once you've identified the type of blur, you can choose the right tool to tackle it effectively.
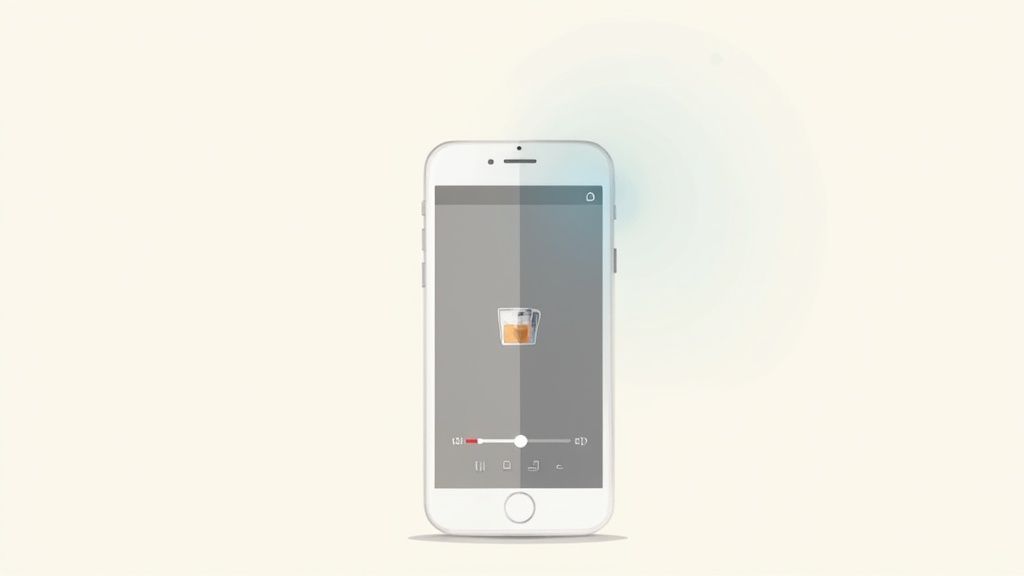
Below is a peek at the clean, straightforward interface in ProdShot. It's designed to get you from blurry to brilliant without a steep learning curve.
As you can see, the layout is all about simplicity. You can upload an image and let the AI work its magic in just a couple of clicks.
Putting Theory Into Practice: A Real-World Workflow for Sharpening Images
Knowing why a photo is blurry is one thing, but fixing it is where the magic happens. Let's walk through a repeatable workflow for taking a slightly disappointing, blurry photo and turning it into a sharp, professional asset that’s ready to sell.
We’ll use a common scenario: a product photo of a handcrafted leather wallet that’s just a bit soft on the details.
The goal isn't just to make it "less blurry." It's to bring out the rich texture of the leather, define the fine stitching, and make the whole product feel tangible to someone scrolling online. A smart application to fix blurry photos, like ProdShot, builds its tools in a logical sequence so you don’t end up over-processing your image by accident.
This visual flow chart breaks down the simple, AI-driven process from a blurry original to a crisp final image.
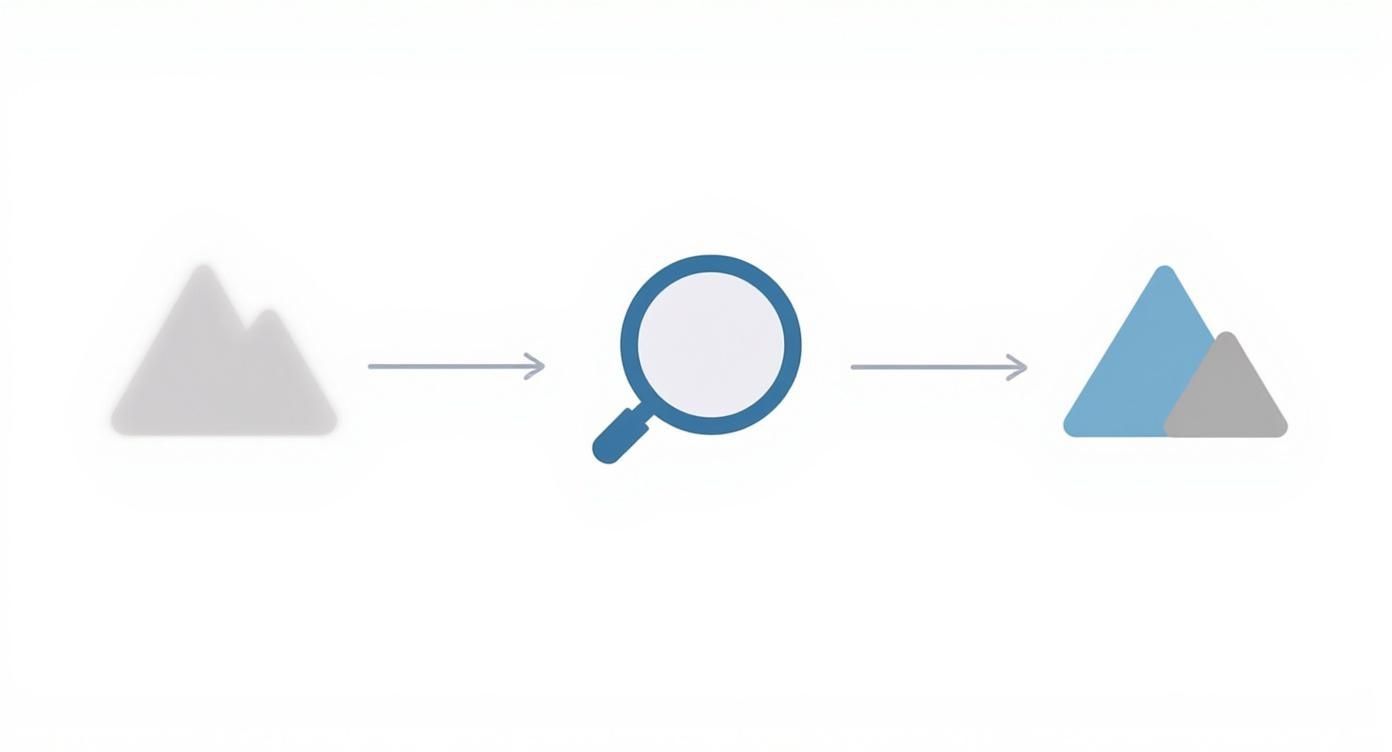
As you can see, a good app first analyzes the specific problems with the photo before applying a targeted fix. The result is a picture that looks naturally sharp, not artificially edited.
Start with Deblurring for a Solid Foundation
First things first: you have to tackle the core blur. Whether it’s from a slight camera shake or a missed focus, this foundational issue needs to be corrected before you do anything else. Jumping straight to a sharpening tool on a blurry image is like painting over a crack in the wall—it might hide the problem for a second, but it doesn’t actually fix it.
In an app like ProdShot, look for a tool specifically labeled 'Deblur' or 'Fix Motion Blur'. This isn't your standard sharpening filter. It uses AI to analyze the pixel patterns, figure out the direction of the blur, and then intelligently realign everything. For our leather wallet, this step would correct the overall softness and bring the general shape into clear focus.
Always start with a moderate setting. The AI is powerful, and a little often goes a long way. Apply the deblur and then zoom right in to 100%. Take a close look at the edges of the wallet. Are they crisp, or are they starting to look jagged and weird? If you see strange digital artifacts, you've gone too far. Just pull the slider back until the main blur is gone but the image still looks natural.
Apply Sharpening to Enhance Fine Details
Now that the foundational blur is gone, you can focus on making the details pop. This is where the 'Sharpen' tool comes in. Unlike deblurring, which reconstructs the image, sharpening works by increasing the contrast along the edges of textures and objects.
Let's go back to our leather wallet. The deblur tool made the overall shape clear. The sharpen tool is what will make the grain of the leather, the texture of the thread, and any embossed logos really stand out. This is the step that adds that premium, high-quality feel.
Here’s some practical advice from years of editing:
- Use subtle adjustments: Nudge the sharpen slider up in tiny increments. It's much easier to add more than it is to fix an over-sharpened mess.
- Check for halos: Zoom in on high-contrast areas, like where the wallet meets the background. If you see a bright, glowing outline (a "halo"), you've pushed it too far.
- Focus on texture: The goal is to enhance the natural texture, not to create new, artificial-looking edges.
Pro Tip: Always view your image at 100% (or 1:1) magnification when you’re sharpening. What looks great as a small thumbnail can often look harsh and over-processed at full size—which is exactly how customers will see it when they zoom in on your product page.
Finish with Noise Reduction
The final touch in our workflow is to clean up any unwanted digital grain, or 'noise'. Both deblurring and sharpening can sometimes amplify the noise that was already in an image, especially if it was shot in low light. This usually shows up as a fine, grainy texture in the smoother parts of the photo, like a solid-color background.
Use the 'Noise Reduction' or 'Denoise' tool sparingly. Its job is simply to smooth out that grain without destroying the fine details you just worked so hard to bring out. Apply a light touch, focusing on making the background and any flat surfaces look clean.
This final step gives your photo a polished, professional finish, ensuring nothing distracts the customer’s eye from your beautifully sharpened product. By following this sequence—Deblur, Sharpen, Denoise—you create a logical workflow that delivers great results every time.
Beyond Blurry: The Advanced Tools That Make Product Shots Flawless
Fixing a blurry photo is a great start, but it's really just the first step. To get a truly stunning, sales-driving product shot, you need to go a bit further. The best apps for fixing blur don't just stop there; they offer a whole suite of advanced tools that take your images from "good enough" to genuinely flawless.
These features all work together, building on each other to make sure every last detail of your product pops.
One of the most powerful tools in this arsenal is AI upscaling. We've all been there: you try to make a small image bigger, and it just turns into a pixelated, blocky mess. That's because old-school resizing simply stretches the pixels you already have, which completely ruins the quality.
AI upscaling is different. It intelligently analyzes the image and adds new pixels where they should be, effectively doubling your resolution without those nasty artifacts. For e-commerce, this is huge. It means customers can zoom right in on your product to check out the details without the image falling apart.
Breathing Life into Your Images with Color and Light
Beyond just sharpness and size, the overall vibe and accuracy of your photo come down to color and lighting. A quick shot taken under your typical indoor lights can easily give your product a weird, yellowish tint that doesn't represent its true color at all. This is where color correction tools save the day.
With just a few tweaks, you can get rid of those ugly color casts, make the colors more vibrant, and make sure what people see on their screen is what they’ll get in the mail. Think about a bright blue handbag that looks dull and grey in your photo—a quick white balance adjustment can bring its true, eye-catching color right back.
Lighting tools are just as important for making an impact. They let you adjust:
- Brightness: Fixes those dark, underexposed shots so your product is actually visible.
- Contrast: Adds depth and makes the whole image stand out.
- Highlights & Shadows: Lets you bring back details that were blown out in bright spots or lost in dark areas.
Before we dive deeper, it's helpful to see how these tools fit together. Here's a quick breakdown of the essentials you should look for in any quality photo enhancement app.
Essential Tools in a Photo Enhancement App
| Tool | Primary Function | Best For |
|---|---|---|
| Deblur/Sharpen | Corrects focus issues and enhances fine details. | Slightly out-of-focus shots or bringing out textures like fabric or metal grain. |
| AI Upscaler | Intelligently increases image resolution without pixelation. | Small, low-resolution source images that need to be larger for website banners or zoom features. |
| Color Correction | Adjusts white balance, saturation, and vibrancy. | Fixing photos with a yellow/blue tint from indoor lighting or making colors pop. |
| Light Adjustment | Modifies brightness, contrast, highlights, and shadows. | Rescuing underexposed (too dark) or overexposed (too bright) photos. |
| Noise Reduction | Smooths out grainy textures, especially in low-light photos. | Images taken with high ISO settings or in poorly lit environments. |
Having all these tools in one place is what really makes the magic happen, turning a complicated editing job into a few simple clicks.
A well-lit, color-accurate photo does more than just show a product; it communicates quality and trustworthiness. Shoppers are far more likely to click 'buy' when they feel confident they know exactly what they’re getting. For a deeper dive, our guide on comprehensive product photo retouching covers these techniques in more detail.
A Seamless Workflow in Action
The real power of these tools comes out when you use them together in a logical flow. Let's say you have a photo of a silver ring that's a little out of focus and was shot under warm, yellowy light.
Here's how you'd tackle it:
- First, you'd run it through a Deblur tool to correct the core softness.
- Next, you’d use Color Correction to get rid of that yellow cast and show the ring's true silver color.
- Then, a quick Contrast adjustment would make the metal really gleam.
- Finally, you could Upscale it with AI to make sure the zoom-in view is crystal clear.
This is the kind of integrated process you get with platforms like ProdShot, which turns what used to be a multi-step headache into a fast, intuitive workflow. And the demand for this kind of quality is only growing. The global photo editing software market hit USD 42.85 billion in 2024 and is expected to soar to USD 94.24 billion by 2034, all because professionals need top-tier results.
Once your photos are sharp and clear, you can take them to the next level. For instance, you can learn how PSD mockups can elevate your product photos for different marketing campaigns and ads.
How to Export Images for Online Marketplaces
You’ve done the hard work of fixing the blur and sharpening your product photos. Don't fall at the final hurdle! How you export your images is just as important as how you edit them. The wrong settings can completely undo all your effort, leaving you with photos that look soft, pixelated, or just plain weird on Amazon, Shopify, or Etsy.
Getting this right is a balancing act between incredible quality and small file sizes. You need images that look crystal clear but don't slow down your website. After all, even a one-second delay in page load time can tank your conversion rates. Once your images are perfectly sharp, you need to know how to properly optimize images for the web so they look great everywhere without dragging down performance.
Choosing the Right File Format
When it comes to product photography, the conversation almost always boils down to JPEG versus PNG. While PNG is great for images that need a transparent background, the file sizes are often much larger.
For the vast majority of product shots on a solid background, JPEG is the way to go. It gives you fantastic compression, which means a smaller file size with almost no noticeable drop in quality.
When you save a JPEG, you'll see a quality slider, usually from 0 to 100. For e-commerce, the sweet spot is somewhere between 80 and 90. This gives you that perfect blend of crisp detail and a file size that won’t make your customers wait.
Color Space and Compression Explained
Here’s a setting you absolutely cannot ignore: color space. You must always export your images using the sRGB color space. Think of it as the universal language for colors on the internet. It ensures your product's colors look the same on your customer's screen as they did on yours.
If you use a different profile, like Adobe RGB, you risk your product photos looking dull and washed out online. It’s a common mistake that can completely misrepresent what you're selling.
Compression is the magic that shrinks your file size. JPEGs use "lossy" compression, which intelligently discards a tiny bit of image data your eyes can't really see. At a quality setting of 80-90, this is a non-issue. But if you push the compression too far, you'll start to see ugly, blocky artifacts that destroy the clarity you worked so hard to achieve.
Remember: Exporting isn't just about saving a file. It's about preparing it for its final destination—the web. Every single setting, from format to color space, plays a role in how your customers will see your product.
Marketplace Export Checklist
While every platform might have slightly different rules, these settings are a rock-solid starting point for most major e-commerce sites. If you find your images need to be a specific dimension to meet marketplace guidelines, a dedicated tool can make that adjustment a breeze. You might want to explore the benefits of a versatile image resizer to get everything pixel-perfect.
Here's your go-to checklist for exporting:
- File Format: JPEG
- Quality: 80-90%
- Color Space: sRGB
- Resolution: Keep it web-friendly (a good rule of thumb is 2048px on the longest side)
Follow these simple rules, and you can be confident that the sharp, stunning images you see on your screen are exactly what your customers will see, helping your products look their best and ultimately driving more sales.
Common Mistakes When Fixing Blurry Photos
Having an app that can fix a blurry photo feels like a superpower, right? But with great power comes the potential to make a digital mess. Knowing what not to do is just as important as knowing which buttons to click. I've seen these same mistakes trip people up time and time again.
Let's walk through how you can steer clear of them and get much cleaner, more professional results.
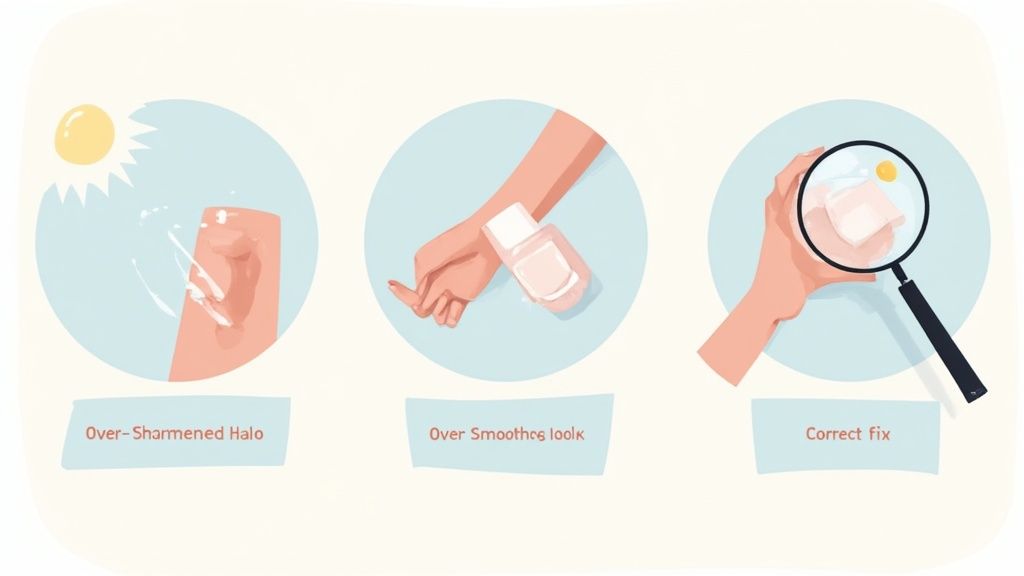
The number one culprit is almost always over-sharpening. It's so tempting to slide that sharpness dial all the way to the right, chasing that ultra-crisp look. But what you usually get are ugly, bright outlines—what we call "halos"—around your product's edges. It's a dead giveaway of an amateur edit and makes the whole image look harsh.
Another classic mistake is getting too heavy-handed with noise reduction. This tool is fantastic for smoothing out that grainy texture, but push it too far and you'll strip away all the important details. Your product can start to look flat, waxy, or plasticky, losing the very texture you wanted to highlight.
Unrealistic Expectations for AI
It's also crucial to have a realistic view of what AI can do. Modern AI is incredible, but it isn't magic. An app that fixes blurry photos works by intelligently enhancing the data that's already in the image. If your photo is a complete, unrecognizable smear of color, there's just not enough information there for the AI to rebuild a clear picture from scratch.
Do This Instead: Think of AI as a master restorer, not a magician. Your goal should be to give it the best possible starting material. A photo with a bit of motion blur or a slightly soft focus is the perfect candidate for a dramatic turnaround.
This reality is reflected across the industry. The global market for photo recovery software—which deals with restoring damaged or degraded images—was valued at around USD 950 million in 2025 and is still growing. This shows just how much demand there is for tools that can salvage imperfect shots, which just underscores how valuable it is to start with a salvageable photo in the first place. You can read more about the growth of photo recovery technology if you're curious.
A Better Approach to Common Edits
Instead of falling into these traps, here's a more refined way to think about your workflow.
- Selective Sharpening: Don't just apply a sharpening effect to the entire image. A good app like ProdShot lets you apply it selectively. You can focus the enhancement just on the product itself, leaving the background untouched for a much more natural and professional look.
- Subtle Noise Reduction: Go easy on the noise reduction. The best way to do this is to zoom in to 100% and apply the effect in small increments. Increase it just enough to knock back the distracting grain without killing the important details in fabrics, wood textures, or metallic sheens.
By sidestepping these common pitfalls, you’ll end up with images that aren’t just sharp, but also look authentic and polished.
Answering Your Top Photo Sharpening Questions
Even with the best AI tools in your corner, questions are bound to pop up. When you're in the trenches fixing blurry photos, a few common uncertainties tend to surface again and again. I've gathered the ones I hear most often to give you clear, straightforward answers and help you edit with more confidence.
Can an App Really Fix Any Blurry Photo?
While today’s AI is incredibly impressive, it’s not a magic wand. An app can work absolute wonders on photos suffering from slight motion blur or a soft focus—those instances where the subject is still recognizable, just not tack-sharp. It intelligently reconstructs the details that are almost there.
However, if a photo is so far gone that the subject is just a smear of color, the AI simply won't have enough data to work with. Think of it less as creating detail from nothing and more like enhancing what's already present. The better your starting image, the more spectacular the final result will be.
What Is the Difference Between Sharpening and Deblurring?
This is a big one. They might sound like they do the same thing, but sharpening and deblurring are two fundamentally different tools that solve different problems. Getting this right is crucial for professional-looking results.
- Deblurring is about correction. Its algorithms are designed to reverse the physical cause of the blur, like a slight camera shake or a missed focus point. It analyzes pixel trails and works backward to put them back where they belong.
- Sharpening, on the other hand, is about perception. It works by increasing the contrast along the edges within your photo, which creates the illusion of more detail and makes things look crisp.
A pro-level workflow always starts with deblurring to correct the core issue. Only then do you apply a touch of sharpening as a final step to make those restored details truly pop.
Key Takeaway: Always deblur before you sharpen. Fixing the foundational blur first gives the sharpening tool a much cleaner canvas to work with. If you sharpen a blurry image, you just end up with a harsh, grainy mess.
Will Using an App Make My Photos Look Worse?
That’s a common fear, but it’s totally avoidable if you know what you’re doing. Professional AI enhancers are specifically designed to improve image quality, not ruin it. The danger only creeps in when you get heavy-handed with the sliders.
Pushing the enhancement settings to their absolute maximum is what introduces digital artifacts and that unnatural, "overcooked" look. The secret is to make small, subtle adjustments and always check your work by zooming in to 100%. It’s also just good practice to work on a copy of your image, leaving your original file untouched and safe.
Ready to transform your product photos from blurry to brilliant in just a few clicks? Try ProdShot today and see how our AI-powered tools can deliver professional, sales-driving images effortlessly. Get started now at ProdShot.net.