
If you're looking for the single most important number for your Shopify store's success, here it is: 2048 x 2048 pixels.
That's the gold standard for your product images. Getting this one dimension right is the fastest way to make your storefront look professional, trustworthy, and ready for sales.
Why 2048 x 2048 Pixels Is the Magic Number
Think of your product images as the digital equivalent of a welcoming, well-lit retail display. If the display is sharp, clear, and inviting, customers are more likely to stick around and buy. If it's blurry or slow to load, they're gone in a flash.
The 2048 x 2048 pixel dimension isn't just a random number; it's the sweet spot that perfectly balances three things every online store needs to succeed: quality, zoom, and speed.
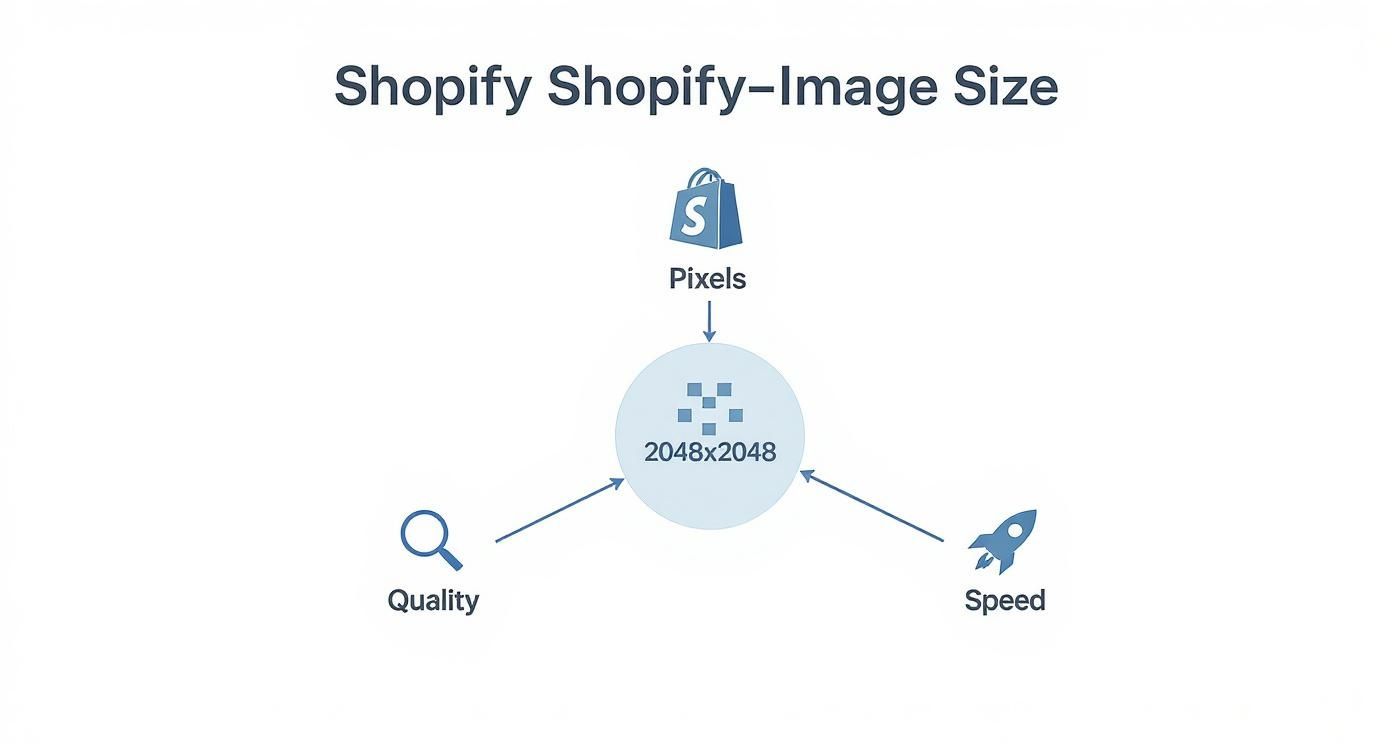
As you can see, this size sits right at the intersection where high-resolution detail meets snappy load times, giving your customers the best possible experience without compromising performance.
Balancing Quality and Performance
Shopify's own guidelines point to 2048 x 2048 pixels for square product photos, which is the most common 1:1 aspect ratio you'll see online. While the platform can handle massive images up to 5000 x 5000 pixels, uploading files that large is a surefire way to slow your site to a crawl.
A 2048-pixel width ensures your images are crystal-clear on high-resolution "retina" displays and allows for a clean, detailed zoom function. This is huge for building trust, as it lets shoppers inspect every last detail of your product, just like they would in person.
The goal is to deliver stunning, detailed photos without making your customers wait. A 2048 x 2048 image is large enough to look crisp on high-resolution screens but small enough to load quickly, preventing customer drop-off.
A Quick Reference Cheat Sheet
To help you get started, here's a handy cheat sheet with the ideal dimensions for the most common images across your Shopify store. We'll get into the "why" behind these numbers later, but for now, think of this as your go-to reference.
And if you're looking to achieve this level of polish without the headache, exploring professional Shopify product photography can make all the difference.
Shopify Image Size Cheat Sheet
| Image Type | Recommended Dimensions (Pixels) | Aspect Ratio | Key Purpose |
|---|---|---|---|
| Product Image | 2048 x 2048 | 1:1 (Square) | High-detail view and zoom |
| Collection Image | 1024 x 1024 | 1:1 (Square) | Uniform grid layout |
| Slideshow/Hero Image | 1920 x 1080 | 16:9 (Widescreen) | Impactful homepage banner |
| Blog Featured Image | 1920 x 1080 | 16:9 (Widescreen) | Visually engaging content |
Keep this table bookmarked! It’s a simple guide that will help you maintain a consistent, professional look across your entire website.
How Image Size Impacts Your Store's Bottom Line
It’s one thing to know the best image sizes for Shopify, but it’s another to connect those numbers directly to your revenue. And that's what really matters. Poorly optimized images aren't just a technical hiccup; they actively hurt sales by dragging down your site speed, wrecking the user experience, and even tanking your search engine rankings.
Think of your online store as a physical boutique. Large, slow-loading images are like a heavy, creaky door that customers have to wrestle open. How many of them will just give up and walk away before they even get a chance to see what you’re selling? This isn't just a metaphor—it's the digital reality of a leaky sales funnel.
The High Cost of Slow Page Speed
We live in an age of impatience, and every single second counts online. When a potential customer clicks on your product, they expect to see it instantly. Any delay creates friction, plants a seed of doubt, and is often enough to send them clicking away for good.
Here's a startling fact: images often make up the bulk of a webpage's data, accounting for about 75% of the total page weight on a typical eCommerce site. Google's own research is even more sobering. They found that bumping up page load time from just one to three seconds increases the bounce rate by a whopping 32%.
On the flip side, faster Shopify stores see nearly three times as many conversions as their slower counterparts. Suddenly, those oversized product images stop looking like a small oversight and start looking like a major leak in your sales funnel.
How Image Quality Builds Trust and Drives Conversions
Beyond pure speed, the quality of your images has a huge psychological impact on your shoppers. The care you put into your product photos is a direct reflection of the care you put into your brand and your products. It’s that simple.
Here’s a breakdown of how well-optimized images can influence a buyer's decision:
- Professionalism and Trust: Crisp, high-resolution photos send a clear signal: you're a serious, professional business that stands behind its products.
- Reduced Uncertainty: When shoppers can zoom in and inspect materials, textures, and tiny details, their questions get answered visually. This melts away hesitation and builds confidence.
- Emotional Connection: Great visuals do more than just show an item; they help customers imagine themselves using it. This creates an emotional pull that is an incredibly powerful motivator to buy.
Optimized images do more than just display your products—they build the confidence a customer needs to click "Add to Cart." Each crisp, fast-loading photo is a step toward securing a sale.
Ultimately, optimizing your product images isn't just about managing media files; it's about improving your store's bottom line. When you get the image sizes right, you're making a direct investment in your business's growth. Of course, visuals are just one piece of the puzzle, and there are many other strategies to boost your Shopify conversion rate that work hand-in-hand with great photography.
Mastering Image Dimensions And Aspect Ratios
To get your product visuals looking sharp and professional, we need to get clear on two terms that often trip up store owners: image dimensions and aspect ratio.
They sound similar, but they control totally different things. Getting both right is the secret to a storefront that looks like it was built by a pro.
Dimensions vs. Aspect Ratio: What's The Difference?
First up, image dimensions. This is simply the literal size of your image, measured in pixels. When Shopify recommends a 2048 x 2048 pixel image, they’re talking about its exact width and height. Think of it like a physical photo frame—it has precise, fixed measurements.
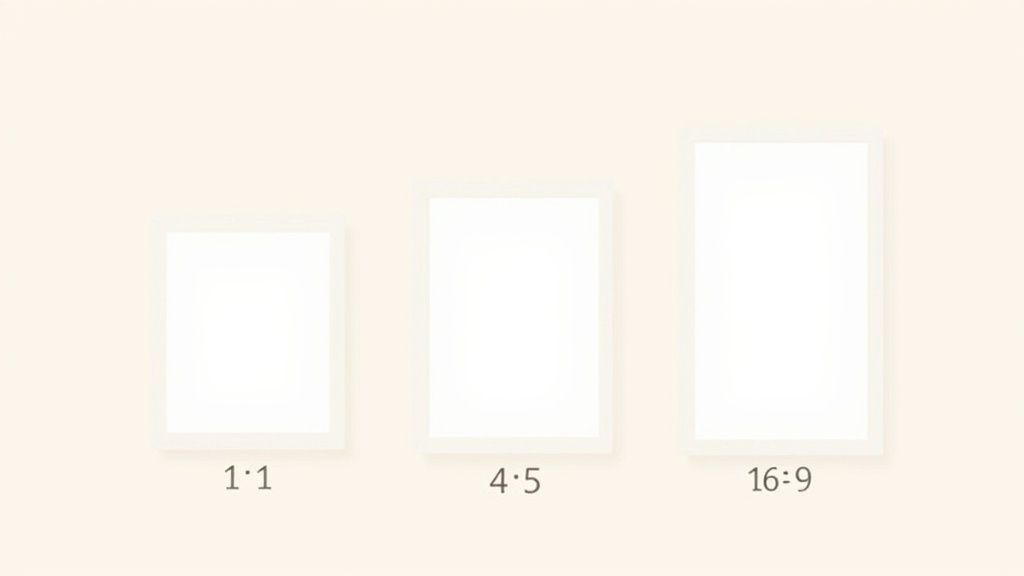
Then you have the aspect ratio. This isn't about the size, but the shape. It’s the relationship between the image's width and its height. That same 2048 x 2048 pixel image has a 1:1 aspect ratio because its width and height are identical. It’s a perfect square. A big hero banner at 1920 x 1080 pixels, on the other hand, has a widescreen 16:9 aspect ratio.
Here's a simple way to remember it: Dimensions are the exact measurements. The aspect ratio is the shape. A 1:1 aspect ratio is always a square, no matter if it's 800 x 800 pixels or 2048 x 2048 pixels.
Why Consistency Is King
This distinction really matters on your collection pages. When you have a jumble of different aspect ratios—some tall rectangles, some wide, some square—the result is a chaotic, misaligned grid.
That kind of visual clutter just feels unprofessional. It subtly tells shoppers that you don't sweat the details, which can make them hesitate to browse or buy.
Now, picture a collection page where every single product image is the same shape. They line up perfectly. This creates a clean, organized grid that’s a pleasure to look at. It signals quality and encourages customers to keep scrolling.
Practical Steps For A Uniform Look
Getting that clean, consistent look is easier than you think. The main goal is to crop all your product photos to the same shape before you upload them. The 1:1 square is the gold standard for most Shopify stores.
Here's a simple workflow to follow:
- Pick Your Shape: Settle on a single aspect ratio for all your product photos. Again, 1:1 (square) is your safest bet.
- Crop Everything: Before uploading a single image, use an editing tool to crop it to your chosen aspect ratio.
- Check Your Size: After cropping, make sure the image is still at least 2048 x 2048 pixels. This preserves that beautiful, high-quality zoom function.
If you want to make this process foolproof, a dedicated tool can be a huge help. An online image resizer lets you quickly adjust both the aspect ratio and the dimensions to Shopify’s best practices. This one small step can transform your collection pages from a jumbled mess into a compelling showcase.
Alright, once you've got your dimensions dialed in, the next big decision is the file format. This isn't just a technical detail—it's a critical choice that directly impacts your store's speed and how your products look to customers.
Think of it like choosing the right container for food. You wouldn't store soup in a paper bag, right? The same logic applies here. The main players you’ll be dealing with are JPG, PNG, and WebP. Each one is built for a specific job, and knowing when to use which is key to balancing stunning visuals with a snappy, fast-loading site.
JPG The Workhorse for Photos
Imagine a JPG (or JPEG) as a space-saving expert. Its superpower is something called lossy compression. In simple terms, it cleverly shrinks an image's file size by getting rid of tiny bits of data the human eye will never notice. This makes it the undisputed champion for most of your product photography.
You'll want to use JPGs for:
- Those rich, detailed product photos with tons of colors and smooth gradients.
- Big, beautiful hero images and banners where file size can really bog things down.
- Pretty much any time you need a fantastic-looking photo at the smallest possible file size.
PNG The Master of Transparency
A PNG file is a completely different beast. It uses lossless compression, which means it preserves every single pixel of the original image. But its real claim to fame is its ability to handle transparent backgrounds. This is an absolute must-have when you need an image to "float" on your page without a clunky white box around it.
Reach for a PNG when you're dealing with:
- Your brand logo, so it can sit cleanly over any colored background.
- Product shots where you’ve carefully cut out the background.
- Icons or simple graphics that need crisp edges and, of course, that transparent background.
The trade-off? PNG files are almost always larger than JPGs. So, save them for when that transparency is non-negotiable.
WebP The Modern, Do-It-All Format
WebP is the new kid on the block, and it's a game-changer. Developed by Google, it basically combines the best features of both JPG and PNG. It delivers much better compression—often reducing file size by over 30% compared to a JPG, with no visible drop in quality—and it supports transparency just like a PNG.
The best part? Shopify handles the heavy lifting for you. It automatically checks if a visitor’s browser can handle WebP. If it can, Shopify serves up that super-fast WebP version. If not, it falls back to the original JPG or PNG. You don’t have to do a thing.
So, your job is simple: upload high-quality JPGs for your photos and crisp PNGs for your logos and graphics. By giving Shopify the best possible source files, you empower the platform to automatically optimize everything, ensuring every single customer gets the best-looking, fastest-loading image their browser can handle.
To make it even clearer, let's break down how these three formats stack up against each other.
Image Format Comparison JPG vs PNG vs WebP
| File Format | Best For | Key Advantage | Key Disadvantage |
|---|---|---|---|
| JPG | Complex photographs, hero images, banners | Excellent compression for small file sizes | Doesn't support transparency |
| PNG | Logos, icons, images with removed backgrounds | Supports transparency with perfect clarity | Much larger file sizes than JPGs |
| WebP | Everything (photos, graphics, logos) | Superior compression and transparency support | Not yet supported by all very old browsers |
Ultimately, choosing the right format is about using the right tool for the job. Get this part right, and you're well on your way to a beautiful and high-performing Shopify store.
Alright, we've covered the theory. Now it's time to roll up our sleeves and put it into practice.
Getting your product images perfectly optimized doesn't require a design degree or a bunch of expensive software. All you need is a simple, repeatable workflow to make sure every single image you upload is ready to perform and drive sales.
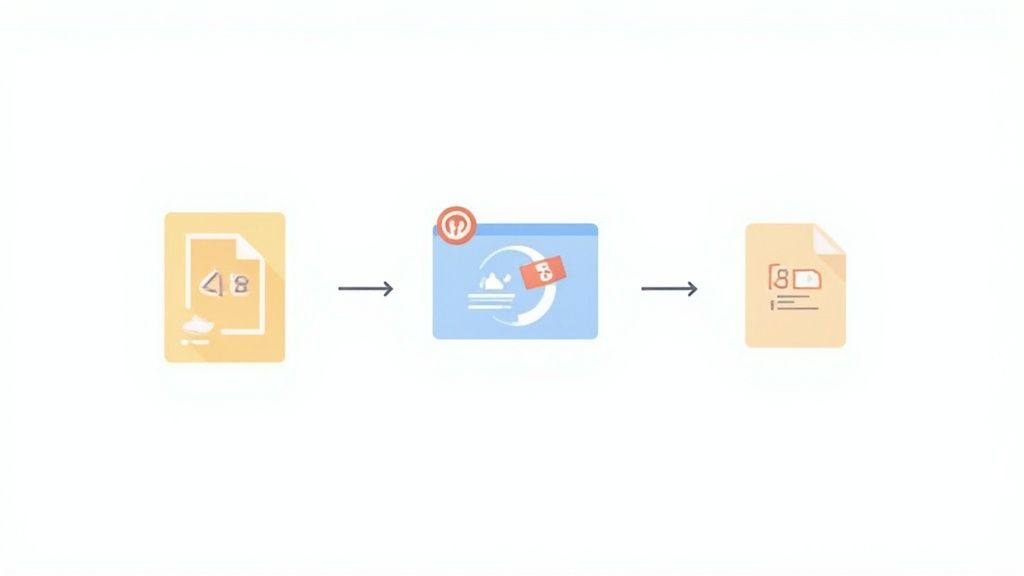
I like to think of this as a quick, three-step checklist you run through before uploading anything. It’s like prepping your ingredients before you start cooking—a little bit of work upfront makes for a much, much better final result.
Stage 1: Resize Your Image Dimensions
First things first: get the dimensions right. Before you even think about file size or anything else, make sure your image is cropped to a consistent aspect ratio (that 1:1 square is your best bet) and resized to the 2048 x 2048 pixel gold standard.
Starting here is non-negotiable. It’s what preserves that beautiful quality when customers use the zoom feature, and it’s what gives your collection pages that clean, professional, and uniform look. You don't need anything fancy for this. Free online tools like Canva or desktop software like GIMP will do the trick perfectly. If you want something more integrated, a good Shopify photo editor can often handle resizing and other tweaks all in one place.
Stage 2: Compress for Web Performance
Okay, so your image has the right shape and resolution, but the file size is probably still a bit chunky. This is where compression saves the day. The goal is to shrink the file size (the kilobytes or megabytes) as much as possible without any visible drop in quality.
Think of compression like packing a suitcase for a trip. You aren't leaving any of your essentials behind; you're just folding them cleverly to fit everything into a smaller, lighter bag. This makes your webpage lighter and way faster for your visitors to carry.
There are some fantastic tools out there that have perfected this balancing act.
- TinyPNG / TinyJPG: My go-to for a reason. It's free, web-based, and ridiculously effective. Just drag, drop, and you're done.
- ImageOptim: A great free app for Mac users who want a bit more control over the compression settings.
- Squoosh: A powerful tool from Google that runs in your browser and lets you see a live preview of how different compression levels will look.
For most product shots, I always aim to get the file size under 300 KB. That’s the sweet spot where your pages load lightning-fast, but your images stay perfectly crisp.
Stage 3: Name Your Files for SEO
This last step is the one everyone forgets, but it’s a little SEO secret weapon. Before you hit that "upload" button in Shopify, take two seconds to change the file's generic name from something like IMG_7890.jpg to something descriptive that includes your keywords.
This tiny change gives search engines like Google a huge clue about what your image is, which can lead to your products showing up in Google Image Search. Keep the naming convention simple and clear.
Bad Example: DSC00123.jpg
Good Example: womens-blue-wool-sweater.jpg
By turning this three-step process into a habit for every photo, you’re basically building best practices right into your store's DNA. It guarantees your shop not only looks amazing but is also built for speed and search visibility from the ground up—creating a better experience for every single shopper who stops by.
Of course, your product photos are the main event, but a truly great-looking store needs a solid supporting cast. I'm talking about all the other images—on your homepage, collection pages, and blog posts—that work together to create a seamless, professional experience.
Each of these images plays a different role, and getting their optimization right is the secret to building a store that feels polished and trustworthy from the moment a visitor arrives.

Think of it this way: your homepage banner is the big, flashy billboard on the highway. It needs to be wide and impactful to grab attention instantly. A collection image, however, is part of a tidy, organized grid. For those, uniformity is king. Applying this kind of strategic thinking to every single visual on your site is what separates the amateurs from the pros.
Key Dimensions for A Cohesive Store
To get that polished, professional look, you have to be consistent with your sizes and aspect ratios. This isn't just about making things look pretty; it's about creating a predictable and comfortable journey for your customers. When things look right, they feel right.
Here are the numbers you need to know:
- Homepage Slideshows & Banners: This is your most valuable visual real estate. Go for a widescreen 1920 x 1080 pixel dimension with a 16:9 aspect ratio. This gives you that cinematic feel that looks fantastic on modern desktop screens.
- Collection Images: Consistency is everything. Stick to a square 1024 x 1024 pixel image. This ensures your product grids line up perfectly, making them a breeze for customers to browse. No more jagged, messy-looking collection pages!
- Blog Post Images: To make your articles look as professional as the rest of your store, use 1920 x 1080 pixels for your featured images. This mirrors the high-impact size of your homepage banners and lends instant credibility to your content.
These aren't just random numbers; they're industry guidelines that help create a better user experience. Stores that follow this approach often see better conversion rates and lower bounce rates. Just remember that Shopify has a hard limit of 20 MB per image file, which is more than enough to keep quality high without slowing your site to a crawl.
Remember, your visual strategy shouldn't stop at the borders of your website. When you're running social media ads, knowing the essential Facebook ad sizes is just as critical as getting your on-site banners right. A unified visual identity across every platform is how you build a memorable brand that customers recognize and trust.
Of course. Here is the rewritten section, crafted to sound like it was written by an experienced human expert, following all your specified requirements.
Quick Answers to Your Top Shopify Image Questions
As you get into the weeds of optimizing your store's images, a few tricky questions always seem to pop up. Let's clear the air and tackle some of the most common ones so you can get your visuals looking sharp and professional.
What’s the Smallest I Can Go With My Images?
While 2048 x 2048 pixels is the sweet spot for that crisp, high-end look, the absolute floor you can hit is 800 x 800 pixels.
Why that specific number? It's the minimum required for Shopify's zoom feature to kick in. If you go any smaller, you rob your customers of the ability to get a closer look at the details, which is a huge deal for building trust and closing the sale. Think of 800 pixels as your hard-and-fast rule—never go below it.
How Should I Handle Images for Product Variants?
When you're showing off different colors, materials, or styles of the same product, consistency is everything. Each variant photo needs to be treated with the same care as your main hero shot.
- Same Aspect Ratio: If your main photo is a perfect 1:1 square, every single variant needs to be a 1:1 square, too.
- Same Dimensions: Keep things uniform by making all your variant images 2048 x 2048 pixels. This gives your product page a polished, seamless feel as customers click through their options.
Sticking to these rules prevents the page from jumping around or looking sloppy as shoppers explore what you have to offer.
Relying solely on Shopify's built-in compression is a good starting point, but it's not a complete solution. For maximum performance, you should always compress your images before uploading them. This gives you more control and ensures the smallest possible file size without sacrificing visual quality.
Should I Just Let Shopify Compress My Images for Me?
Shopify does have a built-in compression tool that automatically tries to shrink your images for faster load times, and that's great. The catch is that it’s a one-size-fits-all algorithm, balancing quality and file size on its own terms.
For the best results, it's always better to pre-compress your images yourself using a tool like TinyPNG. This puts you in the driver's seat, letting you squeeze out every last kilobyte for a faster-loading site without trashing the image quality.
Stop struggling with manual photo edits. ProdShot uses AI to create stunning, professional product images in seconds. Transform your simple snapshots into high-converting visuals for your Shopify store. Get your free trial today.