
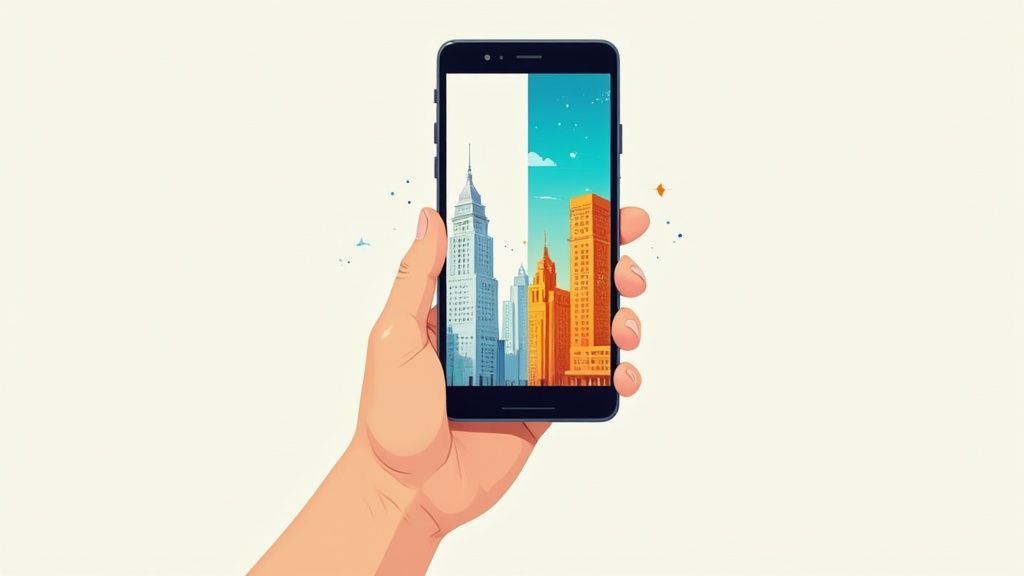
So, you have a product photo that looks more like a mosaic of blurry squares than a crisp, clear image. What now?
You can absolutely fix pixelated pictures. For a quick fix, AI-powered enhancement tools are fantastic—they intelligently upscale the image and even add missing detail. If you're more hands-on and have the software, you can jump into an editor like Photoshop and use sharpening or noise reduction filters. The right path really depends on just how blocky the image is and how comfortable you are with photo editing tools.
Why Your Pictures Look Pixelated
Ever had a photo that looked great on your camera, only to see it turn into a blocky, blurry mess on your website? It’s a common and incredibly frustrating problem.
At its core, every digital image is just a grid of tiny colored squares called pixels. When you don't have enough of these squares to properly display the image at a certain size, that blocky grid structure becomes visible to the naked eye. We call that pixelation.
Think of it like trying to stretch a small rubber stamp to cover a huge canvas—the details get distorted and everything looks indistinct. To really get why this happens, it helps to have a basic grasp of how pixels and screen resolution work together. This guide on Understanding Display Resolutions: A Journey Through Pixels and Clarity is a great primer on how your screen’s tech affects how an image looks.
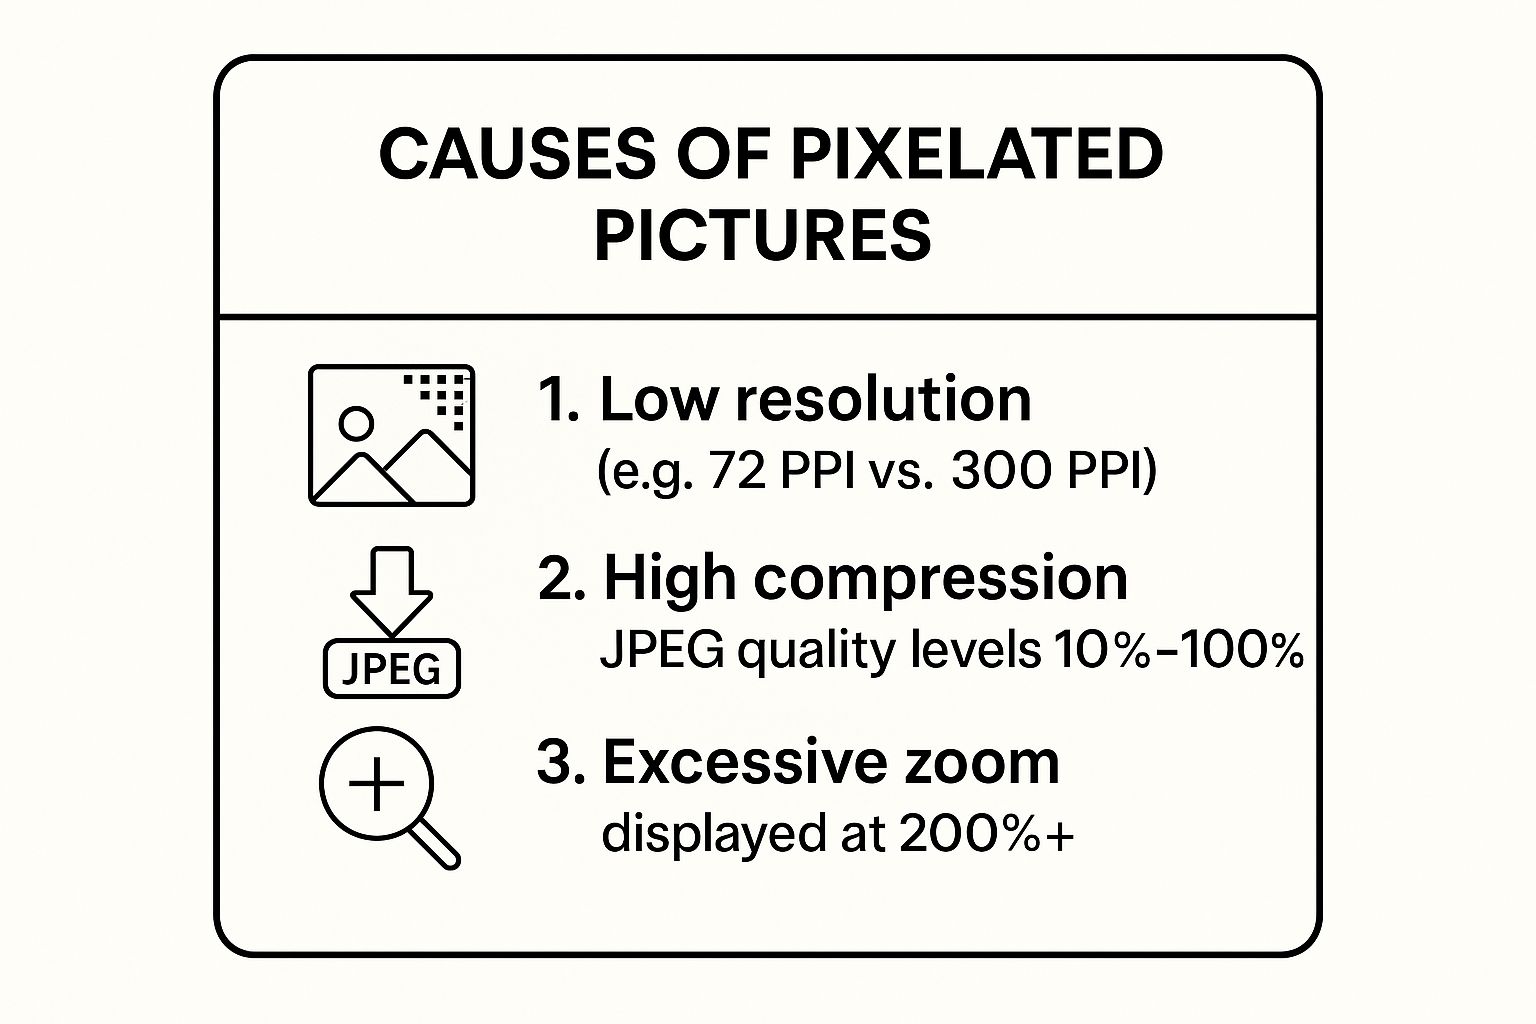
Common Causes of Pixelation
Most of the time, pixelation boils down to a few usual suspects.
The most frequent culprit is simply starting with a low-resolution photo. An image with fewer pixels just doesn't have enough data to look sharp, especially when you try to make it bigger.
Another major cause is excessive file compression. To keep file sizes small and web pages loading fast, compression algorithms will literally throw away some of the image data. Get too aggressive with it—something that happens all the time with JPEGs or on social media sites—and you’ll start seeing that blockiness and other weird artifacts.
Key Takeaway: Pixelation isn't just about the dimensions of an image; it’s about a lack of data. Whether you stretch a small image too far or compress it too much, the result is the same: the software has to guess how to fill in the gaps, creating that classic blocky effect.
And finally, improperly resizing or scaling an image is a surefire way to introduce pixelation. When you force a small picture to fit a larger space without using sophisticated software, your computer just makes the original pixels bigger, making them painfully obvious.
When your product photos come out looking blocky and pixelated, figuring out how to fix them can feel overwhelming. The good news is, you really only have two main paths to choose from: quick-and-easy AI enhancers or powerful desktop editing software. The right choice really just depends on your needs, your comfort level with tech, and how much time you’re willing to spend.
AI-powered tools are all about speed and simplicity. You just upload your image, click a button, and their algorithms get to work analyzing the picture, intelligently filling in the missing details to give you a surprisingly sharp result. You don't need to know a thing about photo editing, which makes these tools perfect for a quick rescue mission on a product photo before it goes live.
They're designed to tackle the usual suspects behind pixelation—low resolution, aggressive file compression, or just zooming in too far.
As you can see, all these problems come from the same root cause: a lack of image data. And that’s exactly what modern AI has been trained to rebuild from scratch.
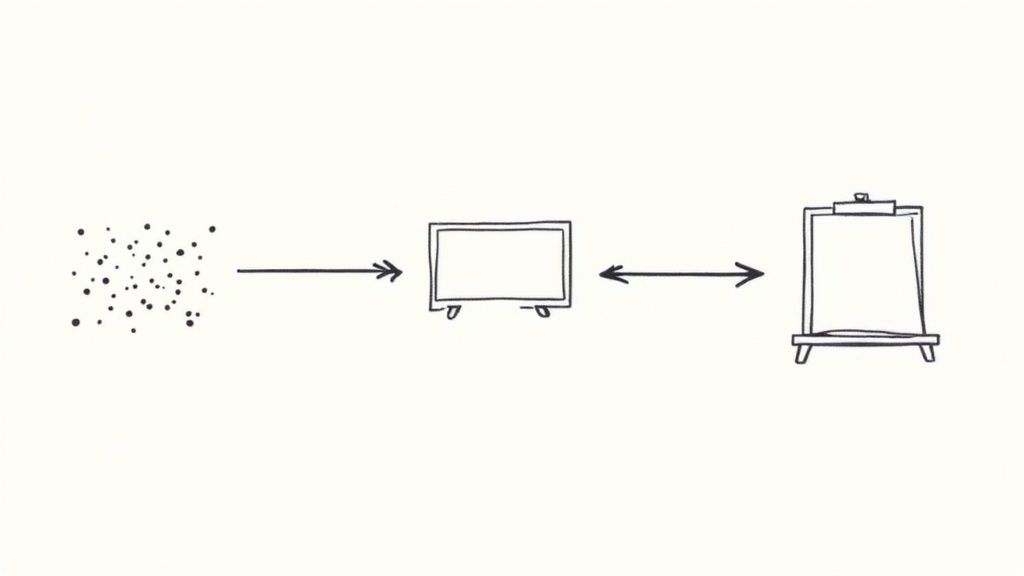
Automated AI vs Manual Software
On the other side of the fence, you've got heavy-hitters like Adobe Photoshop or the free alternative, GIMP. These programs give you complete, granular control, letting you manually tweak every single aspect of the image. This is the go-to route if you need to fine-tune sharpness with surgical precision, reduce digital noise, or make specific adjustments that an automated tool might miss.
It's not about which option is "better," but which one fits your workflow. AI gives you a one-click fix that gets you 90% of the way there in seconds. Manual software gives you the control to perfect that final 10%.
The explosive growth in AI solutions really speaks for itself. The global AI image enhancer market is expected to jump from $2.6 billion in 2024 to a massive $50.7 billion by 2034. That surge is happening because people want high-quality results without the high-effort learning curve.
AI Enhancers vs Desktop Software: Which Tool Is for You?
Choosing between a fast, automated tool and a powerful manual one can be tough. This table breaks down the key differences to help you decide what’s best for your situation, whether you're fixing a single photo for social media or editing an entire product catalog.
| Feature | AI Image Enhancers (e.g., VanceAI, Let's Enhance) | Desktop Software (e.g., Photoshop, GIMP) |
|---|---|---|
| Skill Level | Beginner-friendly; no experience needed. | Intermediate to advanced; requires learning. |
| Speed | Extremely fast; results in seconds or minutes. | Slower; requires manual adjustments. |
| Control | Limited; relies on automated algorithms. | Complete; granular control over every detail. |
| Best For | Quick fixes, batch processing, social media. | Professional work, complex edits, fine-tuning. |
| Cost | Often subscription-based or pay-per-image. | One-time purchase or monthly subscription (GIMP is free). |
Ultimately, AI tools are your best bet for speed and convenience, while desktop software offers unparalleled precision for those who need it.
So, Which Path Should You Take?
To put it simply:
- Go with an AI Enhancer if you need fast, high-quality results without getting bogged down in technical settings. They are fantastic for processing lots of images at once and keeping your look consistent.
- Choose Desktop Software if you’re already comfortable with photo editing or if you absolutely need precise control for client work or complex, high-stakes projects.
The best tool is the one that slots right into your process. If you're a Shopify seller, for instance, an integrated Shopify photo editor that uses AI can make your life so much easier. It gives you the power of AI enhancement without ever having to leave your e-commerce dashboard.
Using AI to Automatically Enhance Your Photos
When you need to fix a pixelated picture and don't have time to wrestle with complicated software, AI-powered tools are your secret weapon. These platforms use some seriously smart algorithms to intelligently rebuild your image, adding in lost detail, smoothing out those chunky, blocky areas, and even bumping up the overall resolution.
Think of it as having a digital artist on call who can look at your fuzzy photo and guess what it should have looked like before it was compressed or stretched out of shape.
The whole process is refreshingly simple. Most of these tools have a straightforward drag-and-drop interface. You just upload your problem image, and the AI gets to work analyzing the pixels and applying enhancements all on its own. You don’t need to know a thing about sharpening masks or noise reduction—you just have to click a button.
A Real-World Example
Let's say you have a slightly blurry, pixelated headshot you need for the company website. It’s the only one available, and a reshoot is completely off the table. This is the perfect scenario for an AI enhancer.
Once you upload it, the AI will usually give you a few simple choices:
- Upscaling: This is where the magic happens. It increases the image's dimensions (say, from 500×500 to 2000×2000 pixels) while adding new detail so it doesn't just look like a bigger blurry mess. You’ll often see options like 2x or 4x enlargement.
- Denoise/Deblur: These functions go after the fuzzy artifacts and blocky squares that compression creates, smoothing them out for a much cleaner look.
- Face Enhancement: I've found this feature to be incredibly useful. Many tools have a mode specifically trained on portraits to restore fine details in hair, skin, and eyes with surprising accuracy.
You might select an option like "4x Upscale," and in seconds, the tool will process the image and show you a side-by-side comparison. The "before" is blocky and lacks definition, but the "after" is sharp, clear, and ready to go. The AI has effectively filled in the missing information, turning an unusable photo into a high-quality asset.
This one-click process is a total game-changer for anyone who needs great results fast. Instead of sinking hours into learning complex software, you can fix pixelated pictures during a coffee break and get back to what matters—running your business. It's easily the most efficient way to rescue your images.
Advanced Manual Techniques for Photo Editors
AI tools are great for a quick fix, but sometimes you just need to get your hands dirty. For any photo editor who wants total control, nothing beats the surgical precision of software like Adobe Photoshop. This is where you can move beyond any "auto" button and really dig in to fix pixelated pictures.
These manual skills are more in demand than ever. The digital image processing market is on track to hit a staggering USD 23.74 billion by 2029. That explosive growth shows just how much value is placed on high-quality image correction, whether it’s done by an algorithm or a human expert.
Mastering Photoshop Sharpening Filters
Instead of a one-size-fits-all approach, Photoshop gives you a set of powerful filters designed to tackle different aspects of pixelation. The two I turn to most often are Unsharp Mask and Smart Sharpen.
- Unsharp Mask: The name sounds backward, I know. But it works wonders by finding the edges in your image and increasing the contrast along them. This creates a powerful illusion of sharpness.
- Smart Sharpen: This is your more sophisticated option. It gives you finer control over how the sharpening affects shadows and highlights, and it even helps reduce noise. This is key to avoiding that crunchy, over-processed look.
The secret to using these tools effectively is subtlety. If you crank the sliders all the way up, you'll end up with ugly halos and digital artifacts, making the image look even worse than when you started.
Pro Tip: Always, always work on a duplicate layer. This is non-destructive editing 101. It saves your original file from any permanent changes and lets you experiment freely. Plus, you can blend the sharpened layer with the original using layer opacity for a much more natural-looking result.
Upscaling with Precision
What if you need to make a small, pixelated image bigger? This is where Photoshop’s resampling algorithms come in. Forget standard resizing—you want to look for the Preserve Details 2.0 option when you go to change the image size.
This feature uses a smart algorithm to add new pixels while keeping edges clean and minimizing weird artifacts. The results are dramatically better than a simple upscale. For really important jobs, this is the kind of advanced work that professional product photo retouching services use to get the absolute best results.
By getting comfortable with these tools, you take back complete command over the final image, making sure every last detail is perfect.
How to Prevent Pixelation Before It Happens
The best way to fix a pixelated picture? Make sure it never happens in the first place.
When you shift from reacting to problems to proactively preventing them, you save a ton of time and guarantee your images always look sharp and professional. It just takes a few good habits.
Always, always start with the highest resolution source file you have. You can shrink a large, detailed image down without losing quality, but you can’t really go the other way. Trying to blow up a small, low-data image is exactly what causes those dreaded blocky, pixelated artifacts to appear.
Key Insight: Think of image data like a piece of dough. You can easily pinch off a small piece from a big ball, but you can't stretch a tiny scrap into a large loaf without it tearing and looking terrible. It’s the same exact principle with pixels.
Start with the Right Foundation
Before you even open an editor, nail down your source file. This really comes down to two things: image dimensions and file format.
-
Image Dimensions: First, know where your image is going to live. A big website banner has totally different needs than a square Instagram post. If you just upload a random size, the platform will crush or stretch it for you, and the results are rarely pretty. Using a dedicated tool to get the size right before you upload is the way to go. You can use an image resizer to prep your photos for any platform with precision.
-
File Format: Next, make a smart choice between JPEG and PNG. JPEGs use lossy compression, which means they toss out some data to make the file smaller. That's great for loading speeds but can be risky for quality. PNGs, on the other hand, use lossless compression, keeping every last bit of data. This makes them perfect for graphics, logos, or any image where you need a transparent background.
Getting these fundamentals right is a huge deal in all sorts of fields. For instance, when you're making custom apparel, a sharp, clean file is non-negotiable. This is covered really well in this expert guide on preparing files for personalized T-shirt printing.
The push for better visuals is huge. The digital imaging market hit USD 26.94 billion in 2025 and is expected to climb to USD 38.14 billion by 2030, all thanks to automation and better camera sensors. When you make quality your top priority from the very start, you’re not just fixing problems—you’re staying ahead of the game.
Common Questions About Fixing Pixelated Pictures
After you’ve tried a few fixes, a couple of questions always seem to come up. Let's get them answered so you can move forward with confidence.
Can You Truly Unpixelate an Image?
This is the big one, and the short answer is no—you can't magically bring back data that's been lost forever. The "fix" is actually a very clever reconstruction.
When you use an AI tool to fix pixelated pictures, it isn't finding the original pixels. Instead, its algorithm analyzes the surrounding data and makes an incredibly educated guess about what should be there. It then generates brand new pixels to create a sharper, more complete image.
Think of it less like restoring an old painting and more like commissioning an artist to create a new, high-definition version based on the blurry original.
It's not magic, but it's the next best thing. Modern AI is trained on millions of images, which lets it fill in the gaps so convincingly that the result often looks just as good as—or even better than—the source.
What Is the Best Free Tool to Fix Pixelated Pictures?
Good news: you don't have to break the bank to get great results. There are several fantastic free options out there, each suited for different needs.
For pure speed and power, AI-driven online tools are usually your best bet for a quick, automated fix. Many offer free trials or a handful of free credits to get you started.
But if you’re someone who wants more hands-on control without the price tag, GIMP (GNU Image Manipulation Program) is an amazing open-source alternative to Photoshop. It’s packed with powerful sharpening filters and resizing tools that can make a huge difference in your images.
Why Do Photos Get Pixelated When Sent via Messaging Apps?
You’ve been there. You text a beautiful, crisp photo, only to have it arrive looking like a blurry, pixelated mess. Why?
Messaging apps like WhatsApp and Messenger automatically compress images—and they compress them a lot. They do this to save data and make sure files send quickly, but the trade-off is a serious hit to image quality.
To make sure your images arrive with every pixel intact, you'll need to use a different method for sharing important files:
- Email: Simply send the photo as a full-sized attachment.
- Cloud Storage: Share a link from a service like Google Drive or Dropbox.
This one simple change will ensure your photo arrives exactly as you sent it.
Ready to turn your product photos from blurry to brilliant in seconds? ProdShot uses powerful AI to automatically enhance your images, giving you professional-quality results without the hassle. Try it for free at https://prodshot.net.