

Taking great product photos involves more than just a good camera. The real magic happens when you master three things: light, composition, and editing. Your goal is to create images that build trust and help a customer imagine your product in their own hands. This guide is your complete roadmap for turning simple smartphone snapshots into powerful, conversion-driving assets.
Why Your Product Photos Are Costing You Sales
In the world of e-commerce, your photos do the heavy lifting. They’re your digital storefront, your silent salesperson, and the very first impression you make. Long before a customer reads your carefully crafted product description, they’ve already formed an opinion based entirely on your visuals. High-quality images aren’t just for show; they instantly build trust and make a buyer feel more confident about their purchase.
Put yourself in the shopper's shoes for a moment. When you see crisp, well-lit photos, it signals professionalism and care. You subconsciously assume the product itself is high-quality. On the flip side, blurry, dark, or inconsistent images can make a business seem amateur or untrustworthy, sending potential customers straight to your competitors. This isn't just a hunch—it's a well-documented part of consumer psychology.
The Real Impact on Your Bottom Line
The link between photo quality and your sales figures is direct and undeniable. Polished, professional-looking images can have a massive impact, with some studies showing they can boost conversions by up to 33%. When you consider that 75% of online shoppers say product photos are a critical factor in their buying decisions, the stakes become crystal clear. You can learn more about how these stats are shaping fashion photography trends for e-commerce on Orbitvu.com.
To help you remember the fundamentals, here's a quick cheat sheet.
Quick Guide to Better Product Photos
This table breaks down the three core pillars of product photography into simple, actionable takeaways.
| Pillar | Key Objective | Simple Tip |
|---|---|---|
| Lighting | To show the product clearly, revealing texture and detail. | Use a single, large light source (like a window) to create soft, even light. |
| Styling | To tell a story and show the product's scale and use case. | Add one or two simple props that make sense for the product and its purpose. |
| Editing | To correct colors, remove distractions, and ensure consistency. | Brighten the image and increase the contrast slightly for a clean, vibrant look. |
Think of these as your foundational rules. Master them, and you're well on your way to creating images that sell.
Investing in your product photography isn’t just an expense; it’s a direct investment in your conversion rate. Every photo is an opportunity to either win or lose a sale.
Ultimately, optimizing your visuals is a fundamental part of a smart sales strategy. To see how great images fit into the bigger picture, it’s worth learning about conversion rate optimization best practices. Many sellers hesitate because of the perceived expense, but you can explore the typical cost of professional product photography to weigh the potential return.
The good news? This guide will show you exactly how to get that polished, professional look yourself.
Nailing the Shot: Getting the Most From Your Camera and Light
Forget the myth that you need a thousand-dollar DSLR for great product photos. I've seen countless incredible shots taken on a smartphone. The real secret? It comes down to two things you can control for free: your camera settings and your lighting.
Getting these right is the difference between a flat, uninspired snapshot and a vibrant image that actually sells your product.
Your phone's camera is a beast, but you have to tame it first. Let’s dive into a few settings that make a world of difference.
- Turn on the Gridlines: Seriously, do this now. This simple overlay is your best friend for composition. It helps you use principles like the Rule of Thirds to create balanced, visually appealing shots. Nothing screams "amateur" faster than a crooked photo.
- Lock Your Focus and Exposure: Frame your product, then just tap and hold on it. You'll see a little box appear (usually yellow), which means you've locked the focus and exposure. This stops the camera from randomly refocusing or changing the brightness if you move slightly. The result is a consistently sharp and evenly lit subject.
- Tweak the Brightness Manually: Once you've locked focus, a small sun icon usually pops up. Use this to slide the brightness up or down before you take the picture. You want the image to be bright, but not so bright that you lose details in the highlights (a phenomenon photographers call "blowing out" the highlights).
This quick visual guide shows you just how simple a great setup can be.
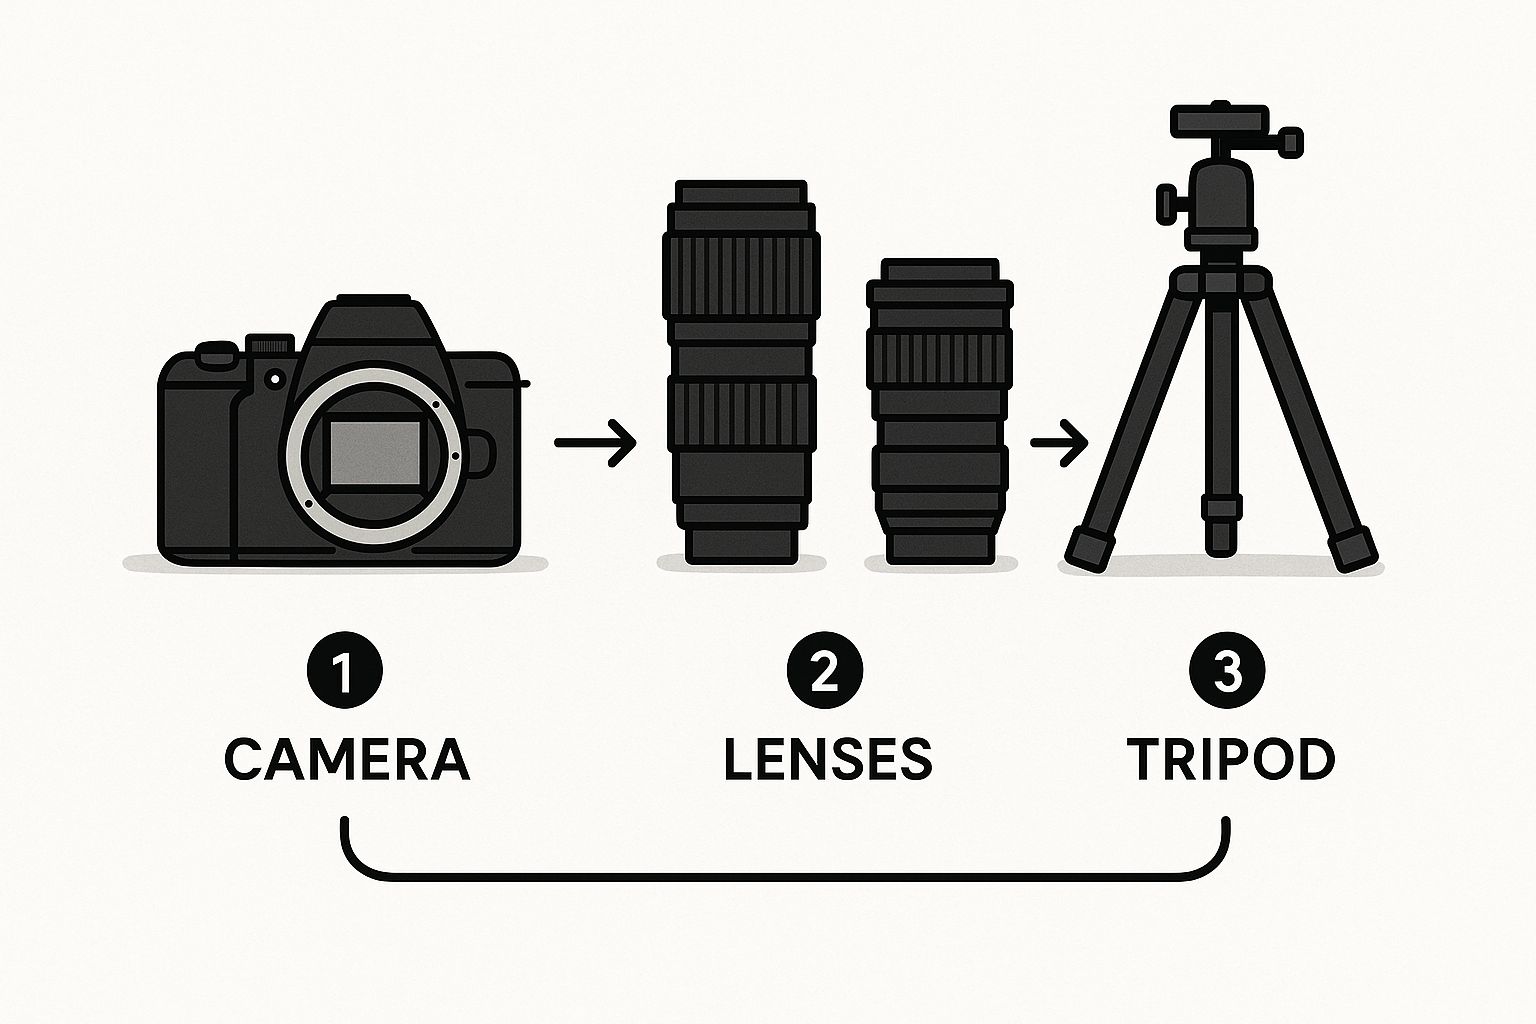
As you can see, it's all about a decent camera (like your phone), a tripod to keep things steady, and a few smart accessories—not a studio full of expensive gear.
Let Natural Light Do the Heavy Lifting
If I could only give one piece of advice, it would be this: master your lighting. You can't fix bad lighting in post-production, but great light makes everything else fall into place. And the best light source you can find is totally free.
Find a large window, preferably on an overcast day. That soft, diffused light is the gold standard.
Direct, harsh sunlight is your enemy. It creates ugly, distracting shadows that hide the details of your product. Instead, you want that soft light to gently wrap around your item, revealing its texture and form. Set your product up on a table near the window, but just out of the direct sunbeam.
My Go-To Tip: Turn off every single light in the room. When you mix the cool, blue-ish light from the window with the warm, yellow-ish light from your indoor lamps, you get a color-balancing mess that's a nightmare to correct later.
To kick things up a notch, grab a cheap piece of white foam board from any craft store. Place it on the side of your product opposite the window. It will act as a reflector, bouncing soft light back to fill in any dark shadows. This one trick instantly elevates your photos. For anyone selling online, understanding these fundamentals is a huge part of learning about professional Shopify product photography.
For Ultimate Consistency, Build a Lightbox
If you're shooting a lot of smaller products or just need every single shot to look identical, a DIY lightbox is a game-changer. It gives you complete control over your lighting, so you can shoot perfect photos day or night, rain or shine.
This is a classic example of a simple lightbox setup in action.
A lightbox creates a virtually shadowless environment by diffusing light from all sides—perfect for those clean, "on-white" product shots you see everywhere. You can easily build one yourself with a cardboard box, some white fabric, and a couple of lamps. Just be sure to use daylight-balanced bulbs (look for 5000K-5500K on the package) to get that clean, natural-looking light.
Styling and Composing Shots That Connect

Alright, so you've got your lighting and camera settings dialed in. That’s the technical part, but now comes the fun part—the artistry. A technically perfect photo is one thing, but a photo that tells a story and actually connects with someone is what drives sales. This is where styling and composition take over, turning a simple product shot into something far more compelling.
The whole point is to make your product look irresistible, not just visible. You want your customer to immediately picture it in their own life. This means picking the right background, adding props that make sense, and arranging everything so it’s visually pleasing.
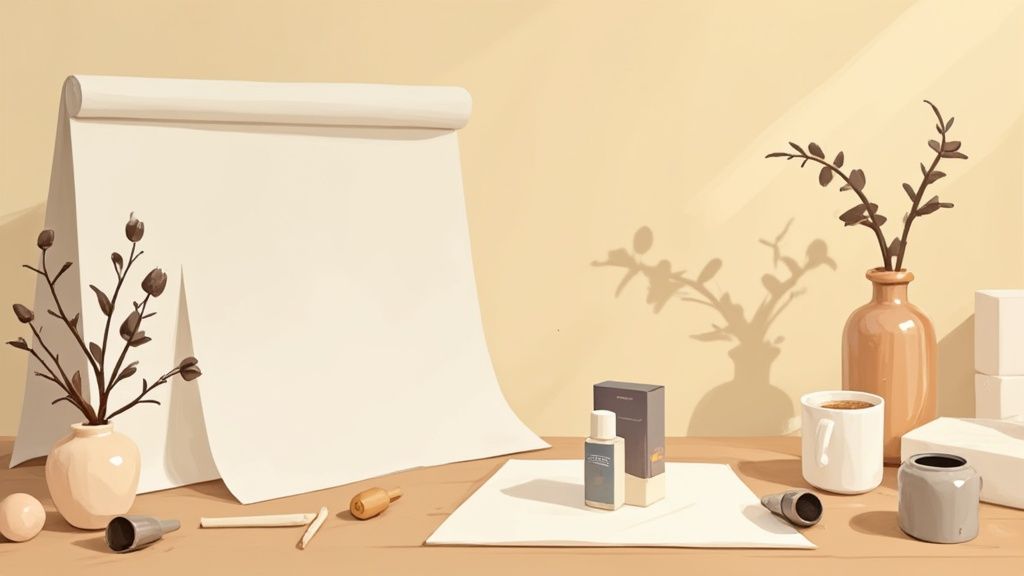
Building Your Scene with Backdrops and Props
Think of your background as the stage for your product. While you absolutely need that clean white background for your main product listings on sites like Amazon, styled backgrounds are your chance to show off your brand's personality.
What’s the feeling you're trying to create? If you’re selling rustic, handmade soap, a piece of weathered wood or some natural linen works perfectly. For a sleek tech gadget, maybe a dark slate tile or a minimalist colored backdrop is the better call. The trick is to choose a background that complements the product, not one that steals the show.
Props, on the other hand, are your supporting actors. They need to add context, not just clutter.
- Show Scale: A hand holding a tiny piece of jewelry or placing a smartphone next to a wallet instantly gives the viewer a sense of its actual size.
- Suggest a Use Case: A few coffee beans scattered near a new mug or a sprig of lavender next to a calming pillow spray helps tell the product's story without words.
- Enhance the Vibe: A simple silk ribbon placed next to a luxury perfume bottle can reinforce that feeling of elegance and quality.
My rule of thumb is simple: if a prop doesn't add to the story or serve a real purpose, it's just noise. When in doubt, take it out.
Composing Visually Dynamic Shots
How you arrange the elements within your frame is just as crucial as what you put in it. The Rule of Thirds is a classic principle for a reason—it works. Just imagine a 3×3 grid over your screen. Placing your product along those lines, or at their intersections, creates a far more dynamic and engaging image than just centering it every single time.
Don't forget to use negative space, which is just the empty area around your product. Giving your product some breathing room prevents the shot from feeling cramped and naturally draws the eye right where you want it. This is especially true for clothing. For apparel, learning how to dress a mannequin like a pro can make a world of difference in your styled shots, ensuring the clothes hang and drape just right.
Creating a Comprehensive Shot List
A single photo just doesn't cut it anymore. Shoppers expect to see a product from every possible angle before they even think about buying. In fact, many brands now use an average of eight images per product just to cover all the details. Model photography remains the most popular style, used by a whopping 95.6% of brands, followed by flat-lay and ghost mannequin shots.
Here's a quick rundown of the essential shots you should always aim for:
- The Hero Shot: Your main image. Just the product, perfectly lit on a clean white background.
- Angle Shots: Show the product from the front, back, and both sides. No surprises.
- Detail Shots: Get up close and personal with unique features, textures, stitching, or logos.
- Lifestyle Shots: Show the product being used by a person or sitting in a styled environment.
- Scale Shot: An image that clearly communicates the product’s size in relation to a familiar object.
Editing Your Photos for a Professional Finish
Taking the picture is just the first half of the job. The real magic, the part that elevates an image from a simple snapshot to a professional shot, happens during the edit. This is where you polish your work, correct minor flaws, and ensure your product looks its absolute best.
Don't worry, you don't need a degree in graphic design or a pricey subscription to Adobe Photoshop. Fantastic results are within reach using free, powerful tools like Adobe Lightroom Mobile or even the editor built right into your phone. The goal isn't to drastically alter the photo, but to enhance it—making it the most accurate and appealing version of your product.
Essential First Adjustments for Impact
Before you get lost in filters and effects, let's nail the fundamentals. These simple adjustments have the biggest impact and can immediately make your photos look more professional.
Your first move should always be to crop and straighten. A slightly tilted photo just feels off. Use the gridlines in your editing app to make sure the product and any background lines are perfectly level. Cropping is also your best friend for tightening up the composition, getting rid of distracting empty space, and pulling the viewer's eye right where you want it.
Next up: brightness and contrast. Your aim is a bright, clear image where all the product details are visible. Nudge the brightness up until the background is a clean, light gray—we'll get it to pure white later. Then, a little boost in contrast will make the edges of your product pop and give the colors a bit more punch.
Mastering Color and White Balance
This is a big one. The colors in your photo must be a perfect match for the product in real life. If that blue shirt looks teal on your website, you're setting yourself up for disappointed customers and a wave of returns.
The key to getting it right is the white balance. If your photo has an unnatural yellow or blue tint, the white balance is off. Look for an eyedropper tool in your app; you can use it to click on something in the photo that should be neutral white or gray. This simple action recalibrates the colors across the entire image, snapping them back to their true-to-life tones.
Now that we've covered the basics, let's break down what these common editing tools actually do and when you should reach for them.
Basic Editing Adjustments and Their Impact
| Editing Tool | What It Does | When to Use It |
|---|---|---|
| Brightness | Lightens or darkens the entire image. | Your photo is too dark or too bright overall. |
| Contrast | Increases or decreases the difference between light and dark areas. | To make your product "pop" and appear sharper. |
| White Balance | Removes unrealistic color casts, making white objects appear white. | The photo looks too warm (yellow) or too cool (blue). |
| Saturation | Adjusts the intensity of all colors in the photo. | Colors look dull and need a boost (use sparingly!). |
| Sharpness | Enhances the definition of edges in the image. | The photo looks a little soft or needs more crispness. |
Understanding these five controls is 90% of what you need for great-looking product photos. Focus on subtle, purposeful adjustments rather than cranking any single slider to the max.
Pro Tip: Your edit should always serve the product. The goal is accuracy, not artistry. Edit for clarity and honesty so that what your customer sees is exactly what they get.
If this process feels overwhelming or you simply don't have the time, you can always explore professional product photo editing services to handle the technical details for you.
Achieving the Perfect White Background
For e-commerce, the clean, pure white background is the industry standard. It's a requirement for marketplaces like Amazon and instantly makes your product the hero by eliminating distractions.
After your basic edits, your background will probably be a light gray. The final step is to make it pure white. Thankfully, you no longer need complex tools for this. Many modern editing apps have AI-powered background removal features that can isolate your product and place it on a perfect white background in a single tap. This one change does more than anything else to create a clean, uniform, and professional-looking product catalog.
Using ProdShot to Get Your Time Back
Once you've got the hang of the manual side of things—fiddling with lights, styling your products, and making edits—you'll probably start wondering if there's a faster way. Creating great images over and over again is a serious time-sink, and if you're running an e-commerce business, time is something you just don't have. This is where a good AI tool can make a world of difference, giving you professional results without the hours of tedious work.
Think about it. Instead of getting lost in repetitive editing tasks for every single product, what if you could generate a whole set of marketing images in a few minutes? That's exactly what a tool like ProdShot was built for. It’s designed to handle the most draining parts of post-production. You just snap a decent picture of your product, upload it, and the AI takes it from there.
One Photo, Endless Possibilities
The real magic here is how quickly you can scale up your visual content. All it takes is one clear, well-lit photo of your product against a simple background.
With that single image, you can suddenly:
- Generate any background you want: Instantly drop your product onto a clean white background, a sleek marble surface, or a rustic wooden table. Whatever fits your brand, you can create it in seconds.
- Build realistic lifestyle scenes: You can generate entire lifestyle photos that show your product in use. Picture your skincare bottle on a stylish bathroom counter or your new watch sitting on an office desk—all without building a single physical set.
- Keep your branding on point: Every image, whether it's for your store, social media, or an ad campaign, will have the same polished, professional look. It makes building a strong brand identity so much easier.
This isn't just about convenience; it’s a smart move in a market that’s getting more competitive by the day. The global e-commerce product photography market is expected to grow at a CAGR of 11.6%, hitting around $275.4 million by 2030. A huge part of that growth comes from tools that make it easier for everyone to create amazing visuals. You can see more stats on the product photography market to get a better sense of where things are headed.
How This Works for a Small Business
Let’s imagine you run a small business selling handmade candles. In the past, you'd have to block out an entire day for a photoshoot. You'd set up one scene for your Shopify store, another cozy, styled shot for Instagram, and maybe a third variation for a Facebook ad. It’s exhausting.
With a tool like ProdShot, that whole process shrinks down to a few clicks. You take one great photo, upload it, and tell the AI to generate all the different versions you need. You've just saved yourself hours of work and potentially hundreds of dollars.
This kind of technology really levels the playing field. It breaks down the old barriers—high costs, technical know-how, and a lack of time—and lets anyone create images that can stand up against the big brands. It’s all about working smarter to create the kind of eye-catching visuals that will actually help your business grow.
Answering Your Biggest Product Photography Questions
Once you get the hang of the basics, you'll inevitably run into some specific roadblocks. That's totally normal. Getting clear answers to these common questions is what separates good product shots from great ones. Let's tackle some of the most frequent hurdles I see people face.
Think of this as your go-to troubleshooting guide. These are the little things that, once solved, make a huge difference in the quality and consistency of your photos.
Do I Really Need a Fancy, Expensive Camera?
Honestly? No. This is hands-down the biggest misconception out there. While a high-end DSLR gives you a ton of manual control, the camera in your pocket is a powerhouse. Modern smartphones are more than capable of capturing sharp, beautiful, high-resolution images that look fantastic on any website or marketplace.
What matters far more than your gear is how you use it. Your understanding of light, composition, and a few simple editing tricks will have a much bigger impact on your final photo than the camera's price tag. With some good, soft natural light and a steady hand (or a cheap tripod), your phone is all you need to get started.
What’s the Best Kind of Lighting to Use?
Soft, diffused light. Always. It’s the secret sauce. This type of light wraps gently around your product, softening harsh shadows and bringing out all the important textures and details.
The best and cheapest source? A large window on a day with some light cloud cover. It's like having a giant, professional softbox for free.
If you have to shoot with artificial light, just promise me you'll avoid your camera's built-in flash. It's the fastest way to get a flat, ugly, amateur-looking photo. Instead, grab a simple lamp and bounce its light off a white wall or a piece of foam board. This will scatter and soften the light, giving you that lovely, professional look you're after.
A quick tip I always share: You can’t fix bad lighting with editing. But great lighting makes every other part of the process a thousand times easier.
How Many Pictures Should I Take for Each Product?
The magic number is usually between five and eight photos per product. It’s not just a random number—it’s the sweet spot for giving customers all the information they need to feel confident without burying them in options. When you answer their questions visually, you'll see your return rates drop.
Here’s a shot list I recommend for every product:
- The Hero Shot: Your main image on a clean, simple background.
- Different Angles: Show the front, back, and sides. Let them see everything.
- The Detail Shot: A close-up that highlights quality, texture, or a unique feature.
- The In-Context Shot: Show the product in use. This is crucial for demonstrating scale and helping the customer imagine it in their own life.
This mix of photos gives shoppers the experience of picking the product up and looking it over in a real store, which is exactly what you need to get them to click "Add to Cart."
Is a White Background Really That Important?
Yes, and for a few key reasons. A crisp, pure white background has become the undisputed standard for e-commerce. It instantly removes distractions and puts all the focus squarely on your product. This simple choice gives your entire online store a clean, consistent, and professional vibe.
But it’s more than just about looking good. Major players like Amazon and Google Shopping actually require a pure white background for your main product images. So, learning to create them isn't just an aesthetic choice—it's a business necessity if you want to sell on the world's biggest platforms and get your products seen.
Ready to skip the tedious editing and generate stunning, on-brand product photos in seconds? ProdShot uses AI to turn your simple snapshots into professional, conversion-driving images instantly. Try ProdShot for free and see how easy it can be.