
Grainy, unprofessional product photos can kill your conversions by making your brand look amateurish. The secret to clean, noise reduction pictures isn't just one magic fix—it's about combining smart techniques at the moment of capture with effective post-processing. Get this right, and you'll build customer trust and drive sales.
Why Grainy Photos Are Costing You Sales

First impressions are everything in e-commerce. A customer lands on your product page and, in a fraction of a second, decides if your brand is trustworthy. When they see a grainy, speckled, or blurry image, it sends a clear message: low quality. This visual "noise" isn't just a technical problem; it's a direct hit to your bottom line.
Grainy photos create doubt. They make it hard for shoppers to see the fine details—the texture of a fabric, the sparkle of a gemstone, or the sleek finish on a gadget. This uncertainty often leads them to click away and find a competitor with crisp, clear visuals.
What Causes Image Noise
So, what's the culprit behind these sales-killing photos? It usually boils down to a few common issues, especially for sellers using smartphones or shooting in less-than-ideal conditions.
- High ISO Settings: Your camera's ISO controls its sensitivity to light. In dark environments, you might be tempted to crank up the ISO, but this is the number one cause of digital noise, creating that telltale grainy pattern.
- Poor Lighting: Not enough light forces your camera's sensor to work overtime, amplifying any existing noise. A dimly lit room is a recipe for a grainy mess.
- Underexposure: Trying to "fix" a dark photo in an editor is a classic mistake. When you brighten the shadows of an underexposed image, you also make the hidden noise much more visible.
The goal is to reframe noise reduction not as a technical chore but as a crucial business strategy. Fixing a grainy photo is a direct opportunity to elevate your brand, build trust, and increase revenue.
The market reflects this reality. The global Photo Noise Reduction Software market was valued at $1.2 billion in 2023 and is projected to hit $2.8 billion in the coming years. This growth, tracked by firms like dataintelo.com, shows just how vital clean images have become for sellers on Shopify, Etsy, and Amazon.
Ultimately, investing time in creating noise-free images is less about technical perfection and more about protecting your brand's reputation and sales. If you're wondering how this fits into your budget, you can learn more about the cost of professional product photography in our detailed guide.
The absolute best way to get clean, professional, and noise-free pictures is to stop noise before it even starts. Honestly, getting it right in the camera is a million times easier than trying to fix a grainy mess later on. This is true whether you're using a fancy DSLR or just your phone.
Think of it like this: trying to edit a noisy photo is like trying to un-burn toast. You can scrape off the really bad parts, but it’s never going to taste as good as a perfectly toasted slice. The same logic applies to your product shots. Start with a high-quality "ingredient" and the final result will be so much better.
Nail Your Camera Settings
Your main line of defense against noise is the "exposure triangle"—that classic trio of ISO, aperture, and shutter speed. It might sound a bit technical, but the goal is simple: let in as much light as possible without forcing your camera's sensor to work overtime.
The ISO setting is the big one here. It basically controls how sensitive your camera's sensor is to light. A low ISO, like 100 or 200, means low sensitivity, which gives you a super clean, noise-free image. As you crank the ISO up to 1600 or 3200 to shoot in darker conditions, you’re making the sensor more sensitive, but that’s when you start seeing that ugly, grainy texture.
The golden rule for noise-free photos is to always use the lowest ISO setting your lighting will allow. A properly exposed shot at a slightly higher ISO is always better than an underexposed shot at a low ISO that you have to brighten later.
A classic mistake is to underexpose a photo and then try to "fix" it by jacking up the brightness in your editing software. All this does is reveal and amplify all the hidden noise, especially in the shadows. Always, always aim to get the exposure right in the camera from the start. A good place to begin is learning the fundamentals of how to photograph clothes for crisp, pro-level shots, since many of those lighting principles apply to any product.
Before we dive into lighting and stability, here's a quick cheat sheet to help you visualize how these settings work together.
Camera Settings Quick Guide To Reduce Noise
This table breaks down the key camera settings and how they directly impact image noise. Use it as a quick reference to make better decisions before you even press the shutter button.
| Setting | What It Does | Best Practice For Less Noise |
|---|---|---|
| ISO | Controls the sensor's sensitivity to light. | Keep it as low as possible (e.g., 100-400). This is your #1 defense. |
| Aperture | Controls the size of the lens opening (f-stop). | Use a wider aperture (lower f-number like f/1.8) to let in more light. |
| Shutter Speed | Controls how long the sensor is exposed to light. | Use a slower speed to capture more light, but be sure to use a tripod to avoid blur. |
| Exposure | The overall brightness of the image. | Aim for a correct exposure in-camera. Brightening an underexposed shot later will add noise. |
Getting these settings balanced is the core of good photography, and it's what separates a clean, professional shot from a noisy, amateur one.
Master Your Lighting and Stability
More light is your best friend in this fight. Period. When your product is well-lit, your camera doesn’t have to struggle, which lets you keep that ISO nice and low and use a shutter speed fast enough to prevent blur.
Here are a few simple ways to create a better lighting setup without a pro studio:
- Use Natural Light: This is the easiest and cheapest option. Set up your product near a big window on an overcast day for beautiful, soft, diffused light that kills harsh shadows.
- Create a DIY Reflector: You don’t need fancy gear. A simple piece of white foam board, or even just a sheet of printer paper, can bounce light back into the shadowy areas of your product for a more even look.
- Stabilize Your Camera: When you lower your ISO, you often need to use a slower shutter speed. Any tiny handshake will result in a blurry photo. A tripod is your best bet, but even propping your camera or smartphone on a stack of books makes a huge difference.
Let's put it into practice. Imagine you're shooting a piece of shiny silver jewelry. It’s a cloudy day, so you place it by a window. You then use a white foam board to bounce some light onto the side that’s in shadow. This simple setup lets you shoot at ISO 100 or 200. With your camera sitting on a stable surface, you can slow down the shutter speed to soak up all that great light, giving you a tack-sharp, noise-free image that makes every detail pop. This little bit of prep work will save you a ton of editing headaches later on.
A Manual Workflow For Precise Noise Reduction
For sellers who want total creative control, diving into manual noise reduction with software like Adobe Lightroom is the way to go. It definitely takes more time than an automated tool, but this hands-on process lets you dial in every last detail, making sure your product photos look clean and professional, not over-processed and plastic-y.
The real goal here is to build a simple, repeatable workflow you can rely on every time. You don't need to become a photo editing wizard overnight. It’s really just about getting comfortable with a few key sliders that do most of the heavy lifting. Once you master this, you have the power to save shots that might otherwise be completely unusable.
This whole process really boils down to three core pillars you can control before you even get to the editing software: light, ISO, and stability.
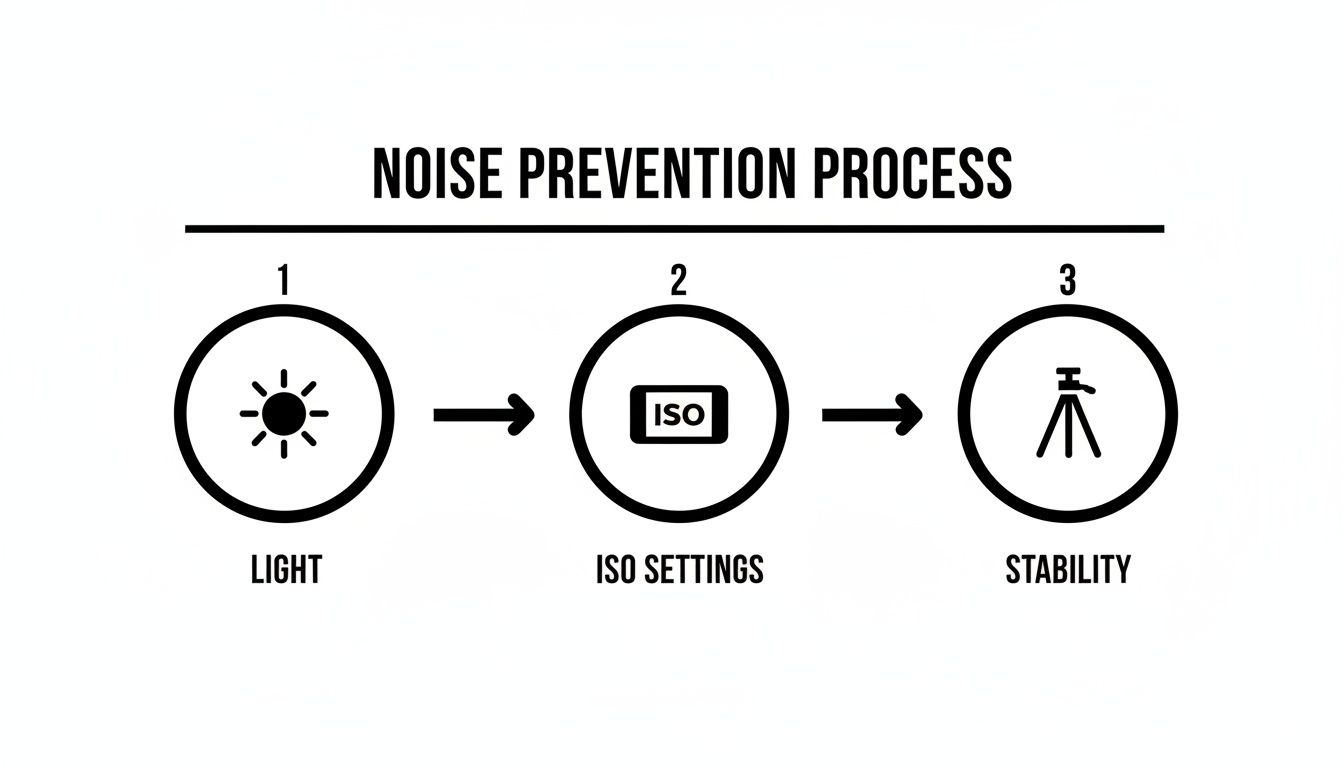
Nailing these techniques in-camera will drastically cut down on the editing you have to do later, which is a huge time-saver.
Navigating The Lightroom Detail Panel
Once you’ve imported your photo into Lightroom, head straight to the "Develop" module and scroll down until you find the "Detail" panel. This is where the magic happens. You’ll see two main sections dedicated to noise reduction: Luminance and Color.
- Luminance Noise: This is the one you’ll see most often. It looks like a grainy, sandpaper-like texture that spreads across your image, and it’s especially noticeable in the darker areas.
- Color Noise: This shows up as distracting little specks of red, green, and blue, usually lurking in the shadows of high-ISO photos. Lightroom is actually pretty fantastic at removing most of this automatically on import, but the slider is there if you need to tweak it.
Honestly, for most product photos, you’ll spend 90% of your time focused on the Luminance slider. The first step is to zoom into your image to 100% so you can actually see the noise you’re trying to fix. From there, gently start pushing the Luminance slider to the right until you see that grainy texture start to smooth out.
Just be careful not to push it too far. If you overdo it, you'll obliterate all the fine details and give your product a waxy, unnatural look. A tiny bit of texture is perfectly normal and often looks much better than an image that’s been smoothed into oblivion.
The sweet spot is usually found by moving the Luminance slider just enough to reduce the most distracting grain while still preserving the product's original texture. Keep an eye on the details in fabrics, metals, or woods to make sure they don't start looking like plastic.
This is exactly why manual editing is still so valuable, especially for the main hero images on your product pages. If you're looking for more advanced techniques, our guide on product photo retouching goes deeper into sharpening and other key enhancements.
Using Masking For Selective Adjustments
One of Lightroom's most powerful (and often overlooked) features for this is the Masking slider. It's technically located under the Sharpening section, but the principle is absolutely critical for noise reduction, too. A lot of the time, noise is most obvious in smooth, flat areas like your background or a tabletop, while the product itself is perfectly fine.
If you apply noise reduction to the entire image, you risk softening the crisp, important details on your product. That’s where selective adjustments come in.
By using Lightroom's local adjustment tools (like the Adjustment Brush or Radial Gradient), you can literally "paint" noise reduction only onto the parts of the image that actually need it. For instance, you could apply a subtle smoothing effect to the background while leaving your product completely untouched, keeping it perfectly sharp.
This targeted approach gives you the best of both worlds. You get rid of distracting background noise without sacrificing the critical detail that helps customers trust what they're seeing and click "buy." It's this level of precision that separates good product photography from great product photography, and it’s a skill well worth developing.
The AI Shortcut To Flawless Product Photos

While manual editing gives you incredible control, let's be honest—for a busy e-commerce seller, time is the one thing you can't get back. Fiddling with sliders and masking details for every single picture just isn't practical when you have a mountain of products to list.
This is where modern, automated tools completely change the game. AI has made professional-level photo editing something anyone can do, no matter their experience with clunky software. You're not facing a steep learning curve; you're getting a one-click fix built for speed.
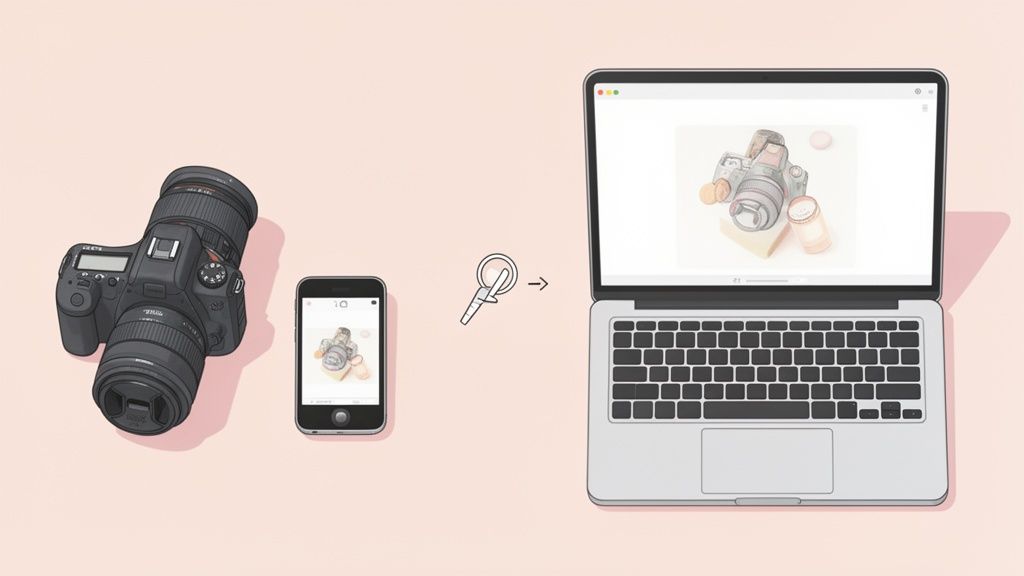
From Noisy Snapshot To Perfect Product Photo
Picture this: you snap a quick photo of your new product with your phone. The lighting isn’t quite right, and when you zoom in, you see that familiar grainy texture. The old way meant transferring the file, firing up your editing software, and patiently tweaking a half-dozen settings.
An AI-powered tool like ProdShot flips that entire process on its head.
You can upload that exact same noisy smartphone photo, and with a single click, the platform gets to work. It’s not just removing noise—it’s analyzing the entire image to make it sell.
The AI handles a whole sequence of complex edits all at once:
- Intelligent Noise Removal: It finds and smooths out that digital grain without mushing the critical textures of your product.
- Background Replacement: The cluttered background from your office? Gone. Replaced with a clean, professional one that makes your product the hero.
- Smart Lighting Adjustments: It automatically fixes exposure problems, deepens shadows, and adds realistic lighting to make the product pop right off the screen.
This single click turns a basic snapshot into a perfectly clean, beautifully lit image ready for any marketplace. It completely removes the technical headaches, letting you focus on your business instead of becoming a part-time photo editor.
The real win here isn’t just cleaning up a picture; it’s about getting hours of your life back. What used to be a long, tedious process now takes seconds and delivers consistently great results every single time.
This technology is exploding for a reason. In the fast-paced world of online selling, the need for crystal-clear product shots has pushed the global Image Noise Reduction Tool Market to new highs. Valued at $935.9 million in 2024, this market is expected to jump to $2,500 million by 2035, growing at a solid 9.3% each year. This growth is driven by sellers just like you on Shopify and Amazon who need top-tier visuals to compete.
The Power Of An Integrated Workflow
It's not just about fixing grain, either. The best AI tools help you get flawless photos by improving the overall image quality. For instance, you can learn how to upscale your images to make them sharper and reduce compression artifacts. You’re not just fixing one problem; you’re creating a totally optimized visual from a single, imperfect photo.
This kind of automation is a game-changer for producing on-brand images at scale. For sellers who need it all, an AI product photo generator offers a complete pipeline—from your raw photo to a final, conversion-ready asset.
The result? A professional storefront that builds trust and drives more sales, all without the manual grind.
Common Noise Reduction Mistakes To Avoid
Getting those clean, professional noise reduction pictures is a delicate balancing act. The goal is always a natural look, but it’s incredibly easy to push your edits too far. One heavy-handed move and you can leave your products looking artificial, eroding the very trust you're trying to build.
One of the most common mistakes I see is over-smoothing with the Luminance slider. Sure, cranking it up might nuke every last speck of grain, but it also obliterates the fine, tactile details that make a product feel real. The subtle texture of a leather handbag or the intricate weave of a fabric can instantly melt into a flat, plastic-like surface.
This heavy-handed approach practically screams to buyers that the image has been heavily manipulated, which can make them second-guess the authenticity of the product itself. The key is, and always has been, subtlety.
Going Too Global With Your Edits
Another pitfall is slapping a single, global noise reduction setting across the entire photograph. Not all parts of an image are created equal; noise is almost always more obvious in the smooth, dark, out-of-focus areas like shadows and backgrounds.
Your product, on the other hand, is usually the star of the show—well-lit and full of sharp details you desperately want to preserve. Applying a blanket smoothing effect softens these critical areas, which can cheapen the perceived quality of your product. A much smarter approach is to use masking tools to selectively apply noise reduction only where it's needed most.
Always, always, always check your work at a 100% zoom level. What looks fine on a small screen can often look overly processed and waxy when viewed up close. Think of this simple check as your final quality control step before hitting publish.
Forgetting The Before And After Check
Finally, it’s so easy to get lost in the editing weeds and lose all perspective. You might stare at an image for so long that you completely forget what the original even looked like.
Make a habit of toggling your edits on and off to compare the before and after. This sanity check helps you honestly gauge whether you've truly improved the photo or just traded one problem (noise) for another (an unnatural, overly smooth appearance). The best noise reduction is often the kind you don't even notice.
Your Top Questions About Image Noise, Answered
Even when you've got your workflow down, a few nagging questions about image noise always seem to pop up. Let's tackle the most common ones I hear from sellers who are just trying to get clean, professional-looking product shots.
Getting these right will help you make smarter decisions, whether you're shooting on a high-end camera or just your phone.
Can I Really Get Professional Results With Just A Smartphone?
Absolutely. But there's one massive catch. Modern smartphone cameras are engineering marvels, but their tiny sensors are naturally prone to noise, especially when the lights get low. The secret to pro-level results is to overcompensate with incredible lighting.
Flood your product with soft, diffused light—think of a large window on an overcast day. When you do this, your phone doesn't have to crank up its digital ISO to see what's going on. This one step is the single biggest thing you can do to get clean, crisp noise reduction pictures right out of the camera. Pair that with a decent editing app or an AI tool, and your phone shots can genuinely go head-to-head with photos from an entry-level DSLR.
The real secret to amazing smartphone photography isn't the phone itself—it's the light you feed it. Giving it plenty of light lets the phone operate at its peak, killing noise before you even hit the shutter button.
What’s An Acceptable Amount Of Noise, Anyway?
This is the million-dollar question, and the honest answer is: it depends entirely on where the photo will live.
For your main hero image on a Shopify or Amazon listing, the standard is sky-high. You want virtually no distracting noise. Shoppers will zoom in, and any speckle or grain they see can chip away at their trust, making your product feel cheap.
But for a lifestyle shot on Instagram or a supplementary image in a blog post? A little bit of fine, even grain can actually add some character and feel more authentic, almost like film. The real test is this: does the noise get in the way of the product's details? If the grain is so heavy that it blurs textures or makes the image look soft, you've gone too far.
Are Special Plugins Better Than The Tools Built Into My Software?
Often, yes. Dedicated plugins like those from Topaz or DxO are built with highly specialized algorithms designed to do one thing exceptionally well: eliminate noise while preserving detail. They can sometimes work miracles.
That said, the built-in tools in software like Adobe Lightroom and Photoshop have gotten ridiculously good. For 90% of the noise issues you'll run into with e-commerce photos, Lightroom's "Detail" panel is more than enough to get the job done.
My advice? Start with the tools you already own and master them. Only look into a paid plugin if you're constantly shooting in really tough, low-light situations and finding the built-in options just aren't cutting it.
Ready to skip the manual edits and get flawless, noise-free product photos in seconds? ProdShot uses AI to automatically clean up your images, remove backgrounds, and optimize lighting for higher conversions. Try it for free and see the difference.