
Ever wonder why almost every product you see on a major retail site seems to be floating in a clean, white void? It's not an accident. It’s a deliberate and powerful sales tactic rooted in solid consumer psychology.
When it comes to product photos, the number one goal is to sell the product. Anything that distracts from that goal can—and will—hurt your conversion rate.
Why White Backgrounds Drive Ecommerce Sales
A white background is the ultimate neutral canvas. It strips away all the visual noise, forcing a shopper’s eye to land directly on what matters: your product. There are no competing colors, no distracting textures, and no environmental cues to process.
This laser-like focus helps customers see the fine details, appreciate the design, and accurately gauge the color. It's the most direct way to present your item without any interpretation.
Building Trust Through Professionalism
Consistency is the secret sauce for building a trustworthy brand. When every single product in your catalog is shot on the same clean, white background, you instantly create a cohesive and professional-looking storefront. It signals to buyers that you're a serious seller who pays attention to the details.
This kind of uniformity has a subconscious effect on shoppers, building their confidence in your brand. On the flip side, a jumbled mess of images with different backgrounds can look amateurish and disorganized, making a customer think twice before hitting "buy." That simple choice of a white background elevates your entire brand perception.
The Undisputed Standard for Marketplaces
Major e-commerce platforms didn't just recommend this—they turned it into a hard rule. Take a scroll through Amazon. Chances are, about 75% of all product images you see will have that crisp, clean white background.
This isn't just a trend. Giants like Amazon and Shopify often mandate a pure white background (RGB 255,255,255) for main images. Why? It creates a uniform shopping experience, it’s easy on the eyes, and it lets the true product colors shine through without any distortion from the surroundings.
This table breaks down how a simple white background directly impacts the metrics that matter most to your business.
Impact of White Backgrounds on Key Ecommerce Metrics
| Metric | Impact of White Background | Why It Matters |
|---|---|---|
| Conversion Rate | Increases by putting the entire focus on the product, eliminating distractions that cause hesitation. | Higher conversion means more sales from the same amount of traffic. It's the most direct way to boost revenue. |
| Customer Trust | Creates a professional, consistent look across your store, signaling credibility and quality. | Trust is everything in ecommerce. A customer who trusts your brand is more likely to buy and become a repeat customer. |
| Return Rate | Lowers by displaying colors and details more accurately, setting clear customer expectations. | Fewer returns mean happier customers, less logistical hassle, and improved profitability. |
| Marketplace Compliance | Meets the strict image guidelines for major platforms like Amazon, eBay, and Google Shopping. | Getting this right avoids listing rejections and ensures your products are seen by millions of potential buyers. |
Ultimately, a white background isn't just about aesthetics—it's a foundational piece of a high-converting product page.
The goal isn't just to show what a product looks like; it's to remove every possible barrier to a customer's decision to buy. A white background is the simplest way to eliminate visual friction and let the product speak for itself.
While nailing your visuals is crucial for a clean presentation, it's just one piece of the puzzle. Understanding broader strategies to increase online sales is essential for long-term success. Think of that perfect white background photo as the first, and most important, step in a much larger sales journey.
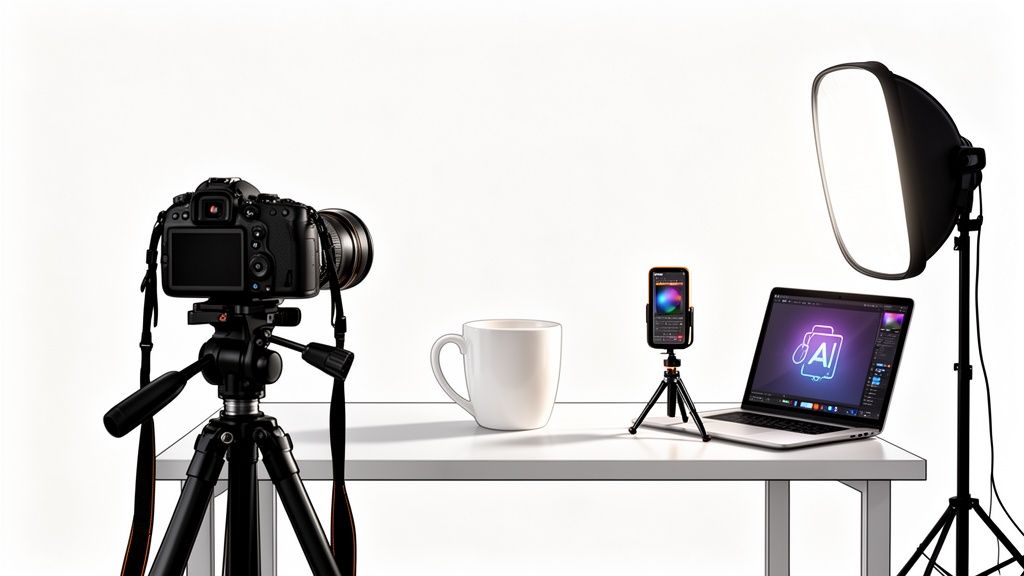
Building Your DIY Home Photography Studio
You absolutely do not need a professional studio to create stunning product photography with a white background. In fact, some of the best, marketplace-ready shots come from clever, budget-friendly setups cobbled together right at home.
Forget the expensive gear for a moment. Your single greatest asset is probably sitting right in your living room, and it's completely free.
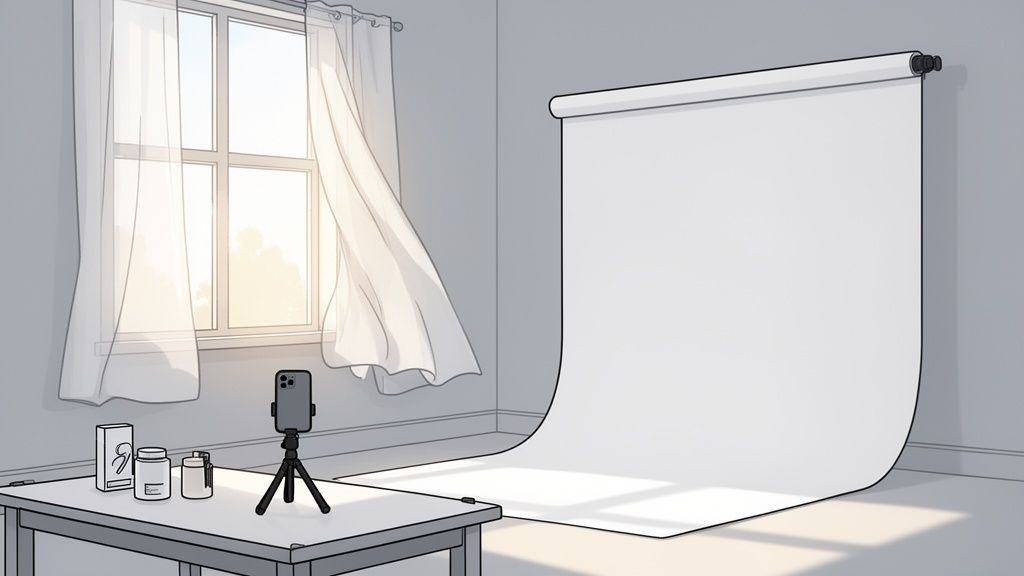
I'm talking about a large window. Natural, indirect sunlight gives you a soft, flattering light that even expensive studio strobes are designed to replicate. The trick is to find a spot that doesn't get hit with harsh, direct sunbeams—those create ugly, hard-edged shadows. An overcast day is a product photographer's best friend.
Mastering Your Light Source
Even the soft light from a window can sometimes be a bit too intense. The real goal is to diffuse it, spreading that light evenly across your product to kill distracting shadows and bring out the details. You can do this with stuff you already have lying around.
- A White Bedsheet: Just tape a thin white sheet over the window. It instantly turns the entire window into a giant softbox, smoothing out the light.
- Parchment Paper: For smaller products, a sheet of baking parchment paper taped over the window works wonders. It’s a super cheap and surprisingly effective diffuser.
- White Foam Board: Grab a cheap piece of white foam board from any craft store. Place it on the side of your product opposite the window. It will bounce light back, filling in any dark areas and giving your product a clean, even look.
This simple setup costs almost nothing but gives you an incredible amount of control over your final image. It’s a foundational technique that separates clean, professional photos from amateur snapshots. When you look at the cost of professional product photography, you can see just how much money a smart DIY approach can save you.
Creating a Seamless Backdrop
To get that classic "floating" product look, you need what’s called a seamless background or an infinity cove. All this really does is eliminate the hard line where the table meets the wall, creating a smooth, continuous white space behind your product.
Again, no fancy equipment is needed here. A big, flexible piece of white poster board is perfect. Just place it on a table and let it curve up gently against a wall or even a propped-up box. Set your product right in the middle of the flat part, and you've just built a professional-looking backdrop for a few bucks.
The secret to a great DIY studio isn't about spending money—it's about manipulating light and space with simple tools. A window, a sheet, and a piece of poster board can outperform a poorly used expensive setup every time.
Essential Camera or Phone Settings
Whether you’re using a high-end DSLR or just the phone in your pocket, a few key settings will make all the difference. If your phone has a "Pro" mode, now's the time to use it.
- Keep Your ISO Low: Set your ISO to the lowest possible number, usually 100 or 200. This reduces digital "noise" or graininess, keeping your images sharp and clean.
- Set Your White Balance: Don't trust the "Auto" setting. It often gets confused by all the white in the scene. Manually set your white balance to match your light source (like "Daylight" if you're using a window) to make sure your whites are truly white, not yellow or blue.
- Use a Tripod: This is non-negotiable. A tripod eliminates camera shake and guarantees your photos are perfectly sharp. It also lets you use your camera's self-timer, so you avoid even the tiny vibration caused by pressing the shutter button.
Mastering the Shot for Flawless Raw Images
With your DIY studio all set up, it's time to get into the details—the small things that make a massive difference. Honestly, the most important step happens before you even think about picking up your camera: prepping the product. It sounds obvious, but you’d be surprised how many people skip it.
There's nothing worse than zooming in on what you thought was the perfect shot, only to spot a massive fingerprint or a speck of dust. These tiny flaws scream "amateur" in high-resolution photos. So, always start with a good wipe-down using a microfiber cloth. For really stubborn smudges, I recommend wearing soft cotton gloves to avoid leaving new marks.
Composing Your Shot for Maximum Impact
"Composition" is just a fancy term for how you arrange your product in the frame. You don't need an art degree for this. The main goal is to make your product the hero. A simple trick is to use the rule of thirds—imagine a tic-tac-toe grid over your screen and place your product's key features along those lines or at the intersections.
That said, for most product photography with a white background, just putting the item dead center is your best bet. It’s clean, balanced, and lets customers see exactly what they're getting without any distractions. It just works.
This whole process is a sequence of deliberate steps, not just a single shutter click.
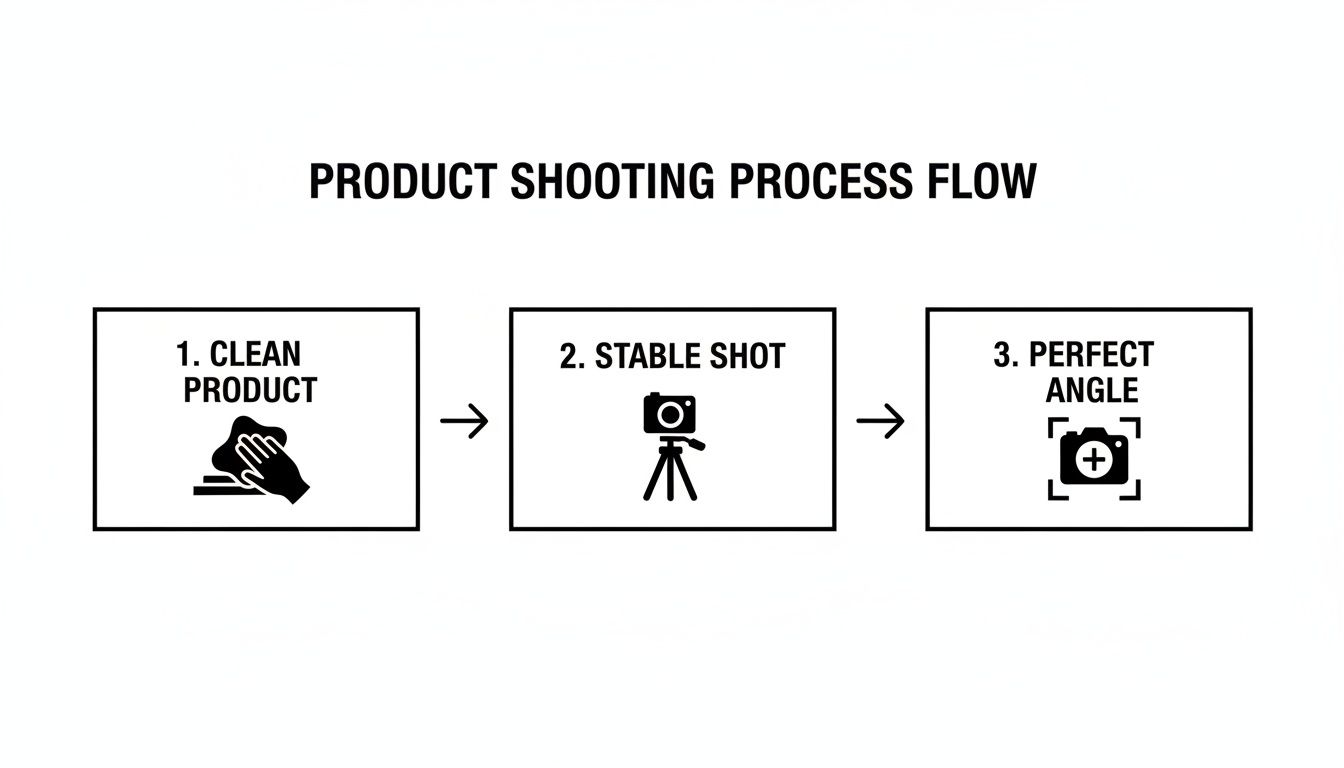
Think of it as a repeatable workflow. Once you nail it down, you can shoot product after product with consistent quality.
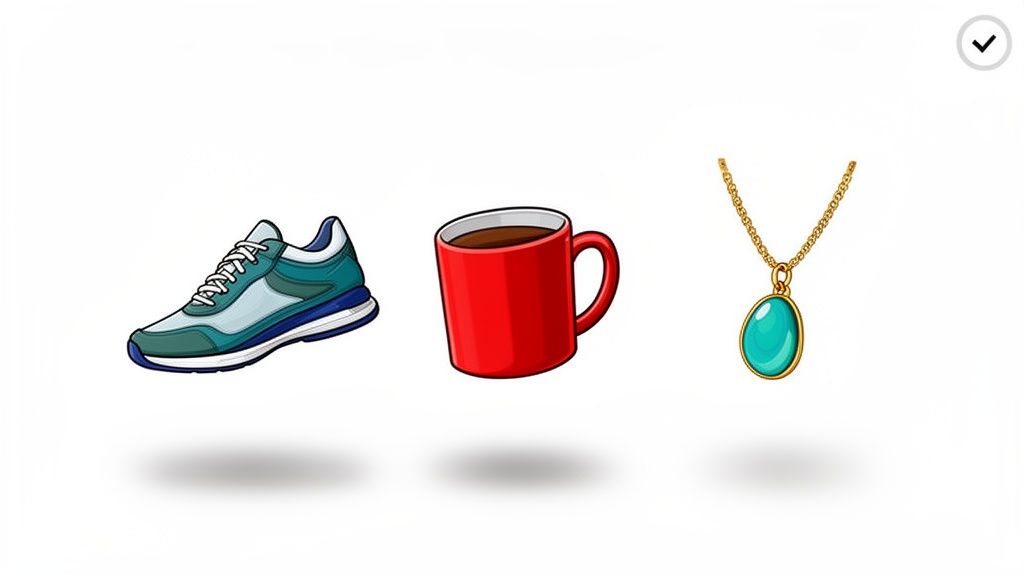
Tackling Tricky Products
Let's be real: not all products are easy to shoot. Some will fight you every step of the way, but a little finesse goes a long way.
-
Reflective Items (Jewelry, Glass): The biggest headache here is catching unwanted reflections of yourself, your camera, or your messy room. The fix? Use large, soft light sources (like that window with a sheet over it) and play with your angles. Sometimes, shooting from slightly above or to the side is all it takes to make those reflections disappear.
-
White on White: Ah, the classic challenge. How do you make a white product pop on a white background? The secret is all in the lighting. You need to create subtle shadows to define the product's edges. Try lighting it from the side instead of head-on. This creates just enough contrast to keep your item from getting lost in a sea of white.
There's a reason white backgrounds are everywhere. A study I recently read showed 76% of product images worldwide use them, making it the unofficial e-commerce standard. It's not just a trend; there's real psychology behind it. Apparently, 78% of online shoppers need to see high-quality images before buying, and a clean white background helps the brain focus purely on the product, speeding up their decision. You can dig into more of the data in this in-depth product photography report.
The best photographers I know aren't just camera wizards; they're expert problem-solvers. Every product has its own personality and its own set of challenges. Your job is to adapt and figure out how to make it look its absolute best.
Finally, two pieces of gear are absolutely non-negotiable for me: a tripod and your camera’s self-timer. A tripod kills camera shake, guaranteeing every shot is perfectly crisp. Using a simple 2-second timer stops the tiny blur that happens when you physically press the shutter button. This level of consistency not only makes your shots look way more professional but also saves a ton of time in post-production. Trust me on this.
Turning Your Photos into Marketplace-Ready Images
You’ve got a clean, well-lit raw image. Great start. Now it's time for the final, most important step: turning that photo into a polished, professional asset that’s ready for the marketplace. This is where post-production works its magic, closing the gap between a good shot and a great one.
While powerful software like Photoshop has been the industry standard for ages, it comes with a notoriously steep learning curve and a workflow that eats up your time. If you're a busy entrepreneur, spending hours on complex edits for every single product just isn't going to work. There's a much smarter way to go, using AI-powered tools built specifically for this job.
A Smarter Workflow with AI
Imagine this: you take a decent photo with your phone, upload it, and let an intelligent system do all the heavy lifting for you. This is the new reality for e-commerce sellers. Modern tools like ProdShot can instantly and precisely remove the background—a task that used to mean tedious manual pathing with the pen tool.
But it doesn't stop there. A good AI tool also analyzes the image to correct the lighting, punch up the colors, and even add a realistic shadow to give it some depth. That final touch is critical for making a product look grounded and professional, not like a flat, pasted-on cutout.
This screenshot of the ProdShot interface shows you just how simple it is to upload an image and get an instant, pro-level result.
Look at how clean that background removal is. The subtle shadow gives the product real dimension. This is the kind of polish that builds customer trust and makes them feel confident hitting "add to cart."
A Real-World Example
Let's walk through a practical scenario. A jewelry seller on Etsy has just finished a beautiful new silver necklace. She uses her DIY home studio to snap a few photos with her smartphone. The lighting is pretty good, but the white poster board she used isn't a perfect, pure white, and she can see a faint shadow from her own hand in the corner.
With a traditional workflow, her next steps would be a real grind:
- Import the photos onto her computer.
- Open them up in complicated editing software.
- Painstakingly trace the delicate chain to cut it out from the background.
- Fiddle with brightness and contrast levels.
- Create a new layer and try to paint in a shadow that looks natural.
This whole process could easily take 30-60 minutes for just one image. With a tool like ProdShot, she just uploads her best photo straight from her phone. Within seconds, the AI removes the imperfect background, brightens the silver without blowing out the highlights, and adds a soft, natural-looking drop shadow. The entire job is done in less than a minute.
White-background product photography isn't just a trend—it's a sales engine. A staggering 75% of product images are edited to white because it works. And with 83.5% of brands using shadows consistently, AI tools that mimic these professional techniques are a shortcut to elevating your brand's look and feel.
This kind of efficiency is a game-changer for small businesses. Instead of battling with software, sellers can get back to what they do best: creating more products and marketing their store. As your image library grows, it’s a good idea to implement some solid digital asset management best practices to keep everything organized.
Being able to produce high-quality images quickly and at scale gives you a serious competitive advantage. And for those who want to offload this task completely, you can always explore different product photo editing services that can handle the entire process for you.
Getting Your Images Ready for Amazon, Shopify, and Etsy
Alright, you’ve shot a fantastic product photo. It’s crisp, well-lit, and perfectly showcases your item. But you're not quite at the finish line yet.
Now comes the crucial, often-overlooked step: exporting that image so it meets the specific technical demands of the marketplaces you sell on. Getting this part wrong can undo all your hard work, leading to rejected listings, slow-loading pages, or blurry images that make your product look cheap.
Think of this as the final pre-flight check before your product goes live. Each platform—Amazon, Shopify, and Etsy—has its own rulebook, and failing to follow it isn't just a minor mistake; it can directly sabotage your visibility and sales.
What the Marketplaces Actually Care About
While the nitty-gritty details vary, a few core technical specs are universal. If you get these right, you’re already 90% of the way there, ensuring your photos get accepted and look great everywhere.
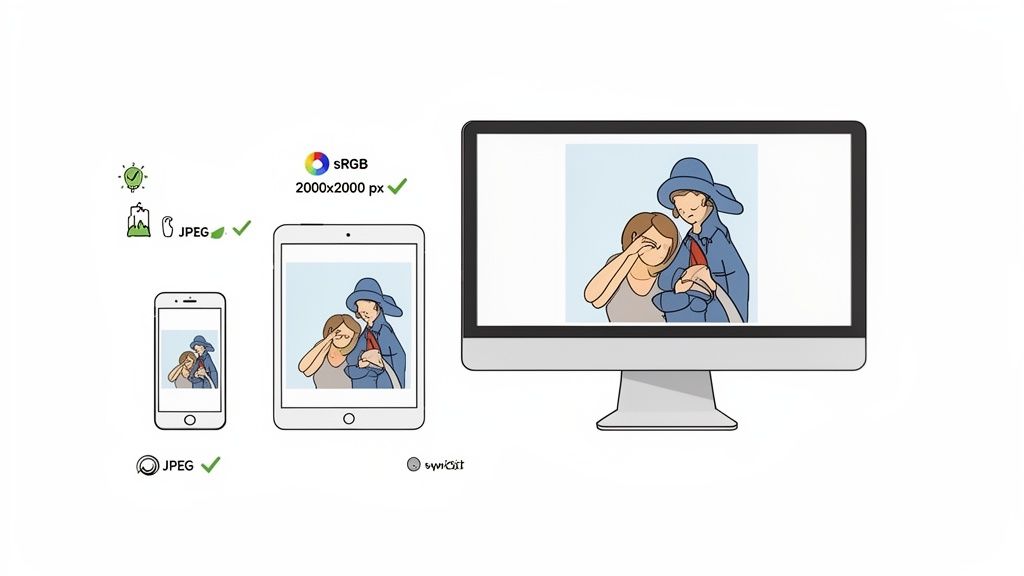
- Image Dimensions: This is simply the pixel width and height of your photo. Marketplaces have minimums to make sure your images are sharp enough for customers to zoom in on the details. Amazon, for instance, requires images to be at least 1000 pixels on the longest side to enable their zoom feature.
- File Type: JPEG and PNG are the two main players here. JPEGs are my go-to for most product photos because they offer a great balance of quality and small file size, which helps your pages load faster. PNGs are fantastic if you need a transparent background, but for a standard product photo on a white background, a high-quality JPEG is almost always the right call.
- File Size: Page speed is everything in e-commerce. Did you know that 47% of consumers expect a website to load in two seconds or less? Big, clunky image files are the number one cause of slow pages. Your goal is to find that sweet spot between image quality and file size, usually keeping it under 500 KB. If your file is too big, a free online image resizer can get it marketplace-ready in seconds.
- Color Profile: This one is non-negotiable: always use the sRGB (Standard Red Green Blue) color profile. It's the standard for the web, which means it ensures your product's colors look the same on your customer’s screen as they did on yours. Using any other profile can lead to dull, washed-out, or just plain wrong colors online.
Image Specification Cheat Sheet for Major Marketplaces
Juggling all these different requirements can be a headache, especially if you're selling across multiple platforms. I’ve put together this quick-reference table to help you export your files correctly every single time.
| Specification | Amazon | Shopify | Etsy |
|---|---|---|---|
| Minimum Dimension | 1000px on the longest side | 800 x 800px (2048 x 2048px recommended) | 2000px on the short side |
| File Type | JPEG, PNG, GIF, TIFF | JPEG, PNG, GIF, HEIC | JPEG, PNG, GIF |
| File Size Limit | Under 10 MB | Under 20 MB | Under 10 MB |
| Color Profile | sRGB | sRGB | sRGB |
At the end of the day, following these technical specs isn't just about ticking boxes for a marketplace algorithm. It's about taking control of the customer experience. A properly optimized image guarantees that your product looks its absolute best, no matter where or how someone is viewing it.
Common Questions on White Background Photography
Even with a solid workflow, you're bound to hit a few snags. It happens to everyone. Here are some of the most common questions we get from sellers trying to nail their product photography with white background, along with some straightforward answers from our own experience.
Can I Really Get Professional Results with My Smartphone?
You absolutely can. Today’s smartphone cameras pack a serious punch. The real magic isn't in a pricey camera body; it's all about mastering your lighting and having a smart editing process.
If you follow the DIY lighting tips we covered earlier, you can get a fantastic starting image with just your phone. From there, an AI editor like ProdShot can take that simple photo and turn it into a high-quality, marketplace-ready shot. The AI takes care of the tedious stuff, like pixel-perfect background removal and lighting adjustments, which used to take a ton of manual work.
How Do I Keep a White Product from Blending In?
Ah, the classic white-on-white challenge. This all comes down to two things: lighting and shadow.
The trick is to light your white product from the side, not head-on. This is called side-lighting, and it creates subtle shadows that carve out the product's edges and give it dimension against the backdrop. In post-production, a good tool can then add a soft, natural drop shadow. This gives the product just enough lift to pop off the pure white background without looking fake.
The goal is definition, not drama. A gentle shadow makes the product look grounded and three-dimensional, which is exactly what you want for a clean, professional shot.
What's the Single Biggest Mistake to Avoid?
By far, the most common mistake is using harsh, direct light. I'm talking about the on-camera flash on your phone or a single, bare lightbulb pointed right at your product. This kind of light creates ugly, dark shadows and glaring "hot spots" that completely wash out the details.
Always, always aim for soft, diffused light. You can get this easily by shooting near a big window on an overcast day, or by bouncing a lamp's light off a white wall or a piece of foam board. Soft light wraps around your product beautifully, keeping textures and details intact, which makes your final edit a thousand times easier.
Why Does Amazon Insist on a Pure White Background?
Amazon has a strict rule for a pure white background (RGB 255, 255, 255) on all main product images for one simple reason: consistency. It creates a clean, uniform, and trustworthy shopping experience for millions of customers.
Even a slightly off-white or light gray background—the kind you get from a physical white backdrop—can get your image flagged and your listing suppressed. Using a reliable background removal tool is the only way to guarantee you hit that perfect RGB 255 mark every single time, no questions asked.
Ready to stop wrestling with complicated software and start creating perfect product photos in seconds? ProdShot uses AI to instantly remove backgrounds, add realistic shadows, and generate marketplace-ready images from a single photo. Try it for free and see how easy it can be.