
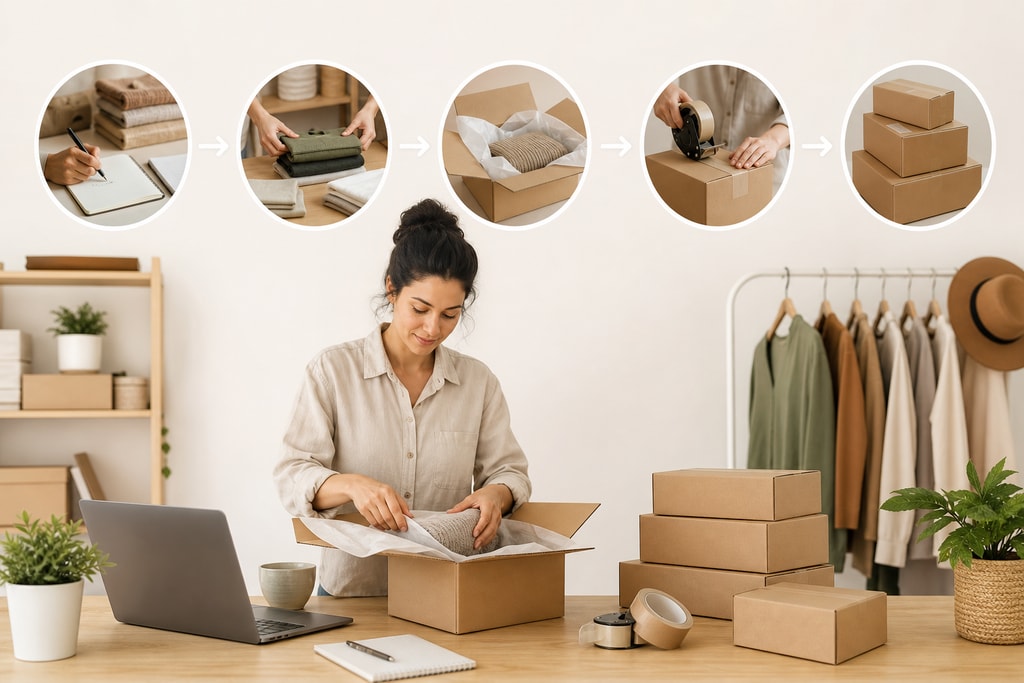
In the competitive world of e-commerce, high-quality product images are crucial for attracting customers and driving sales. However, hiring professional photographers or renting studios can be costly and time-consuming. With the right approach, you can batch process your product photos at home, achieving professional results without the need for a studio. This guide provides an in-depth exploration of the process, complete with practical examples and expert tips.
Why Batch Processing Matters
Batch processing involves photographing multiple products in a single session using a consistent setup. This method offers several advantages:
- Efficiency: Reduces time spent on setup and adjustments between shots. For example, photographing all your latest jewelry pieces in one afternoon.
- Consistency: Ensures uniform lighting, background, and angles, enhancing your brand's identity with cohesive images.
- Cost-Effectiveness: Eliminates the need for expensive studio rentals or professional photographers, allowing small businesses to compete.
By implementing a batch processing workflow, you streamline your product photography and maintain a cohesive look for your online store.
Essential Equipment for DIY Batch Product Photography
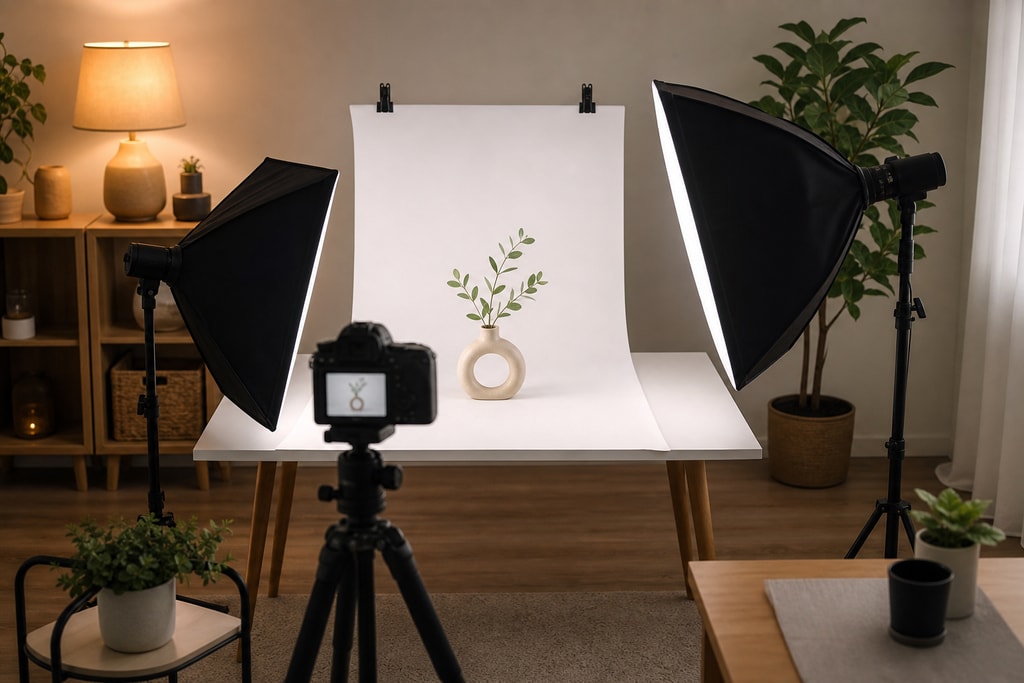
Here’s what you need to achieve high-quality product photos:
- Camera: A DSLR or mirrorless camera is ideal, but quality smartphones also work well. Use apps for manual control.
- Tripod: Ensures stability and consistency across shots and reduces potential blur.
- Lighting: Natural light is preferable. However, affordable LED lights or softboxes can offer consistent illumination.
- Background: A white or neutral-colored backdrop, like a sweep made of poster board or foam core, creates distraction-free backgrounds.
- Reflectors: White foam boards or reflectors help bounce light and reduce shadows, which is crucial for clear visibility of product details.
For a detailed guide on setting up your equipment, refer to DIY Product Photography Setup: The Complete Guide to Stunning eCommerce Images at Home.
Setting Up Your Home Studio
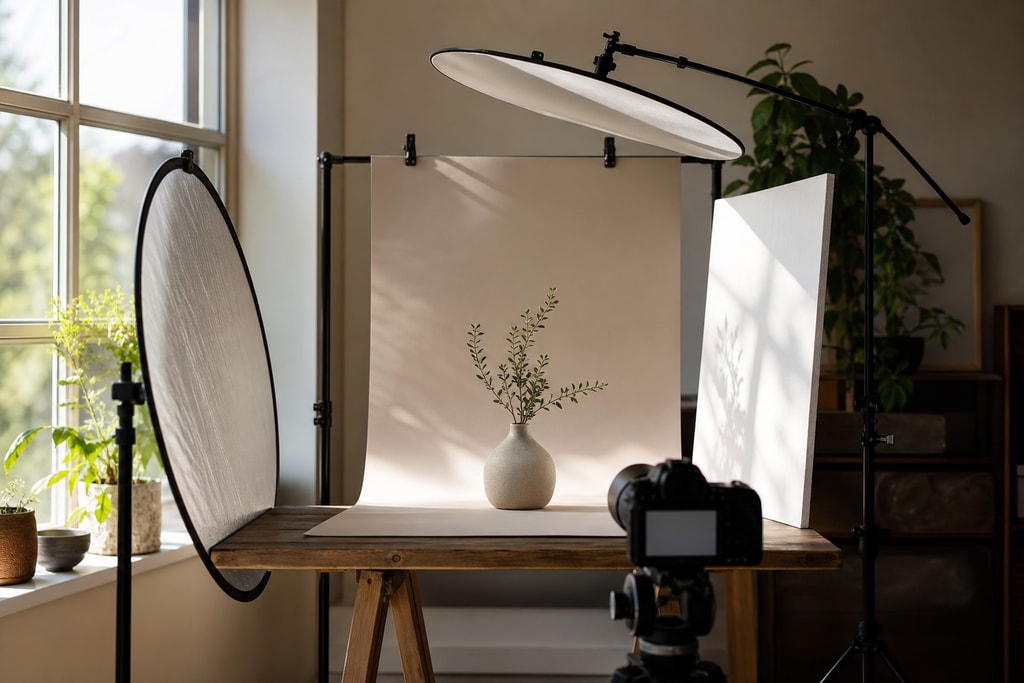
Creating an effective home studio involves planning and organization:
- Choose the Right Space: Pick a room with ample natural light, such as near a large window to create an airy feel.
- Set Up the Background: Position your backdrop to create a seamless look. A white sweep works well for most products.
- Arrange Lighting: Position softboxes or use window light. For artificial lighting, place lights at 45-degree angles to minimize shadows.
- Position the Camera: Use a tripod at the appropriate height and angle to produce consistent shoots for each product category.
- Organize Products: Arrange your products in the shooting order to maintain an efficient workflow.
For more insights on setting up a home studio, check out DIY Product Photography Setup Under $50.
Planning Your Batch Shoot
Effective planning is key to successful batch shoots:
- Create a Shot List: Outline each product and specific shots needed, considering different angles and detail shots for versatility.
- Group Similar Products: Organize by size or material to minimize adjustments.
- Prepare Products: Clean and inspect each item thoroughly to be photo-ready.
- Test Shots: Take test shots to check lighting, focus, and composition, ensuring high-quality outputs before starting the full shoot.
Having a comprehensive shot list ensures all necessary images are captured efficiently and consistently.
Shooting Techniques for Consistency
Maintaining consistency across product images enhances your brand's professionalism:
- Use a Tripod: Keeps the camera steady, ensuring uniform framing that is crucial for editing.
- Manual Settings: Control exposure, white balance, and focus in manual mode.
- Consistent Angles: Use markers or guides to position products the same way, reducing variations.
- Tethered Shooting: Connect your camera to a computer for real-time image review and make adjustments as needed.
For a detailed tutorial on achieving a white background, refer to Learn White Background Product Photography: Step-by-Step Tutorial.
Post-Processing and Editing

Editing enhances image quality:
- Import and Organize: Transfer images to your computer, organizing by product or category.
- Basic Adjustments: Adjust exposure, contrast, and white balance using software like Adobe Lightroom.
- Background Cleanup: Use tools like background removers to ensure uniform background colors.
- Batch Editing: Apply consistent edits across all images using batch processing features, saving time.
Explore Free Product Photo Tools for software to aid in editing.
Mistakes to Avoid
- Ignoring Lighting: Poor lighting can ruin photos. Ensure lighting is diffused and plentiful.
- Wrong Angles: Inconsistent angles confuse customers. Decide on angles before starting.
- Overediting: Excessive edits can distort product appearance. Keep changes subtle.
Checklist for DIY Batch Product Photography
- [ ] Equipment Prepared: Camera, tripod, lighting, background, and reflectors set up.
- [ ] Products Ready: Cleaned and organized in shooting order.
- [ ] Shot List Created: Detailed list of required shots for each product.
- [ ] Test Shots Taken: Lighting and camera settings verified.
- [ ] Consistent Settings Applied: Manual camera settings established.
- [ ] Post-Processing Plan: Editing workflow outlined.
Frequently Asked Questions (FAQ)
Q: Can I achieve professional-quality product photos with a smartphone?
A: Yes, with proper lighting, background, and post-processing, smartphones can produce high-quality product images suitable for e-commerce.
Q: How can I ensure color accuracy in my product photos?
A: Use a gray card to set custom white balance and calibrate your monitor for accurate color representation.
Q: What is the best lighting setup for product photography?
A: Soft, diffused lighting is ideal. Natural light from a window or softboxes positioned at 45-degree angles achieves soft shadows.
Q: How do I remove shadows in my product photos?
A: Use reflectors to bounce light into shadowed areas and ensure even lighting.
Q: Is post-processing necessary for product photos?
A: Yes, post-processing enhances image quality, corrects exposure, and ensures consistency across your product images.
For more guidance on creating product photos, explore Create product photos.